Lemon Asparagus Pasta

Stop the presses.

I have officially tired of tomato sauce. This is a true testament to my hard earned now semi-lack of pickiness! Or maybe I’ve just been eating too much pasta.

Anyway, that’s the reasoning behind attempting my very first sauce.  Note the lack of tomatoes!


lemonasparaguspastamain

Thanks to Minimalist Baker for inspiring this recipe.

Serves 2-3

You will need: a large skillet, baking sheet, whisk

Ingredients:

  • 1 bunch asparagus
  • 1 lemon
  • olive oil
  • 3-4 garlic cloves garlic, minced
  • 10 ounces uncooked wheat pasta
  • 2.5 cups skim milk
  • 3-4 Tbsp whole wheat flour
  • salt and pepper

Directions: 

Preheat oven to 400° F.

(Boil your water/cook your pasta while you are baking your asparagus!)

Rinse and trim asparagus. Place on baking sheet and toss with some olive oil. Add salt and pepper.

Cut a few thin slices of lemon and bake in the oven for about 25 minutes.

Remove sheet from oven and chop asparagus into thirds.

For the sauce…

Heat a large skillet on medium. Add 3 Tbsp olive oil and the garlic. Stir around for 1-2 minutes until the garlic turns a little brown.

Add 3 Tbsp flour and whisk for 30 seconds.

Whisk in milk 1/2 cup at a time.

Add some salt and pepper and continue to whisk.  Lower heat to medium-low and continue cooking to thicken, stirring occasionally.

Continue cooking for a few minutes until the sauce thickens.

Add the juice of half a lemon and stir.

*****

Mix the sauce with the asparagus and you’re good to go.

Feel free to serve with one of the lemon slices!

lemonasparaguspasta


lemonasparaguspasta2


lemonasparaguspasta3


lemonasparaguspastamain2

Thanks as always to Jenn @ Peas and Crayons for hosting What I Ate Wednesday!

Enchilada Casserole for ALOHA

Whenever I’m going to an event that you have to bring a dish to, I try to bring something healthy. Unfortunately, that’s the only way I will pass over the tupperware dish of iced pumpkin muffins….

The only thing is that not every single person I know is super into “health food.” Meaning, in order to make people like your health(ier) food, you have to deliver it via a disguise of deliciousness.

Enter, healthy enchilada casserole.

healthyenchiladacasserole

The cheese says it all.

And maybe if you do tell everyone that each slice is under 400 calories, they actually won’t mind the health food part.

******

Thank you to ALOHA for asking me to share what I would choose when, “bringing a dish to pass.” 

You can find a ton more great dishes on their RECIPE PAGE! 


enchiladacasserolemain4


This recipe was inspired by THIS awesome blog.

You will need: mixing bowl, 9×13 casserole dish

Ingredients:

  • 2 cooked chicken breasts, shredded
  • 2 cups dry brown rice
  • 16 fl oz enchilada sauce (buy 2 jars!)
  • 1 can black beans
  • 2 cups shredded Mexican cheese mix
  • 1 can corn kernel
  • 2 tbsp cilantro
  • salt and pepper to taste

Directions:

Cook rice.

Preheat oven to 350° F.

Mix the enchilada sauce, shredded chicken, beans, and 1 cup of shredded cheese together in a large bowl.

Add in cooked rice. Season with salt and pepper.  Mix well.

Pour mixture into a large casserole dish. Add the corn as a top later, then sprinkle on the remaining 1 cup cheese.

Bake for 25-28 minutes.

Throw on some chopped cilantro and serve!

traderjoesenchiladasaucejpg


enchiladacasserole1


enchiladacasserole2


enchiladacasserole3


enchiladacasserole5


enchiladacasserolemain3


This enchilada casserole is totally one to bring to your next potluck or get-together!

Juicing Q and A with Williams-Sonoma

So pumped for a fun Q&A sesh about JUICING with Williams-Sonoma!

*****

1. What was my experience with a juice cleanse like?

About a year and half ago I started hearing about this new food phenomenon. Juicing.

Tons of different health blogs and documentaries all preached the newest superfood that was the actual elixir of life. If you drink it, you’ll get super skinny while simultaneously becoming healthy and strong and full of vitamins.

Count me in.

Then I heard that some people even do this crazy thing where they only drink juice instead of eating for days at a time. But of course you don’t even get that hungry because your stomach is full of juice…

I had worked up enough gall to take on the experiment in full force. Once I set my mind to it that I was going to do a juice cleanse, I became a stubborn juicing warrior. I was going to do this thing and I was going to do it right.

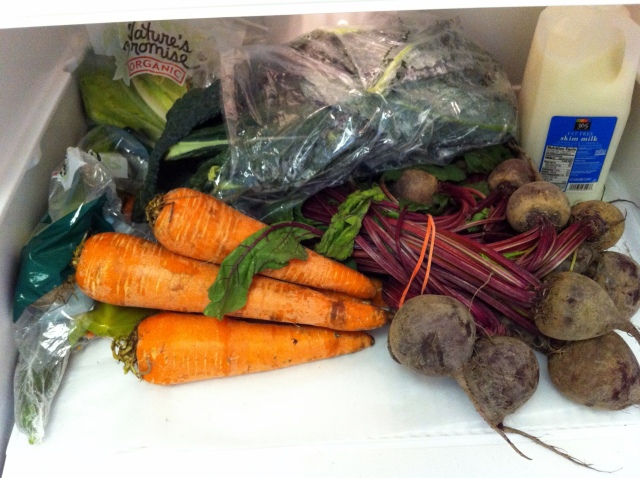
I started with a juice cleanse grocery list and the local farmers’ market.

juicecleansegrocerylistredo


2013-06-01 13.11.18-1

New food sparked learning about different vegetables and herbs and about what they looked like.

greenjuice3

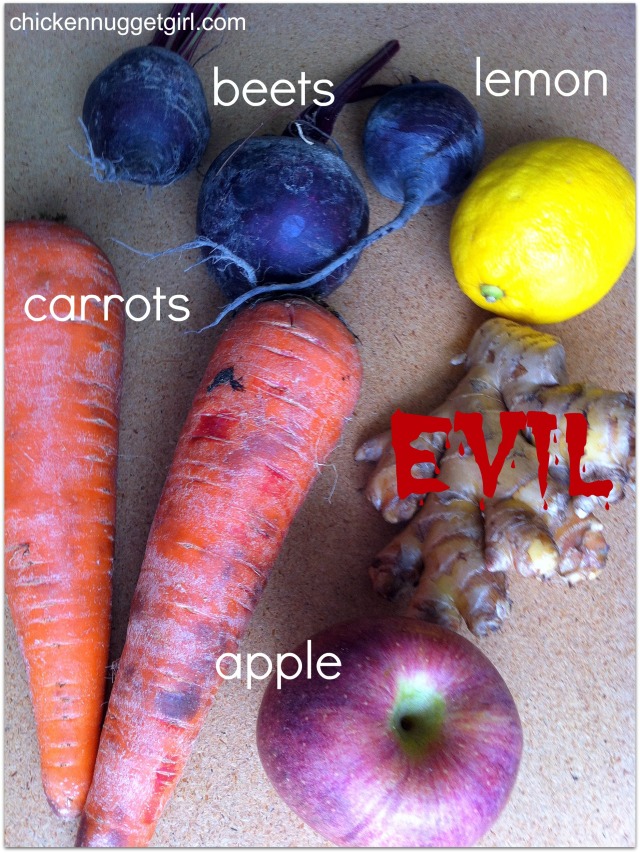
Trying something totally new (beets!) blew my mind and made me feel proud of my formerly-picky self.

CAB1

Terrifying mishaps (TOO MUCH ginger) clouded the end of the cleanse and I struggled with the idea of – gasp – quitting. What kind of a person would I be now, eating solid food? Who had I become?

CAB4

There was definitely a sense of clearing out all the crap from your body and starting fresh.  I had become knowledgeable about what I was putting in my body was going to be totally renewed on this awesome foundation of nutrients and health.

PAM3

PAM1

But…

I was hungry. And kind of lightheaded.

After a few more juice cleanse cycles and attempts, I’ve come to my own personal conclusion about how juicing best works for me. I like supplementing my diet with juice because it makes me feel good about myself, like I’m doing my body a favor.

I never would have thought that picky old me would consume 8 ounces of green juice daily.

2. For someone who is starting their juicing journey, what are some tips and tricks for beginners trying a homemade juice cleanse? 

  • Buy organic

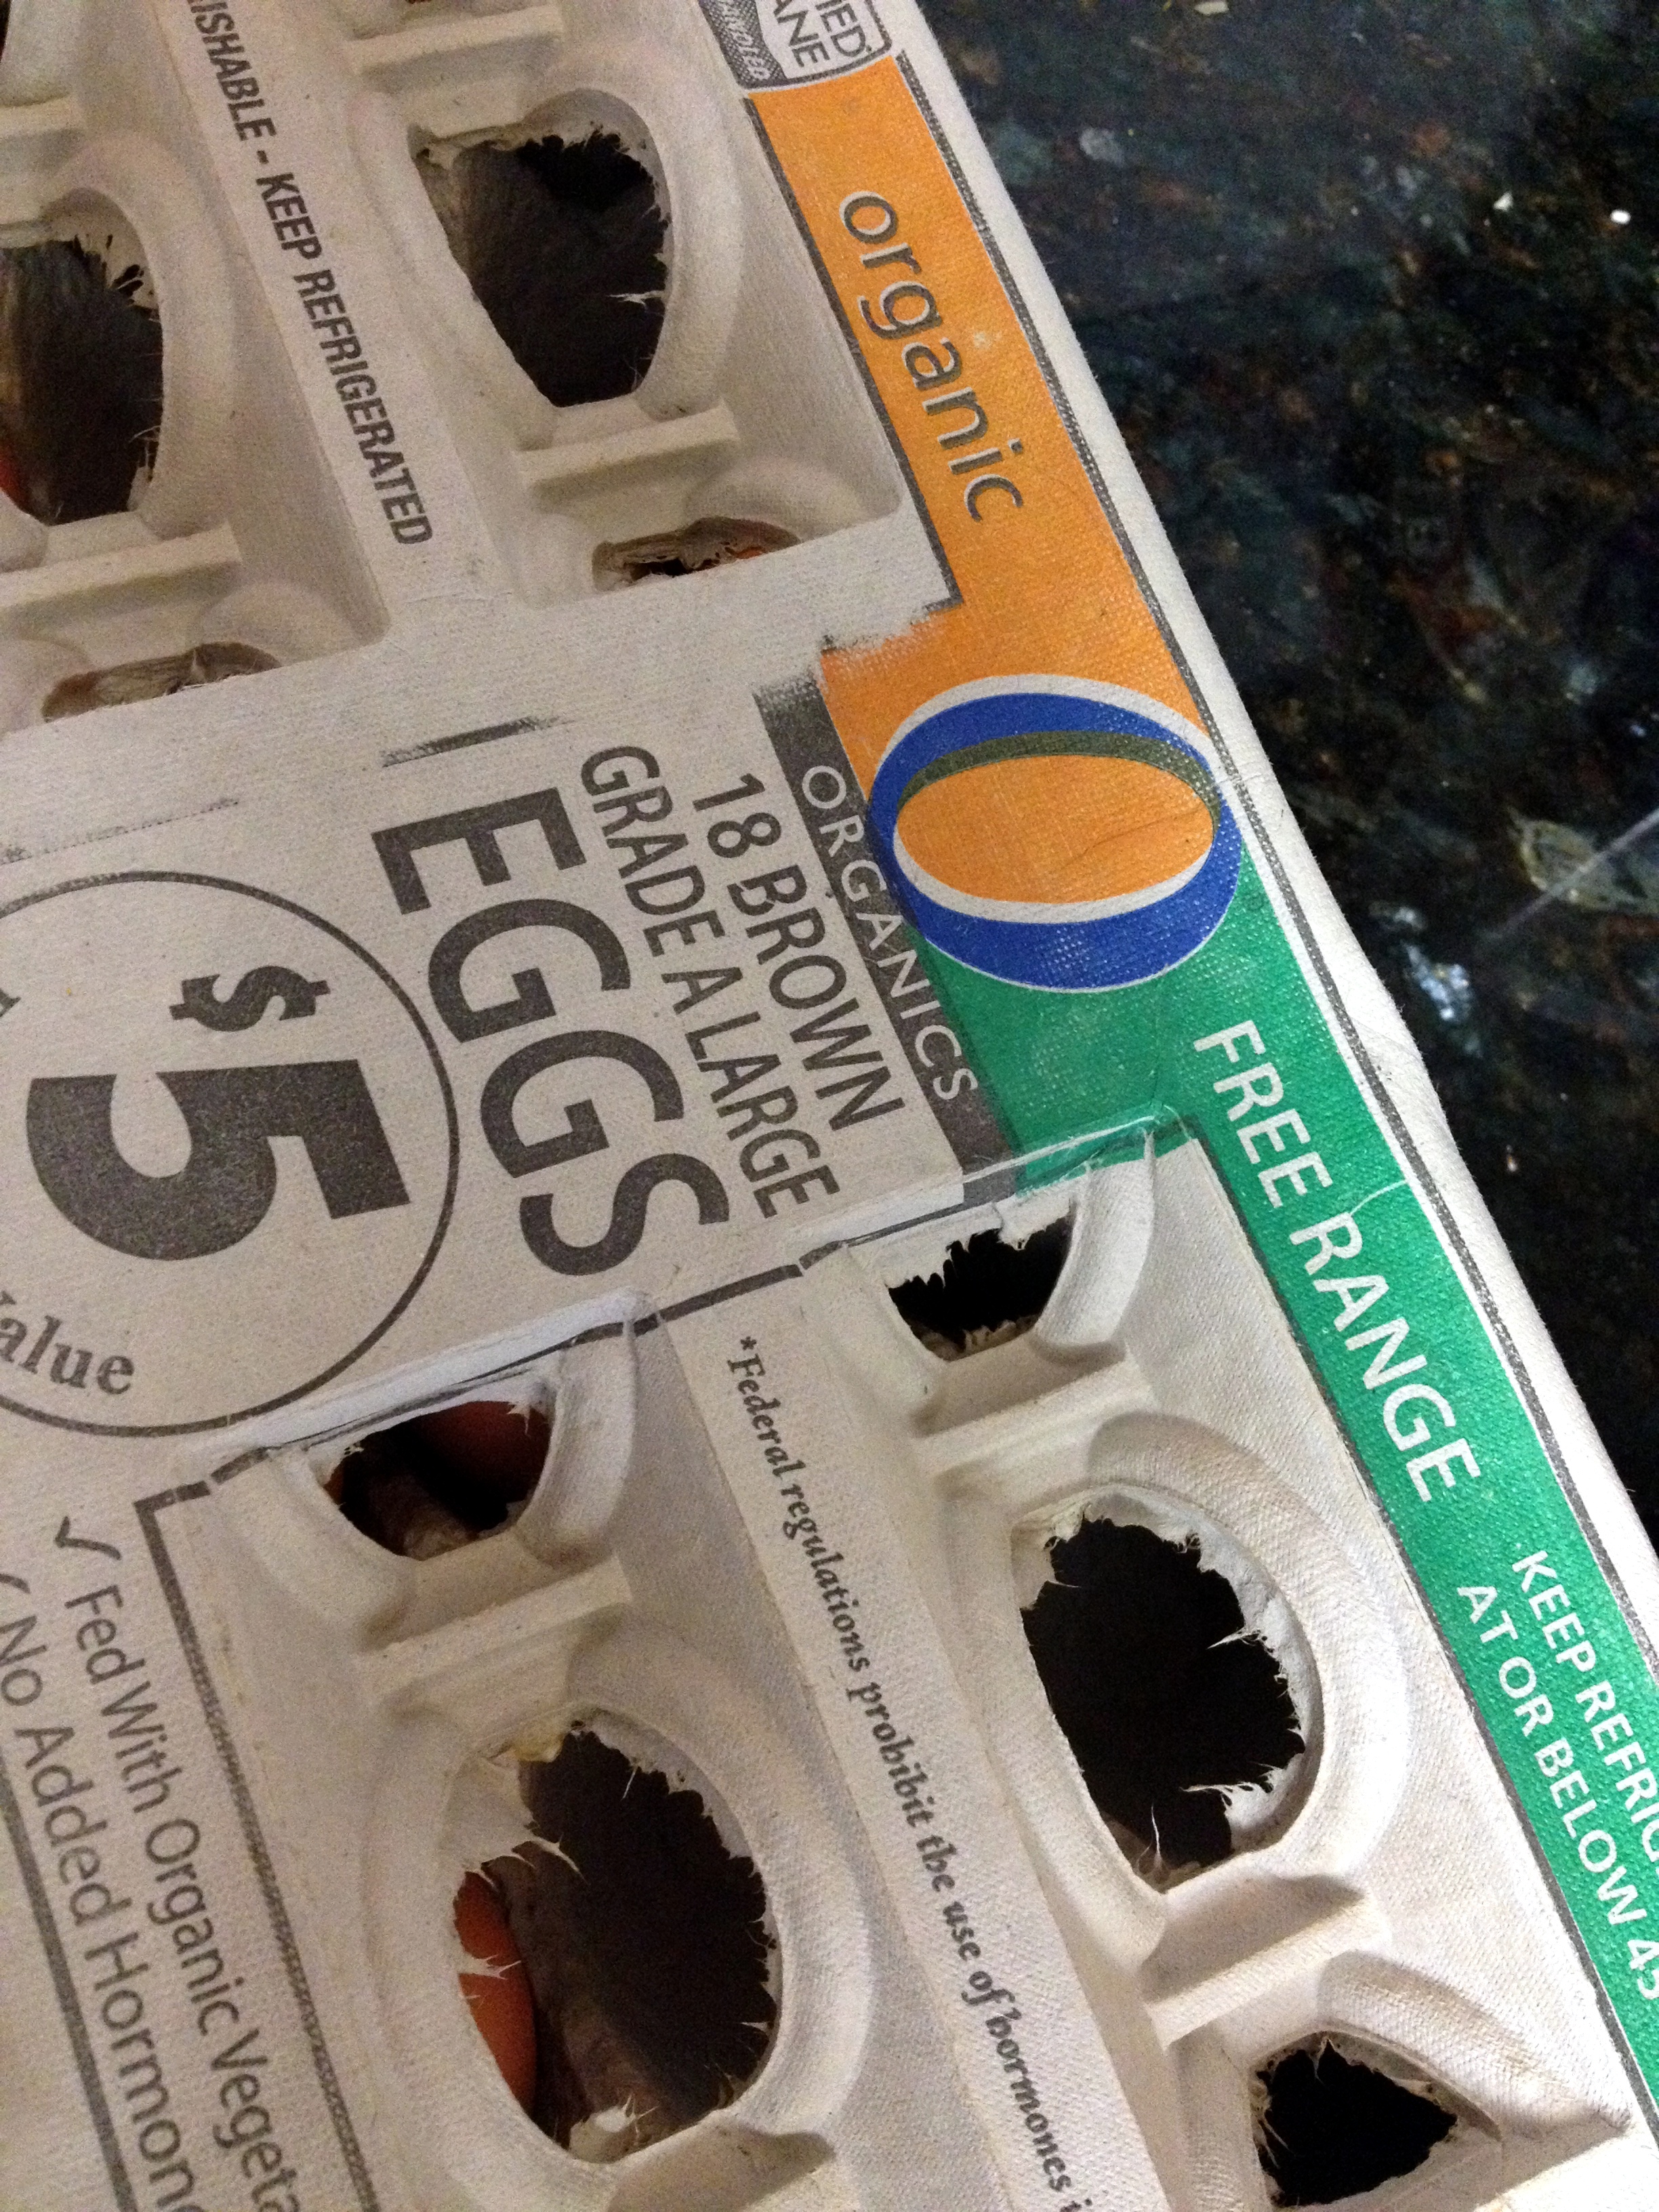
When your body is experiencing the initial shock of nutrients during a juice cleanse, it’s really important to make sure to watch the quality of those nutrients. Since your whole system is feeling a little on the fritz, you want to make sure you’re not using poor quality produce with possible bacteria and pesticides.

fridge1

  • Use produce bags from the grocery store as a “trash bag” in the pulp canister

Makes pulp cleanup amazingly simple and you are so earth-conscious with recycling.

pulpbag1

  • Add some apple

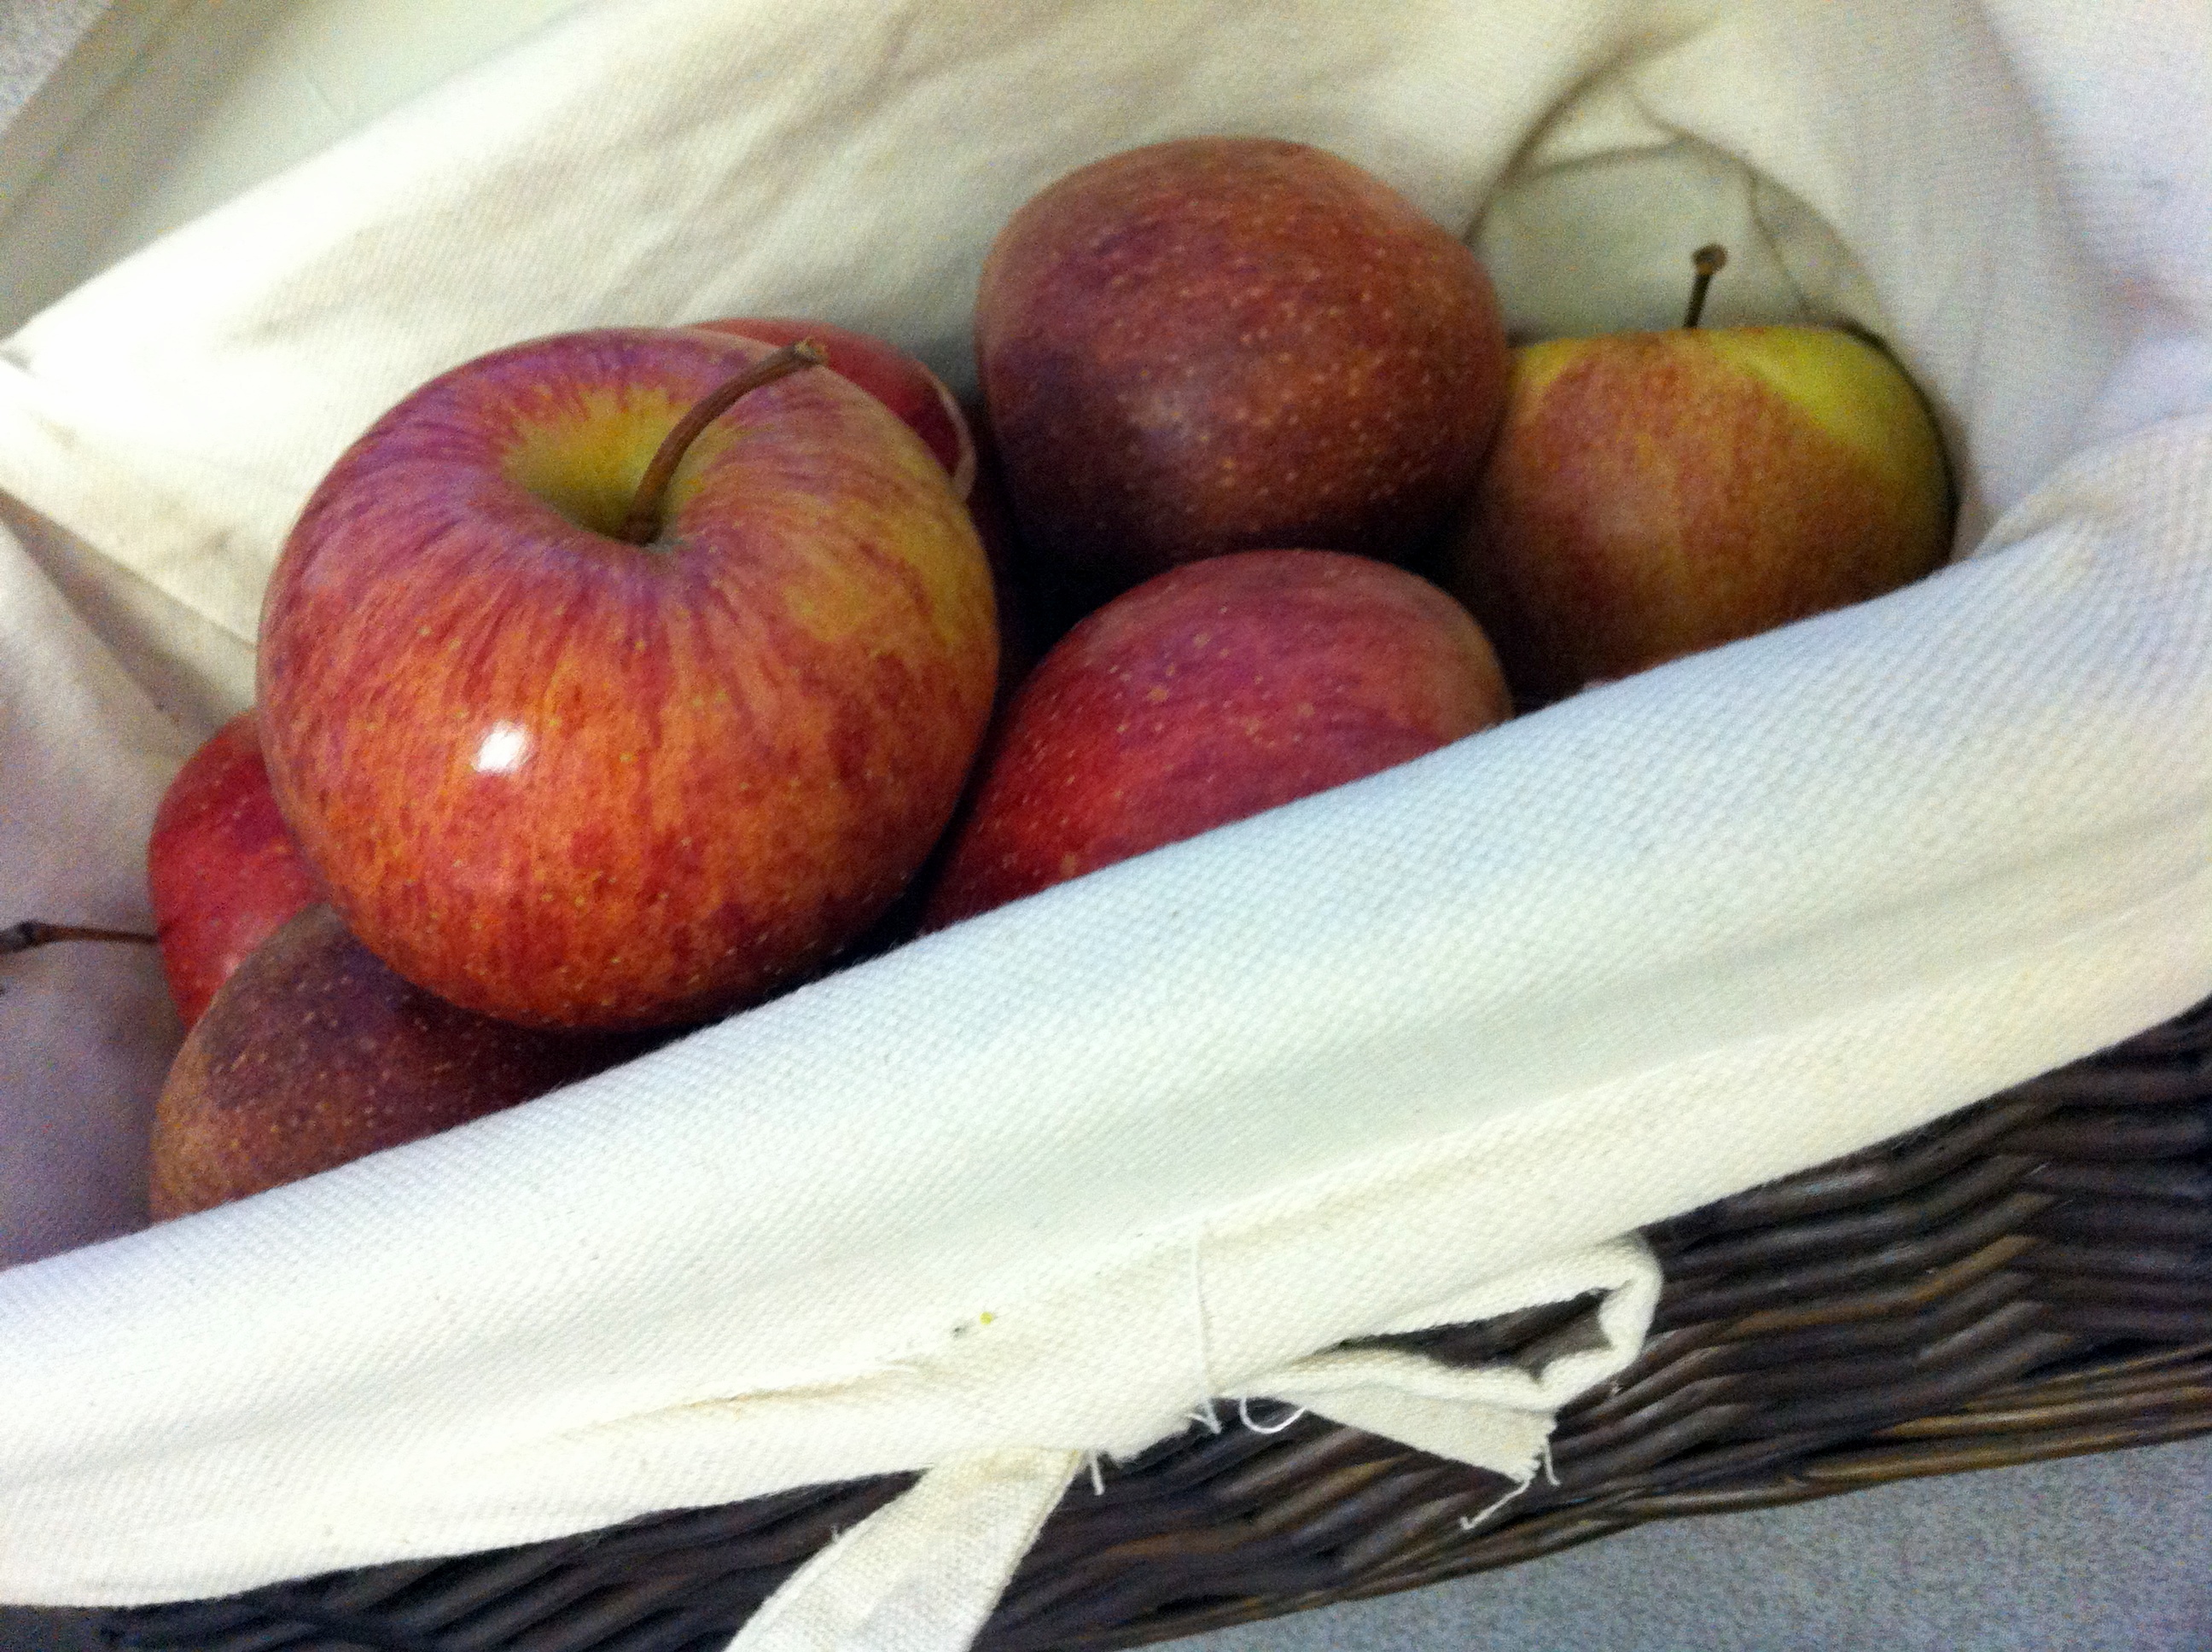
Any juice that needs to be sweetened will immediately taste way better if you add APPLES. Nature’s best packet of sugar for sure. Pretty much every juice has apple in it: green juice, root juices, and fruit juices!

apples1

3. Which is better? Store bought juice or homemade juice?

Hands down, homemade. Homemade juice is fresh. You know exactly what is going into it. It has way less sugar and added ingredients than store bought juices.

I am guilty of purchasing store-bought juice though, but in moderation it is definitely better than the non-juice alternative! One good note: do not a cleanse with store bought juices, because pasteurized juice does have a higher sugar content and isn’t meant for complete meal substitution.

**

Become your own juice barista!

Not only does Willams-Sonoma have the dreamiest juicers ever to drool over, they have a great juicer resource page that even includes different ways to juice and TONS of delicious looking recipes.

Happy juicing!

ProCakes Review

I was so excited when I found out I got to review ProCakes’ protein pancakes. Healthy protein pancakes were one of the first foods I had at my friend’s place in Hawaii when I started eating clean. They are basically a staple in the clean eating world.

Here’s a little bit more info about this special yummy pancake mix…

procakesphoto1

ProCakes is a high protein, carb smart, gluten free pancake mix with no added sugar.  It’s uniquely designed to help satisfy hunger while enhancing your diet with the protein your body needs to stay lean and healthy.  It’s comfort food for the fit inspired.

I especially love the no added sugar aspect of ProCakes. I am definitely trying to cut down on added sugar lately, as I keep reading more and more about the effects of sugar on our bodies (source).

ProCakes is even cooler because it is a fitness inspired company run by a very awesome blogger, Caren, at The Fit Habit. The company’s products are mindfully macro-balanced, which is sweet. A macro-balanced diet = a healthy dose of carbs, fats and proteins, which serves as building blocks for a strong, lean body.

Pancakes with side of strong, lean body for me, please!

I’m also glad the protein isolate ProCakes uses is whey protein. Whey protein is my protein of choice in all of the smoothies and protein bars I make. Here’s a good article on why to use whey protein.

Another great thing about it is that it is GLUTEN FREE. A lot of my friends and family are gluten free these days.

*****

I made my ProCakes test kitchen run last Saturday morning. Ok…late morning.

The ingredients part of the recipe is super easy to do: no food prep needed, just quick and painless addition of TWO little ingredients.

1 EGG

usefreerangeeggs

(FREE RANGE, of course! An organic tip: to really make sure your eggs are coming from happy and healthy chickens, don’t just buy cage free eggs – buy free range – where the birdies can roam around on the farms and have plenty of livable space.)

1egg


1/3 cup MILK

fatfreemilk.33cup

milkandegg

procakesmix

procakesmix2


Unfortunately, I kind of botched the test kitchen run.

Meaning my pancakes turned out not so pretty. Obviously I need buy some more so I can redeem my sad little guy. Just blame it on my lack of pancake making skills.  I am thinking a round cookie cutter would serve just fine as a shaper next time. #testkitchenfail

procakesmain

Even though my pancakes didn’t quite do ProCakes visual justice, they TASTED good!  ProCakes’ protein pancakes have a little more of a sweet cookie-ish taste than usual plain pancakes, which is definitely a plus. The dash of cinnamon in the mix goes a long way. ProCakes are totally not your run of the mill, bland health food.

procakesphotomain

YOU can buy your own protein pancake ProCakes HERE!

ProCakes sent me the product to review. All opinions are my own.

BLT Zoodles

Last week my friend told me she got a spiralizer.

Huh?

I didn’t know what she was talking about.

Apparently there’s this cool kitchen thingy that slices up stuff like zucchini and potatoes into noodles.

It looks like this:

zoodlesinspiralizer

You can buy one HERE for about $35.

They are really easy to use and easier to clean than a juicer. There are even blogs wholly dedicated to spiralized food like THIS one.

Before eating the noodles I wasn’t completely convinced that I would spend the extra money on one but after tasting this dish – I definitely want a spiralizer. It totally tricked me into thinking I was eating a cozy noodle-y dinner as opposed to what it really was: a bunch of vegetables with some protein.

These BLT Zoodles really do taste like something you’d eat in a restaurant.

BLTnoodlesmain1
Recipe modified from HERE, found by Mal. 🙂

Makes 2 servings

Ingredients:

  • 1 cup cherry tomatoes, halved
  • olive oil
  • salt and pepper
  • 2 strips of bacon
  • 1 tsp garlic, minced
  • pinch red pepper flakes
  • 1 small bag of spinach, chopped
  • 1 large zucchini, (spiralized)

Directions:

Preheat oven to 400ºF degrees.

Pour tomatoes into a medium bowl. Toss in a bit of olive oil and season with salt and pepper. Bake for 25 minutes and set aside for later.

10 minutes into baking the tomatoes, put a large skillet over medium heat and add in bacon. Cook the bacon for 3 minutes and then flip over them over. Cook for another 3-5 minutes.  Set aside on a paper towel.

Pour out 2/3  of the bacon grease from the skillet. In the skillet, toss in garlic and cook for 1 minute. Add in red pepper flakes and spinach and cook until the spinach is a little wilted.

Add the rest to the skillet: zucchini noodles, bacon, and tomatoes. Stir for 2-3 minutes.

YUM!

To make the zoodles –

zoodles1

zoodles2


Run through the spiralizer.

zoodles3


And cut with kitchen scissors:

zoodles4

BLTzoodles
Thanks as always to Jenn @ Peas and Crayons for hosting What I Ate Wednesday!

Quinoa Tabbouleh

I was inspired to make my own quinoa tabbouleh a few weeks ago after my friend Vicki suggested it as an easy and healthy meal. We had just finished a delish Mediterranean meal at Mezè in Adams Morgan.

You know me – I’m always trying to use up some quinoa. 😉

Special thanks to Tuna for taking these pictures. I was stuck at work, and the sun was setting before I had time to capture the recipe photo shoot in the natural light myself. I think he’s found his calling, seeing how the photos turned out!

quinoatabboulehmain1

quinoatabbouleh6

quinoatabbouleh3

Ingredients:

  • 1 cup uncooked quinoa
  • 1 cucumber
  • 1 green pepper
  • 3 small tomatoes
  • 1/3 onion
  • 1/4 cup black olives
  • 1/2 bunch fresh parsley
  • 1/4 cup lemon juice
  • 1/4 cup olive oil
  • salt

Directions:

Cook quinoa. Cool off.

Chop up cucumber, green pepper, tomatoes, onion, and parsley.

Combine chopped ingredients in a big bowl with lemon juice, olive oil, and salt.  Stir in cooled quinoa.

Top with some more fresh parsley and serve.

A good meal add on: falafel 

quinoatabbouleh2

Thanks as always to Jenn @ Peas and Crayons for hosting What I Ate Wednesday!

Chicken and Veggie Foil Packets

Making this recipe reminded me of making foil packets on the fire, while camping during the summers in my tween-years.

So easy, tweens can do it!

No – really.

My new (old-school) favorite way to cook meat: because you basically slap it on some foil and roll it up in a pop-tart-like sandwich and you’re good to go. Clean up involves crunching up the foil and throwing it in the trash.

Cooking For Dummies at it’s best.

chickenandveggiefoilpacksmainpic


Serves 2

You will need: aluminum foil

Ingredients: 

  • 2 chicken breasts
  • 2 small zucchini, sliced thin
  • 2 plum tomatoes, chopped
  • 1 red bell pepper, chopped
  • 3 green onions, chopped
  • 1 tbsp extra-virgin olive oil
  • 1 garlic clove, minced
  • 1/4 tsp dried oregano
  • dash of red pepper flakes
  • salt and pepper
  • 1/8 cup fresh basil, minced

Directions:

Preheat oven to 450°F.

Chop (and pat dry) the zucchini. Continue on choppin’ the bell pepper and green onions then toss in medium size bowl.

Cut up tomatoes and throw into a second bowl.

In a separate small bowl, combine garlic, oregano, red pepper flakes, oil, and a dash of pepper.

Pour half of the mixture into the first bowl of vegetables and and the second half to the tomatoes. Stir both bowls of veggies.

Cut 4 12 inch sheets of foil – keep 2 as a main base, lay two aside.

Plop half of the zucchini mixture in the middle of each of the 2 main foil squares.

Add 1 chicken breast on top of each zucchini mixture. Sprinkle with salt and pepper.

Add half the tomatoes on top of each chicken breast.

Place the two foil tops on the meat and roll edges of foil into packets.

Put on a rimmed baking sheet and cook for 29-30 minutes.

Open the packets carefully, sprinkle with basil and serve!

chickenandveggiefoilpacks3


chickenandveggiefoilpacks4

chickenandveggiefoilpacks5

chickenandveggiefoilpacks6

chickenandveggiefoilpacks7

chickenandveggiefoilpacks8

chickenandveggiefoilpacks9

chickenandveggiefoilpacks10

chickenandveggiefoilpacks11


chickenandveggiefoilpacks1

We are at 3 for 3 with winning recipes adapted from or inspired by The America’s Test Kitchen Healthy Family Cookbook.

At this point, I’m just going to keep on going!

 Thanks as always to Jenn @ Peas and Crayons for hosting What I Ate Wednesday!

Spicy Corn Salsa

Maaaaybe we should start calling this blog “…Makes all the Recipes from America’s Test Kitchen Healthy Family Cookbook,” because it is AWESOME and everything we’ve made so far from there is delicious.

For some reason I have really been craving Mexican food lately. Ok – I am always craving Mexican food. In college I would eat Chipotle multiple times a week. Those were the days.

I originally wanted to make this recipe because I had a bunch of frozen corn in the freezer and figured I could use it up with this. Of course I got all pumped up to eat it and then realized you need to use fresh, NON FROZEN corn. I don’t really know why, the directions just ominously decree it. I obeyed and bought some fresh corn – even husked it and everything!

spicycornsalsamain1


Makes approximately 2 cups of salsa.  For a party size, double the batch. Eat with tortilla chips, on a burrito, atop a romaine salad – the list goes on!

You will need: paring knife, 12 inch nonstick skillet

Ingredients:

  • 1 ½ tbsp olive oil
  • 2 ears corn (slice off the kernels with a paring knife)
  • 1 red bell pepper, stemmed, seeded, and chopped
  • 1/2 jalapeño chile, stemmed, seeded, and chopped (if you want it extra spicy, add the whole thing)
  • 1 green onion, sliced
  • 2 garlic cloves, minced
  • 2 limes, juiced
  • 2 tbsp fresh cilantro, minced
  • Salt and pepper

Directions:

Heat 1/2 tbsp of olive oil in the skillet over medium-high heat for until warm.

Carefully add the corn and cook. Stir on and off until golden brown for about 6 to 8 minutes.

Dump the browned corn to a large bowl.

Stir in everything else.

Recommended but not necessary: cover and refrigerate for an hour or so – this will blend the flavors better!

Store in the fridge. Keeps for several days.

spicycornsalsa4


Thanks as always to Jenn @ Peas and Crayons for hosting What I Ate Wednesday!

Tomato Basil Quinoa

I am all about quinoa right now. I can’t get over how easy it is to make and how versatile it is. It’s good as a side dish with chicken, alongside crackers as a snack, or plopped on a bunch of salad for lunch. That’s pretty much the order I ate this in. 😉 Tuna has decreed it into the usual rotation, so I’m excited to eat it lots this spring and summer!

tomatobasilquinoamain1

Serves 2 (main) or 4 (side dish)

Ingredients:

  • 2 cups water
  • 1 cup uncooked quinoa
  • 2 cloves of garlic, minced
  • 1 onion, chopped
  • 10 oz grape tomatoes, cut in half
  • 1 tsp salt
  • 1 tsp red pepper flakes
  • 1 tablespoon olive oil
  • 1/8 cup basil leaves, chopped and for garnish
  • 1/2 cup shredded mozzarella cheese

Directions:

Add water and quinoa to a medium/large pot.

Add in garlic, onion, tomatoes, salt, and red pepper flakes.

Heat the uncovered pot to a rolling boil.

Cover, reduce to simmer, and cook for 15 minutes.

Remove from burner and let cool for 5 minutes.

Toss in basil and olive oil to serve.

tomatobasilquinoa


tomatobasilquinoa1

Thanks as always to Jenn @ Peas and Crayons for hosting What I Ate Wednesday!

One Small Change at a Time

As spring quickly approaches, I am starting to get nervous about taking off my winter cardigan…

….sooo to get back on track I am trying to focus on portion control. I’m getting to the point where I know what’s healthy and I try to eat a lot of nutrient-food. But it can be hard to stop at half of the bag.

One small change I’ve been working on lately is to split food items into small snack sized portions.

traderjoessweetandspicypecans

Just think of it as  200 100 calorie snack packs. 🙂

portioncontrolcleaneating

A second small change: my new visual for mealtime presentation.

I’m training my brain to think of  dinner portions like how they would be served at a fancy restaurant. Less food for me, please.


steakandbroccoli

Sometimes it’s easy to get down on yourself for not following a diet 100% exactly like you think you should: i.e., number of calories, cutting out food groups or certain ingredients. When that becomes overwhelming (like it has been for me a little bit this winter) it’s important to change your perspective. Like focusing on a healthier lifestyle with one small change at a time.

Thanks as always to Jenn @ Peas and Crayons for hosting What I Ate Wednesday!

What are some healthy food habits you’ve been into lately? 

Does your diet go through phases or are you pretty good about sticking to it?