Lemon Asparagus Pasta

Stop the presses.

I have officially tired of tomato sauce. This is a true testament to my hard earned now semi-lack of pickiness! Or maybe I’ve just been eating too much pasta.

Anyway, that’s the reasoning behind attempting my very first sauce.  Note the lack of tomatoes!


lemonasparaguspastamain

Thanks to Minimalist Baker for inspiring this recipe.

Serves 2-3

You will need: a large skillet, baking sheet, whisk

Ingredients:

  • 1 bunch asparagus
  • 1 lemon
  • olive oil
  • 3-4 garlic cloves garlic, minced
  • 10 ounces uncooked wheat pasta
  • 2.5 cups skim milk
  • 3-4 Tbsp whole wheat flour
  • salt and pepper

Directions: 

Preheat oven to 400° F.

(Boil your water/cook your pasta while you are baking your asparagus!)

Rinse and trim asparagus. Place on baking sheet and toss with some olive oil. Add salt and pepper.

Cut a few thin slices of lemon and bake in the oven for about 25 minutes.

Remove sheet from oven and chop asparagus into thirds.
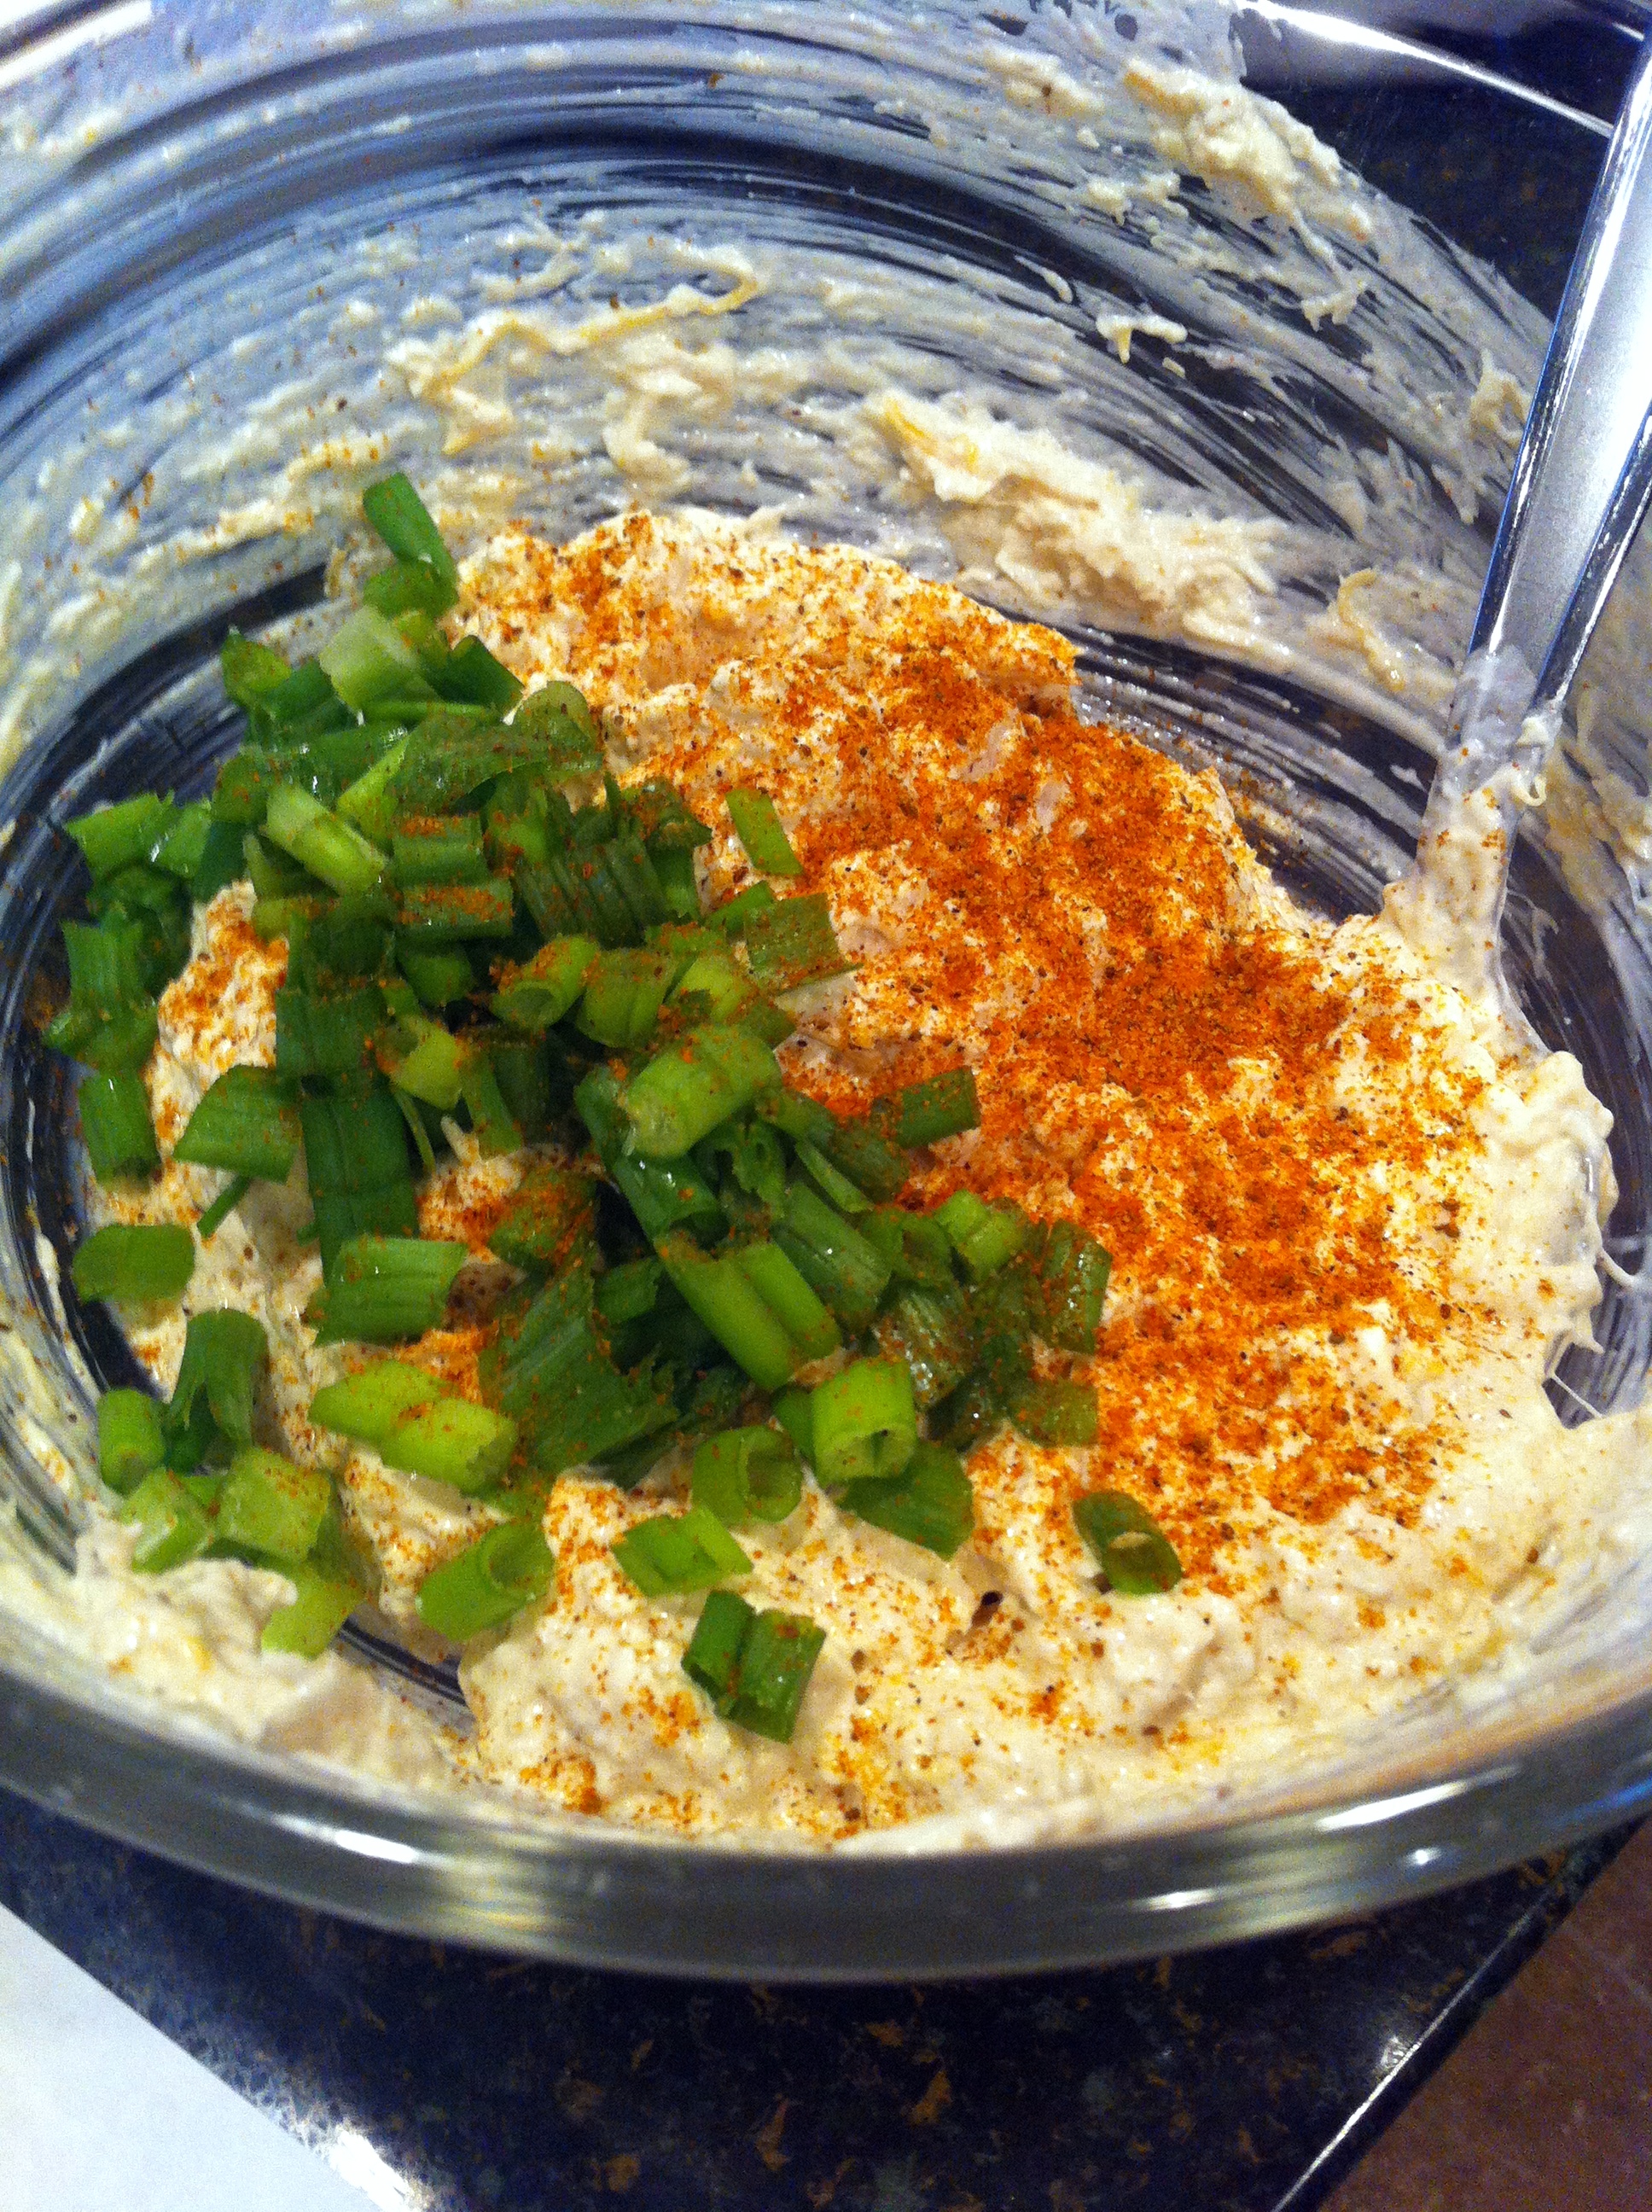
For the sauce…

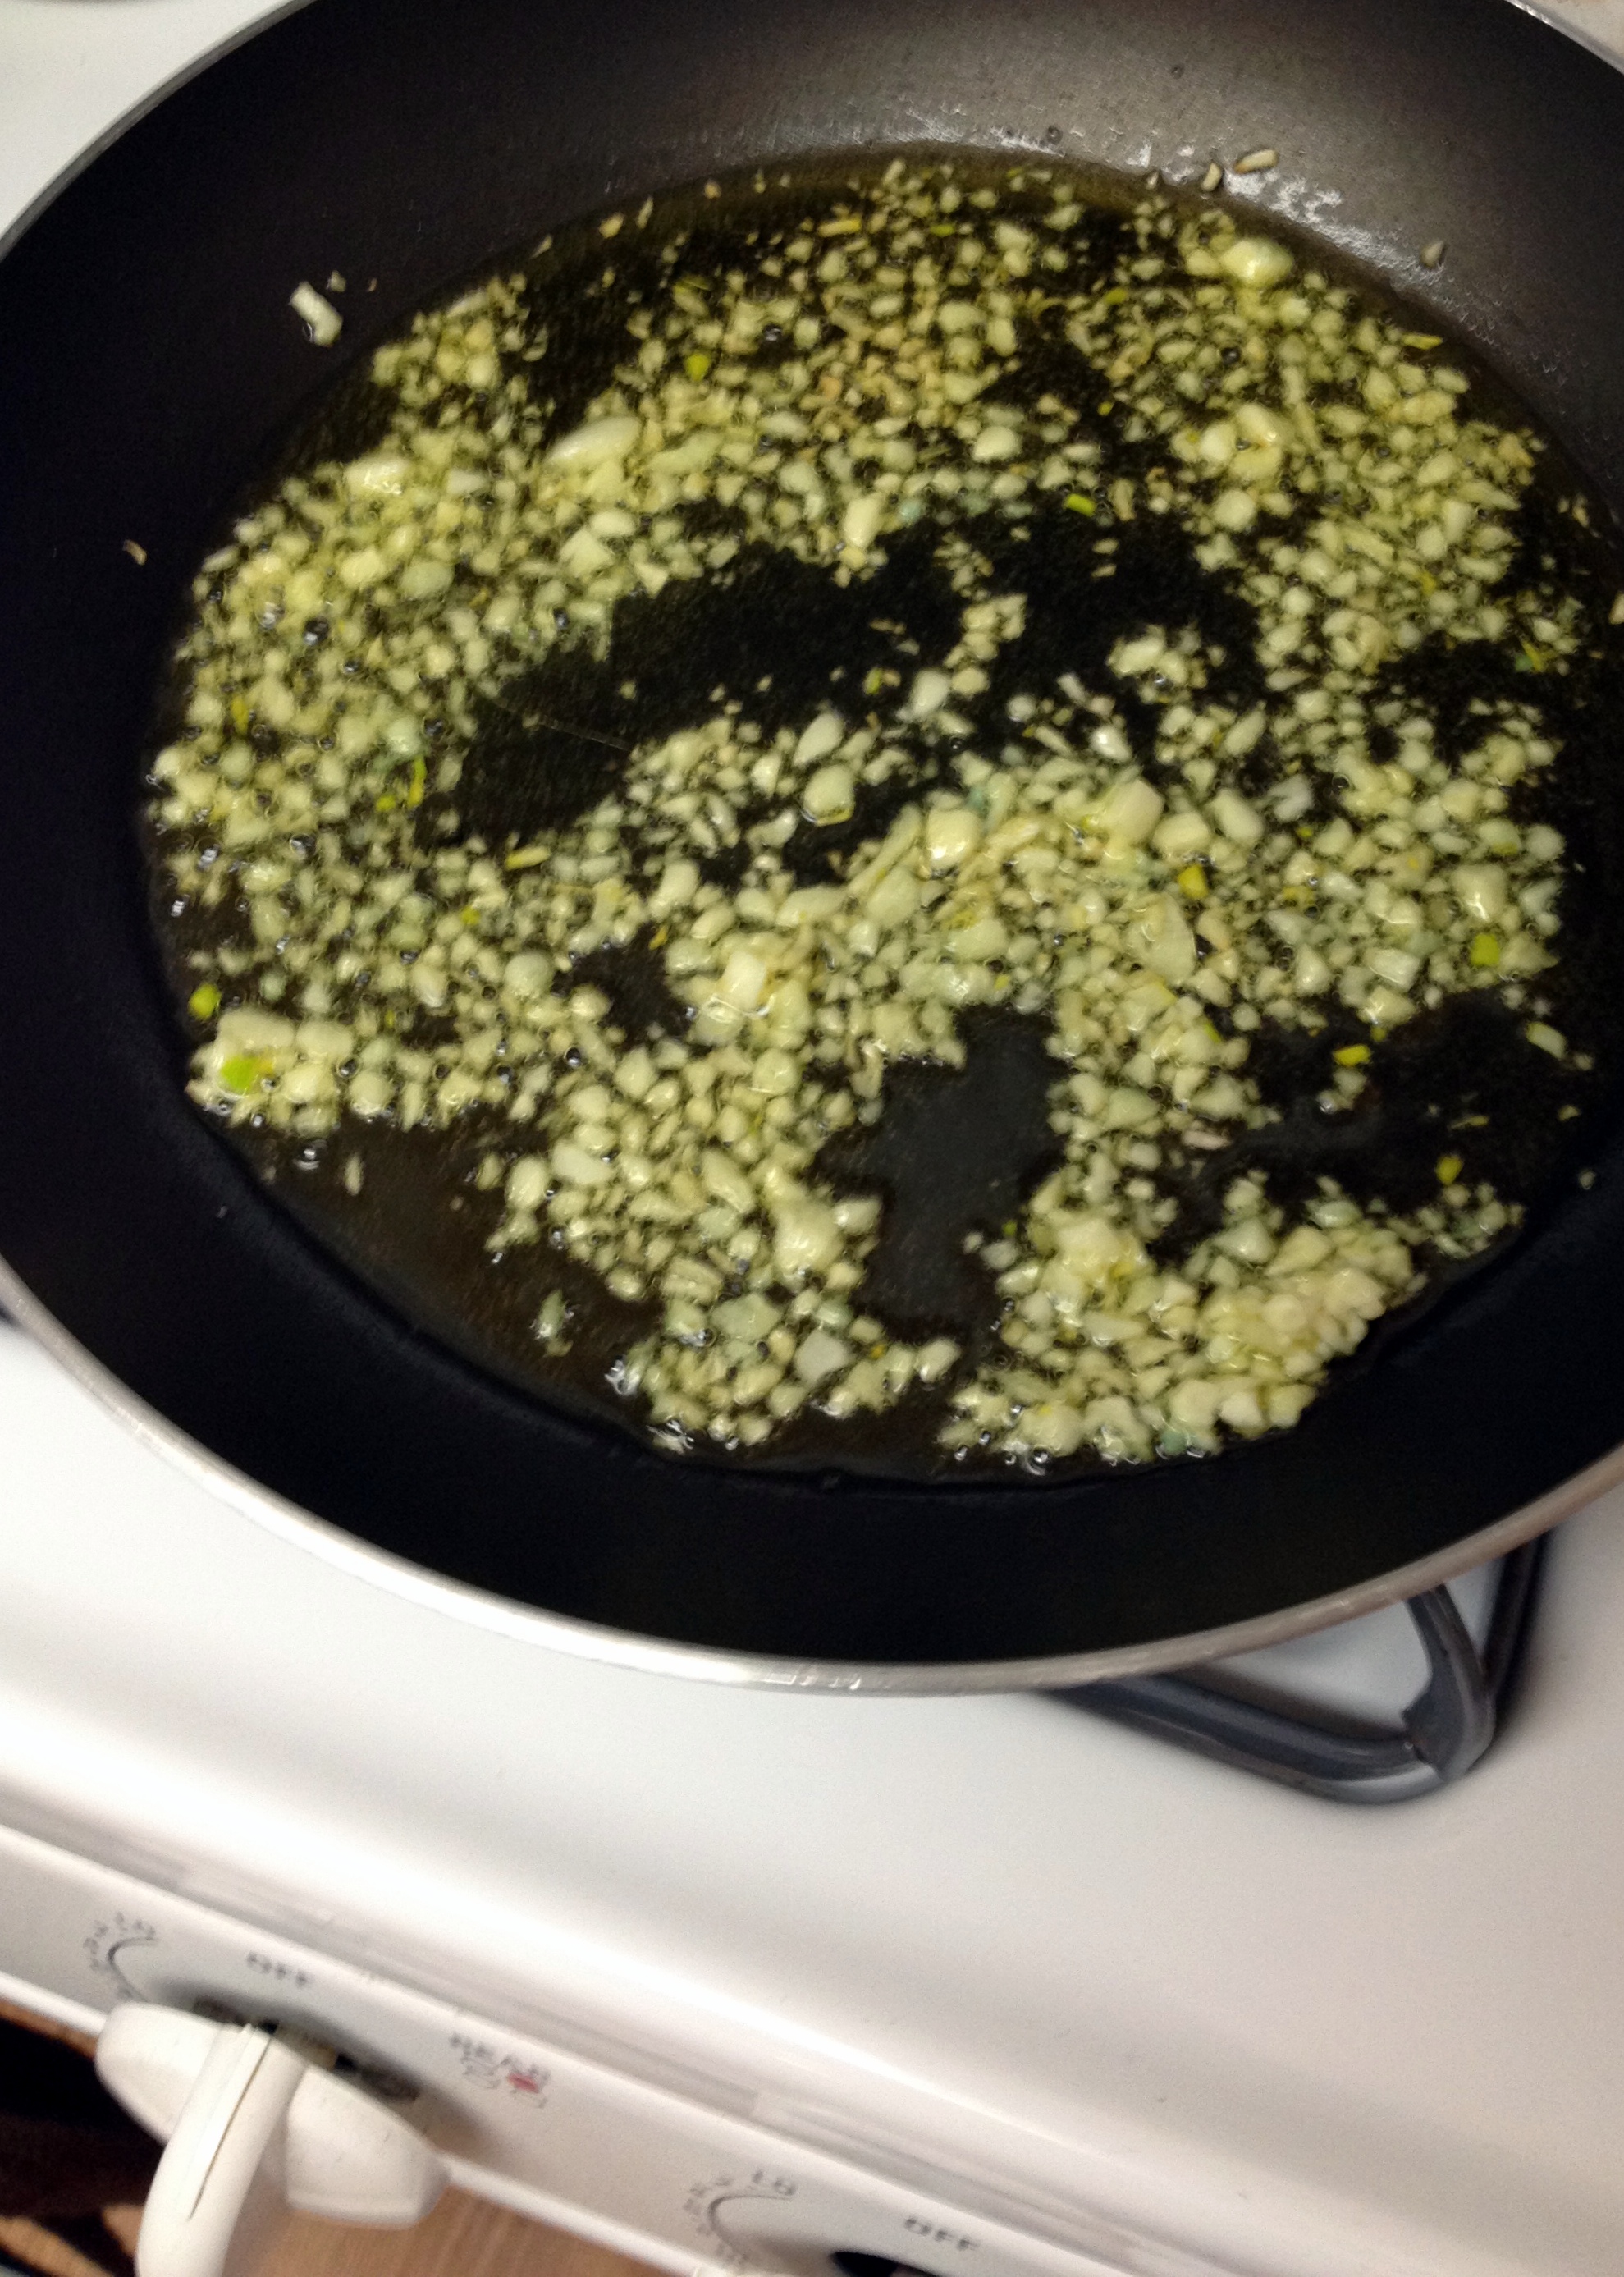
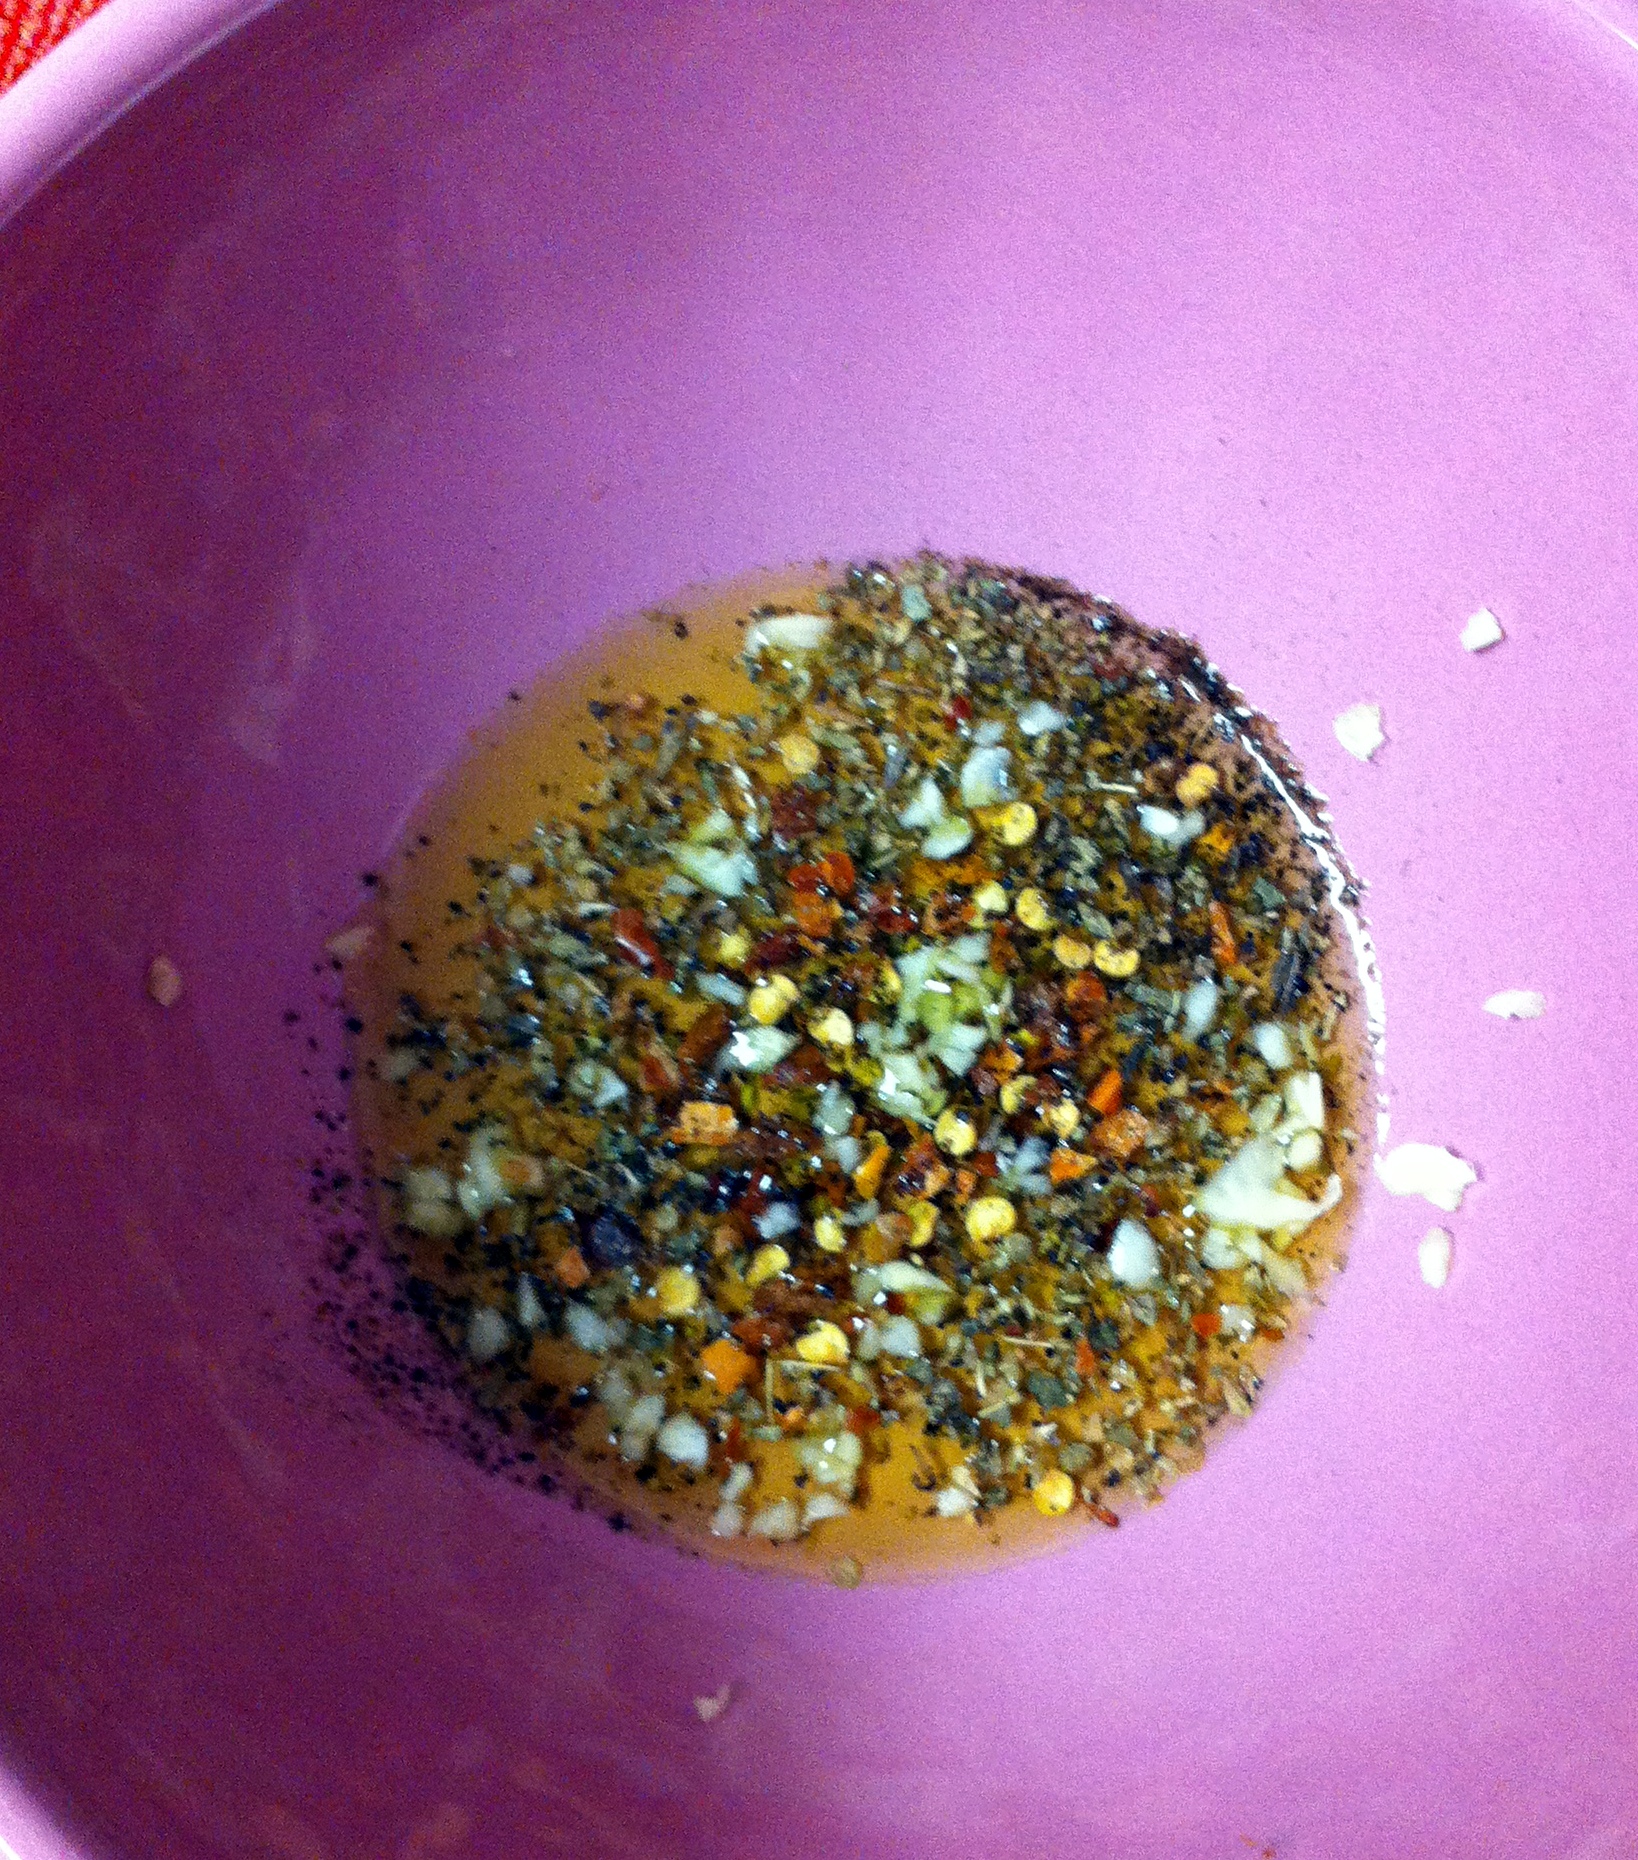
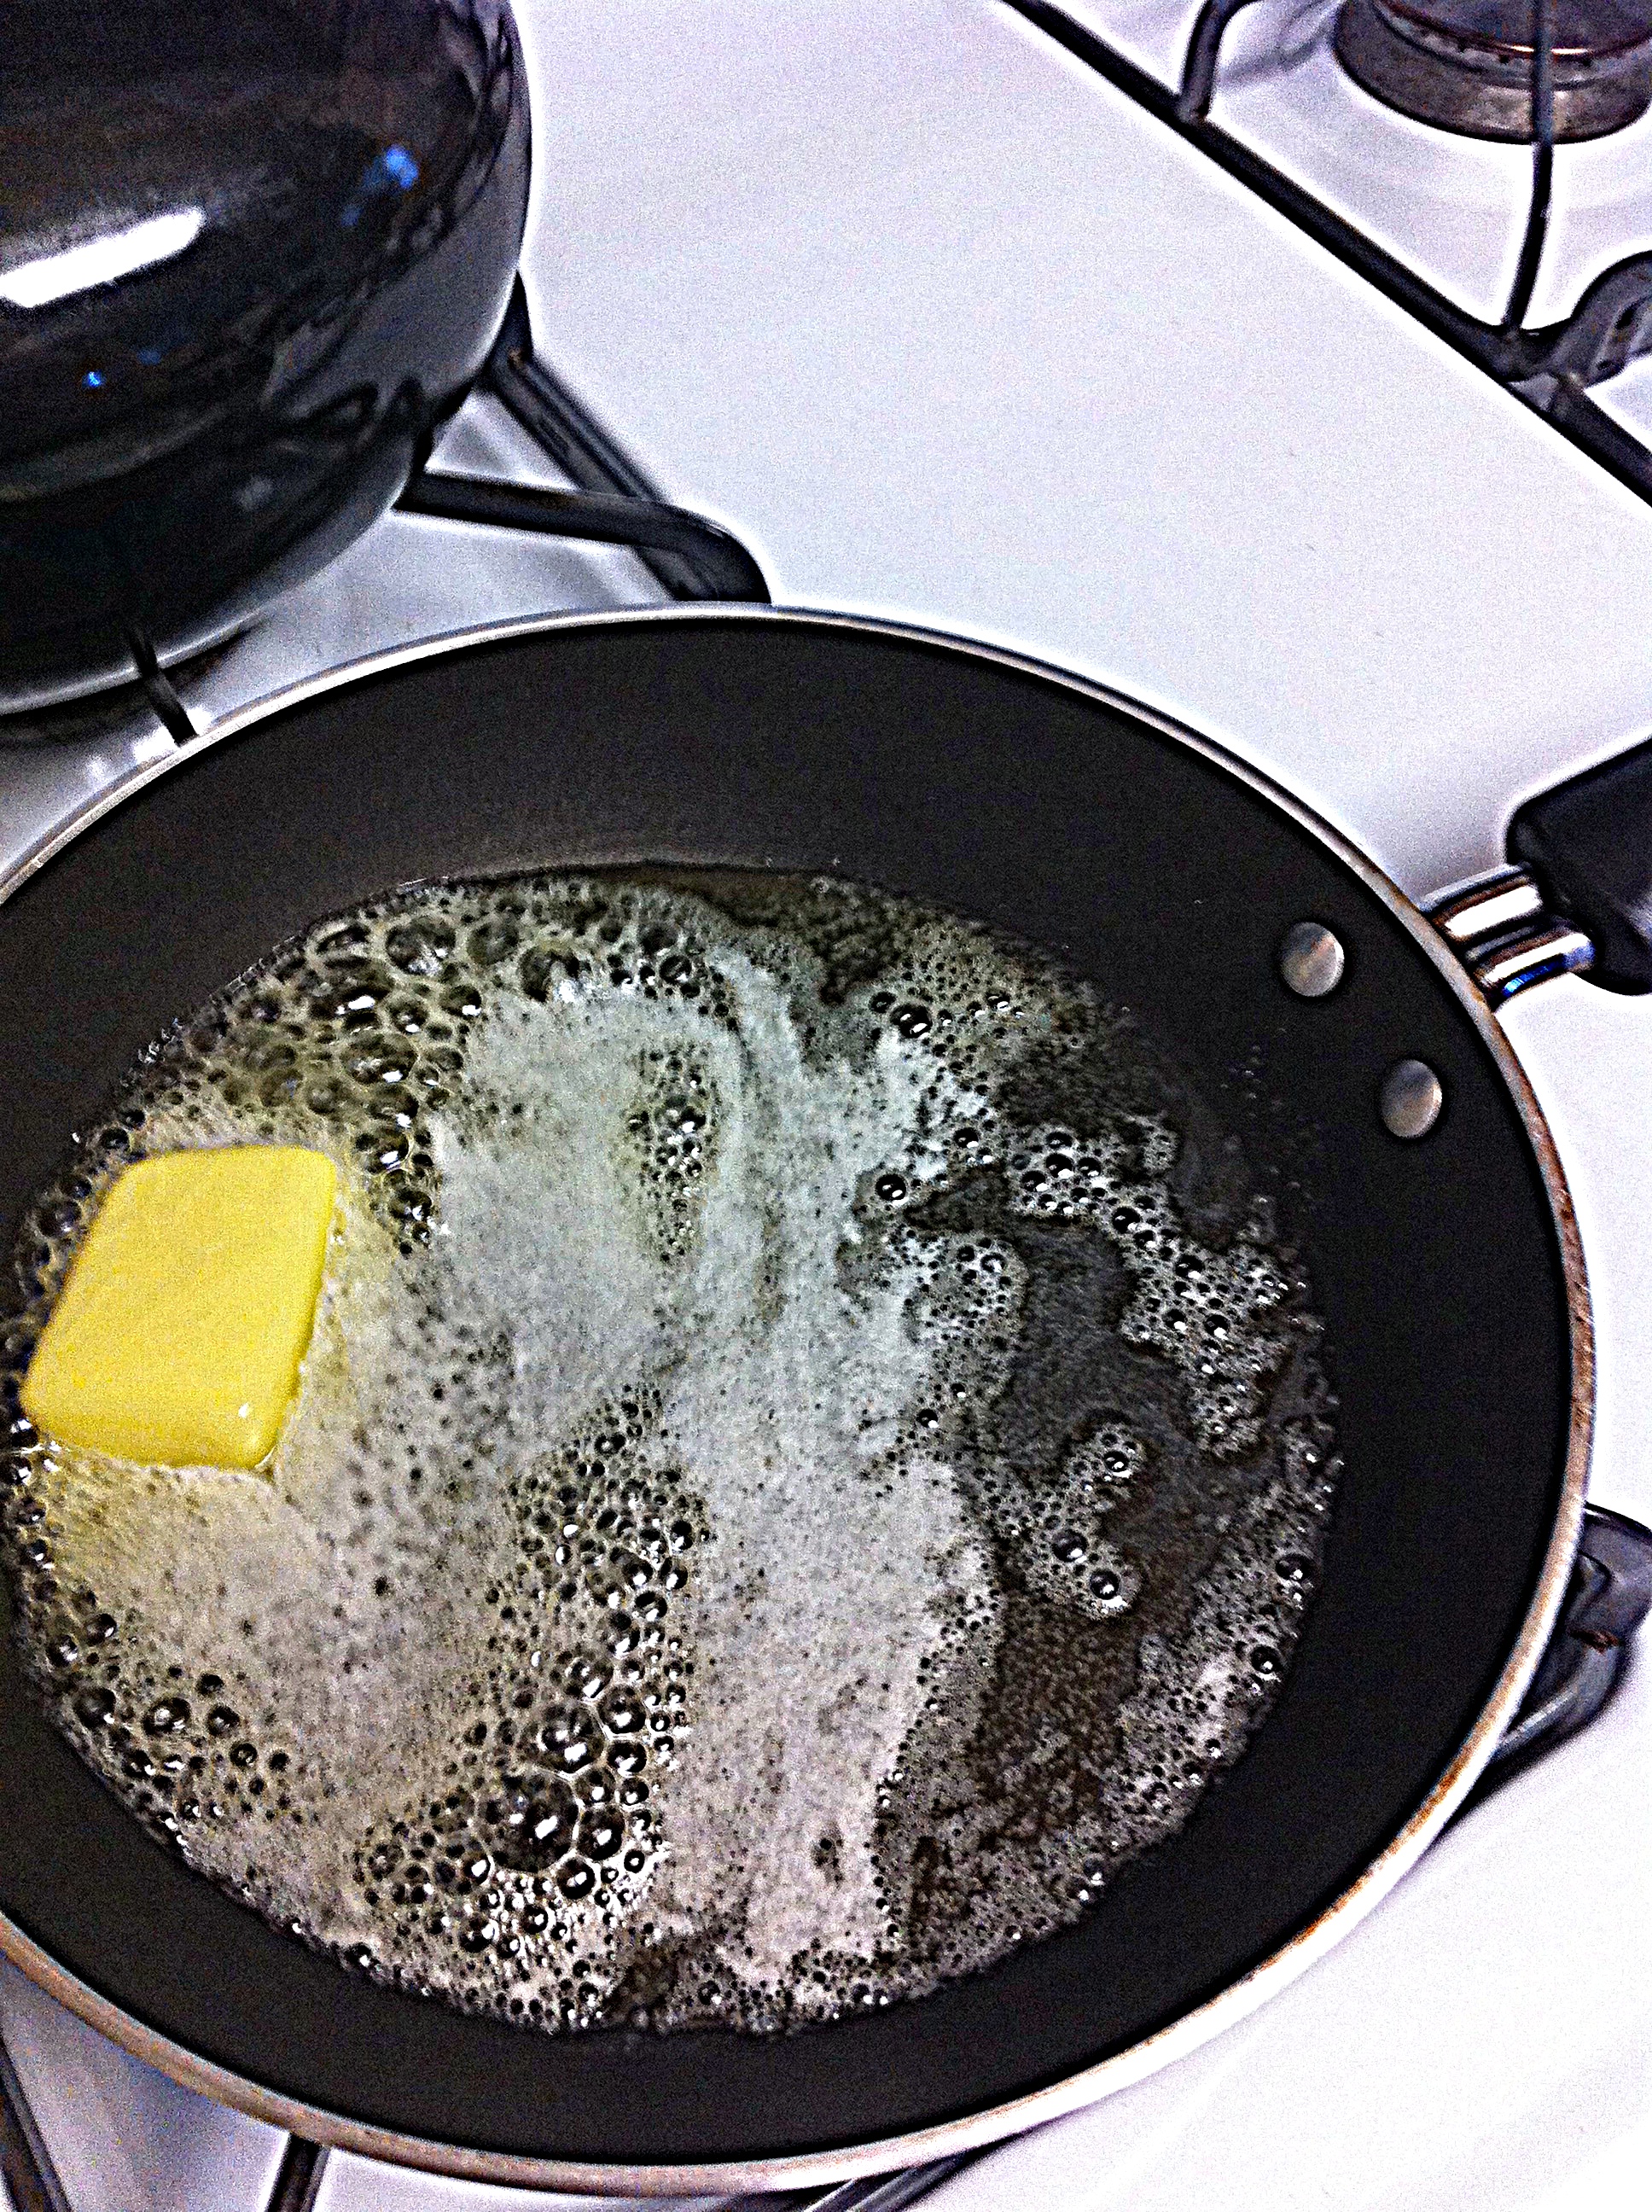
Heat a large skillet on medium. Add 3 Tbsp olive oil and the garlic. Stir around for 1-2 minutes until the garlic turns a little brown.

Add 3 Tbsp flour and whisk for 30 seconds.

Whisk in milk 1/2 cup at a time.

Add some salt and pepper and continue to whisk.  Lower heat to medium-low and continue cooking to thicken, stirring occasionally.

Continue cooking for a few minutes until the sauce thickens.

Add the juice of half a lemon and stir.

*****

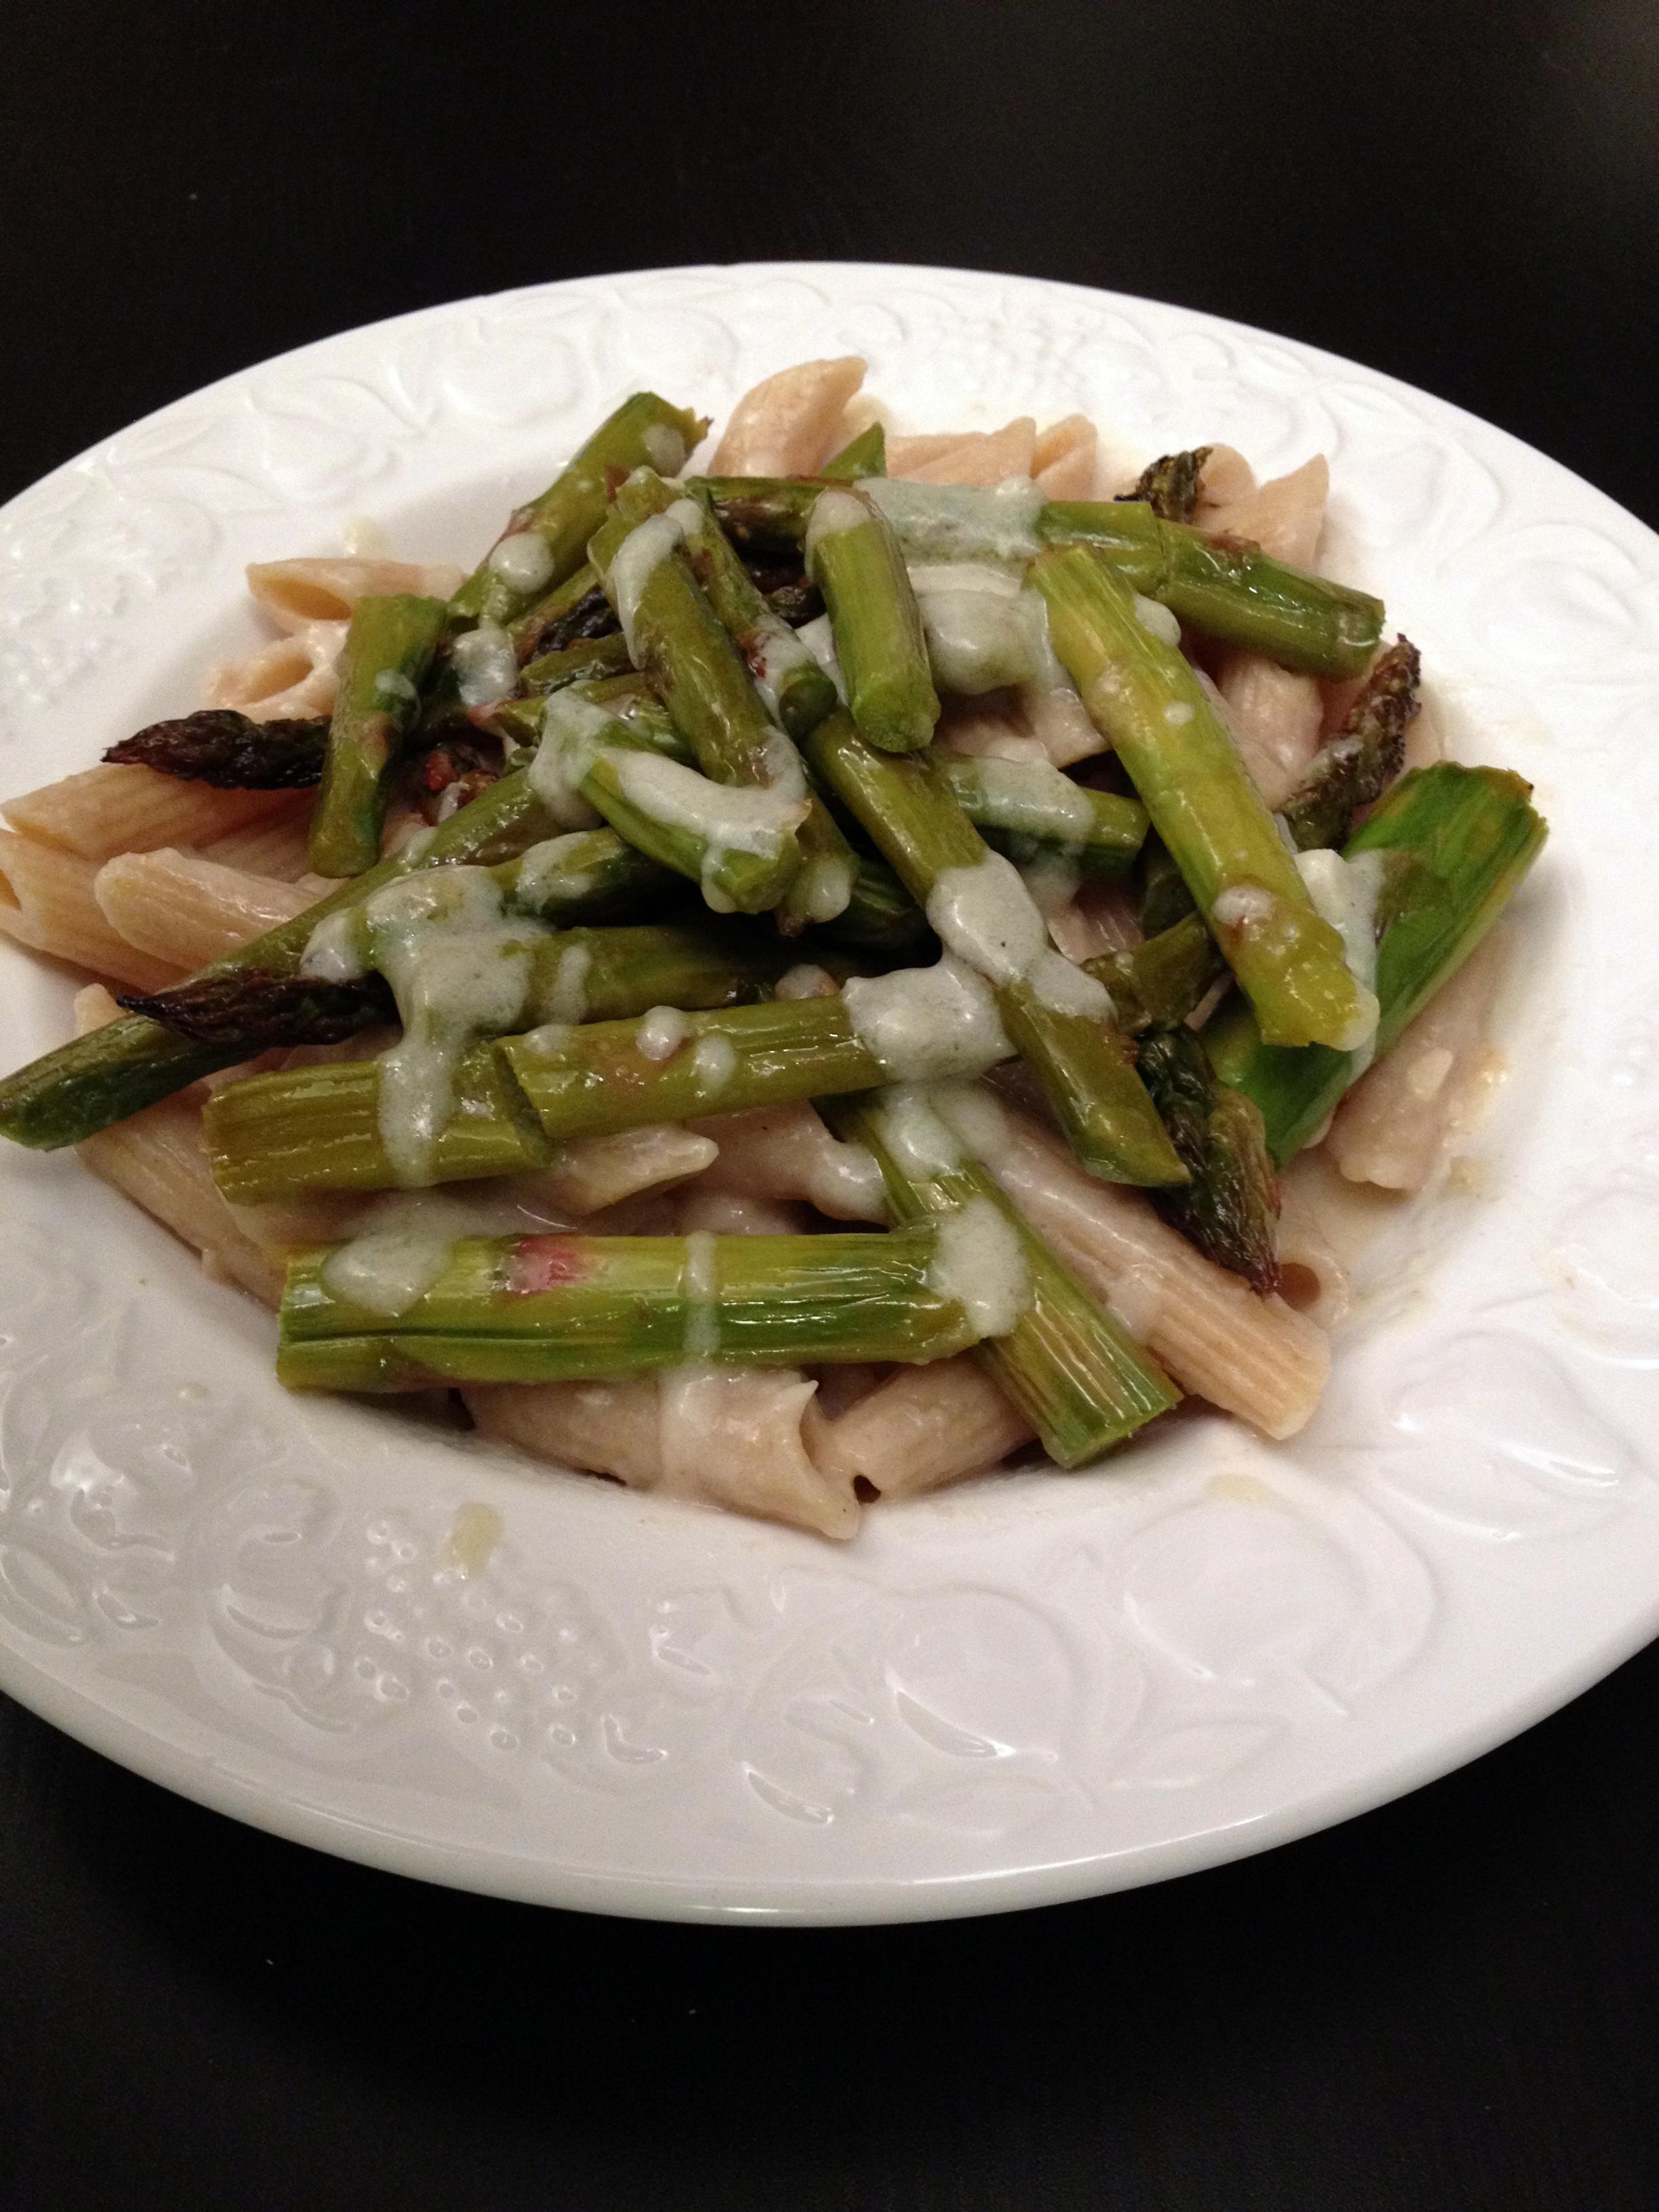
Mix the sauce with the asparagus and you’re good to go.

Feel free to serve with one of the lemon slices!

lemonasparaguspasta


lemonasparaguspasta2


lemonasparaguspasta3


lemonasparaguspastamain2

Thanks as always to Jenn @ Peas and Crayons for hosting What I Ate Wednesday!

Pepperoni Pasta Bake

All the food and fitness magazines often pump up protein into the magic element in your diet that will boost your metabolism and make you magically skinny.

I’m in to it.

I am personally not a huge meat eater, so I am finding myself more and more paranoid about getting enough protein. Not quite sure the hummus with lunch is going to cut it if I want to focus on weight loss and building muscle.

And lord knows there is only so much crock-pot chicken breast I can eat.

Enter: the pepperoni pasta bake.

pepperonipastabakemain

This recipe was adapted from HERE.

Ingredients:

  • 1 lb whole wheat pasta
  • 1 tbsp olive oil
  • 1/2 onion, finely diced
  • 1/2 tsp dried oregano
  • 4 cloves garlic, minced
  • 2 cups marinara sauce
  • 1 (15 oz.) can diced tomatoes, drained
  • 2 1/2 cups shredded Mozzarella cheese
  • 30 pepperonis, sliced into halves
  • fresh basil leaves

Directions:

Preheat oven to 375 °F.

Boil a pot of water and cook the pasta.

While pasta is cooking, add olive oil in a skillet on medium-high. Toss in chopped onion and sauté for 5 minutes. Add the garlic and oregano and cook for 1 minute, stirring occasionally Remove from heat.

Drain the pasta and return to the pot.

Stir in onions/garlic and the marinara sauce, diced tomatoes, most of Mozzarella, and the pepperonis. Mix.

Transfer the pasta mix to a greased baking dish.

Sprinkle with remaining Mozzarella. Bake uncovered for about 25 minutes.

Garnish with fresh basil and serve.

pepperonipastabake


pepperonipastabake1


pepperonipastabake3


Thanks as always to Jenn @ Peas at Crayons for hosting What I Ate Wednesday!

BLT Zoodles

Last week my friend told me she got a spiralizer.

Huh?

I didn’t know what she was talking about.

Apparently there’s this cool kitchen thingy that slices up stuff like zucchini and potatoes into noodles.

It looks like this:

zoodlesinspiralizer

You can buy one HERE for about $35.

They are really easy to use and easier to clean than a juicer. There are even blogs wholly dedicated to spiralized food like THIS one.

Before eating the noodles I wasn’t completely convinced that I would spend the extra money on one but after tasting this dish – I definitely want a spiralizer. It totally tricked me into thinking I was eating a cozy noodle-y dinner as opposed to what it really was: a bunch of vegetables with some protein.

These BLT Zoodles really do taste like something you’d eat in a restaurant.

BLTnoodlesmain1
Recipe modified from HERE, found by Mal. 🙂

Makes 2 servings

Ingredients:

  • 1 cup cherry tomatoes, halved
  • olive oil
  • salt and pepper
  • 2 strips of bacon
  • 1 tsp garlic, minced
  • pinch red pepper flakes
  • 1 small bag of spinach, chopped
  • 1 large zucchini, (spiralized)

Directions:

Preheat oven to 400ºF degrees.

Pour tomatoes into a medium bowl. Toss in a bit of olive oil and season with salt and pepper. Bake for 25 minutes and set aside for later.

10 minutes into baking the tomatoes, put a large skillet over medium heat and add in bacon. Cook the bacon for 3 minutes and then flip over them over. Cook for another 3-5 minutes.  Set aside on a paper towel.

Pour out 2/3  of the bacon grease from the skillet. In the skillet, toss in garlic and cook for 1 minute. Add in red pepper flakes and spinach and cook until the spinach is a little wilted.

Add the rest to the skillet: zucchini noodles, bacon, and tomatoes. Stir for 2-3 minutes.

YUM!

To make the zoodles –

zoodles1

zoodles2


Run through the spiralizer.

zoodles3


And cut with kitchen scissors:

zoodles4

BLTzoodles
Thanks as always to Jenn @ Peas and Crayons for hosting What I Ate Wednesday!

Quinoa Tabbouleh

I was inspired to make my own quinoa tabbouleh a few weeks ago after my friend Vicki suggested it as an easy and healthy meal. We had just finished a delish Mediterranean meal at Mezè in Adams Morgan.

You know me – I’m always trying to use up some quinoa. 😉

Special thanks to Tuna for taking these pictures. I was stuck at work, and the sun was setting before I had time to capture the recipe photo shoot in the natural light myself. I think he’s found his calling, seeing how the photos turned out!

quinoatabboulehmain1

quinoatabbouleh6

quinoatabbouleh3

Ingredients:

  • 1 cup uncooked quinoa
  • 1 cucumber
  • 1 green pepper
  • 3 small tomatoes
  • 1/3 onion
  • 1/4 cup black olives
  • 1/2 bunch fresh parsley
  • 1/4 cup lemon juice
  • 1/4 cup olive oil
  • salt

Directions:

Cook quinoa. Cool off.

Chop up cucumber, green pepper, tomatoes, onion, and parsley.

Combine chopped ingredients in a big bowl with lemon juice, olive oil, and salt.  Stir in cooled quinoa.

Top with some more fresh parsley and serve.

A good meal add on: falafel 

quinoatabbouleh2

Thanks as always to Jenn @ Peas and Crayons for hosting What I Ate Wednesday!

Summer Crab Dip

Over memorial day weekend, Tuna and I headed out of town with some friends to get away from the city for a little while. The weekend consisted of wine, the pool, and LOTS OF FOOD.

I swear we ate enough for a small army. Really helpin’ my swim suit bod here.

My friend Jen was along for the ride which was especially perfect because she is known for making the best dips ever. They are often featured in the forefront of…well, ANY function we attend. You can usually find me in the middle of a party shoveling my face with her buffalo chicken dip, delish guacamole, or – my most recent fav: crab dip.

It was fun to be her sous chef for the weekend!

Jen’s crab dip recipe was adapted from HERE.

We served it as an appetizer with crackers, tortilla chips, and celery. Maybe if I eat this dip for all of my meals for the rest of the summer with CELERY the caloric content will equal out.

summercrabdipmain1
Ingredients:

  • fresh crab meat, 8 oz container
  • 3 tbsp reduced fat mayonnaise
  • 4 oz  reduced fat cream cheese
  • ¼ cup sour cream
  • 4 green onions, chopped
  • Old Bay seasoning
  • ¼ cup shredded cheddar cheese

Directions:

Preheat oven to 350°F.

Microwave the refrigerated cream cheese for a sec so it’s a little soft (room temperature).

In a medium-sized bowl, stir crab, mayonnaise, cream cheese, sour cream, and 1/8 cup cheddar cheese.

Add in onions and a bunch of Old Bay and combine.

Sprinkle some more Old Bay and cheddar cheese on top.

Bake for 30 minutes.

Serve immediately.


crabmeat1


crapdip2


crabdip3


crabdip4


crabdip5

Thanks as always to Jenn @ Peas and Crayons for hosting What I Ate Wednesday!

Turkey and Cheese Roll-Ups

OMFG.

These are the best things everrrrrr.

turkeyandcheeserollupsmain

My friend made them for dinner a few years ago and I completely forgot that they existed until last week when I saw the Pillsbury crescent rolls staring at me longingly from the refrigerated aisle shelves.

Not the healthiest dinner on the planet, but add a big ‘ole salad on the side and you’ve got a weekday dinner.

Easy to make, easy clean-up, and a little taste of heaven (the butter!).  Justifying it with the 100 calories per roll sticker on the front of the tube.

It was just a small addition to the little break in the diet last week… if you will. #fafweek


Well – not cheese fries. But it’s true. Sometimes you just gotta eat delicious cheesy food.

I made mine with turkey and cheddar, Tuna added some ham in his! Putting this in the easy meals rotation for sure.

*****

You will need: baking sheet, parchment paper

Ingredients:

  • 1 tube Pillsbury crescent rolls
  • turkey deli slices (and ham, etc)
  • cheddar cheese slices

Directions:

Preheat the oven to 375°F.

Line baking sheet with parchment paper.

Lay dough out flat.

Add filling to dough as preferred, and roll up! (I lined my rolls with 1 slice of cheddar and 1 slice of turkey each. )

Bake for 10-12 minutes.


turkeyandcheeserollups

turkeyandcheeserollups4


turkeyandcheeserollups5

Thanks as always to Jenn @ Peas and Crayons for hosting What I Ate Wednesday!

Chicken and Veggie Foil Packets

Making this recipe reminded me of making foil packets on the fire, while camping during the summers in my tween-years.

So easy, tweens can do it!

No – really.

My new (old-school) favorite way to cook meat: because you basically slap it on some foil and roll it up in a pop-tart-like sandwich and you’re good to go. Clean up involves crunching up the foil and throwing it in the trash.

Cooking For Dummies at it’s best.

chickenandveggiefoilpacksmainpic


Serves 2

You will need: aluminum foil

Ingredients: 

  • 2 chicken breasts
  • 2 small zucchini, sliced thin
  • 2 plum tomatoes, chopped
  • 1 red bell pepper, chopped
  • 3 green onions, chopped
  • 1 tbsp extra-virgin olive oil
  • 1 garlic clove, minced
  • 1/4 tsp dried oregano
  • dash of red pepper flakes
  • salt and pepper
  • 1/8 cup fresh basil, minced

Directions:

Preheat oven to 450°F.

Chop (and pat dry) the zucchini. Continue on choppin’ the bell pepper and green onions then toss in medium size bowl.

Cut up tomatoes and throw into a second bowl.

In a separate small bowl, combine garlic, oregano, red pepper flakes, oil, and a dash of pepper.

Pour half of the mixture into the first bowl of vegetables and and the second half to the tomatoes. Stir both bowls of veggies.

Cut 4 12 inch sheets of foil – keep 2 as a main base, lay two aside.

Plop half of the zucchini mixture in the middle of each of the 2 main foil squares.

Add 1 chicken breast on top of each zucchini mixture. Sprinkle with salt and pepper.

Add half the tomatoes on top of each chicken breast.

Place the two foil tops on the meat and roll edges of foil into packets.

Put on a rimmed baking sheet and cook for 29-30 minutes.

Open the packets carefully, sprinkle with basil and serve!

chickenandveggiefoilpacks3


chickenandveggiefoilpacks4

chickenandveggiefoilpacks5

chickenandveggiefoilpacks6

chickenandveggiefoilpacks7

chickenandveggiefoilpacks8

chickenandveggiefoilpacks9

chickenandveggiefoilpacks10

chickenandveggiefoilpacks11


chickenandveggiefoilpacks1

We are at 3 for 3 with winning recipes adapted from or inspired by The America’s Test Kitchen Healthy Family Cookbook.

At this point, I’m just going to keep on going!

 Thanks as always to Jenn @ Peas and Crayons for hosting What I Ate Wednesday!

Spicy Corn Salsa

Maaaaybe we should start calling this blog “…Makes all the Recipes from America’s Test Kitchen Healthy Family Cookbook,” because it is AWESOME and everything we’ve made so far from there is delicious.

For some reason I have really been craving Mexican food lately. Ok – I am always craving Mexican food. In college I would eat Chipotle multiple times a week. Those were the days.

I originally wanted to make this recipe because I had a bunch of frozen corn in the freezer and figured I could use it up with this. Of course I got all pumped up to eat it and then realized you need to use fresh, NON FROZEN corn. I don’t really know why, the directions just ominously decree it. I obeyed and bought some fresh corn – even husked it and everything!

spicycornsalsamain1


Makes approximately 2 cups of salsa.  For a party size, double the batch. Eat with tortilla chips, on a burrito, atop a romaine salad – the list goes on!

You will need: paring knife, 12 inch nonstick skillet

Ingredients:

  • 1 ½ tbsp olive oil
  • 2 ears corn (slice off the kernels with a paring knife)
  • 1 red bell pepper, stemmed, seeded, and chopped
  • 1/2 jalapeño chile, stemmed, seeded, and chopped (if you want it extra spicy, add the whole thing)
  • 1 green onion, sliced
  • 2 garlic cloves, minced
  • 2 limes, juiced
  • 2 tbsp fresh cilantro, minced
  • Salt and pepper

Directions:

Heat 1/2 tbsp of olive oil in the skillet over medium-high heat for until warm.

Carefully add the corn and cook. Stir on and off until golden brown for about 6 to 8 minutes.

Dump the browned corn to a large bowl.

Stir in everything else.

Recommended but not necessary: cover and refrigerate for an hour or so – this will blend the flavors better!

Store in the fridge. Keeps for several days.

spicycornsalsa4


Thanks as always to Jenn @ Peas and Crayons for hosting What I Ate Wednesday!

Healthy(ish) Chocolate Chip Cookies

When I was lucky enough to receive a hand-me-down cookbook and kitchen-aid mixer last week, it meant I needed to do one thing.

MAKE COOKIES!

In order to have more cookies and less guilt,  it’s necessary to modify the classic chocolate chip cookie to be healthy(ish). How is this recipe better for you than usual? The cookies are a teensy bit smaller, have A LOT less butter, and substitute semi-sweet chocolate chips for dark chocolate ones.

Because dark chocolate’s good for you.  🙂

Tuna gave his stamp of approval – BEFORE I told them they were healthy. “They’re HEALTHY???” he asked in disbelief.

Well – healthyish.

All this cookie talk is making me hungry. ‘Scuse me while I go grab another…


healthyishchocolatechipcookiesmain1

This recipe was adapted from The America’s Test Kitchen Healthy Family Cookbook.

Makes 18 cookies

Ingredients:

  • 1 cup plus 2 tbsp whole wheat flour
  • 1/4 tsp baking soda
  • 1/2 tsp salt
  • 5 tbsp unsalted butter
  • 1/3 cup white sugar
  • 1/2 cup brown sugar
  • 1 tsp vanilla extract
  • 1 egg
  • 5 tbsp dark chocolate chips

Directions:

Make sure oven rack is in the middle of the oven and preheat to 375°F.

Line two baking sheets with parchment paper.

Combine flour, baking soda, and salt in a medium bowl and set aside.

Melt 3 tbsp of the butter in a small skillet on medium/high heat for 3-4 minutes until it starts turning brown.

Pour the browned butter into a large bowl and mix in the remaining 2 tbsp of butter until it’s all melted.

In the large bowl with the butter, combine white sugar, brown sugar, and vanilla extract.

Whisk in the egg. Let the mixture set a few minutes, then whisk again for 30 seconds. Repeat a few times to firm up the dough.

Stir in the flour mixture from the medium bowl and add 2 tbsp dark chocolate chips.

Scoop out a heaping tablespoons of the dough (one at a time) onto the baking sheets to form your cookie balls.

Press in a few chocolate chips on the tops.

Bake one sheet at a time, about 9-10 minutes. Rotate the sheet in the oven halfway through (after 4-5 minuteS).

Let cool on the baking sheet for 10 more minutes, then transfer onto a cooling rack.

DEVOUR!


howtobrownbutter


handmedownkitchenaidmixer


healthyishchocolatechipcookies1


healthyishchocolatechipcookies2


healthyishchocolatechipcookies3

 Thanks as always to Jenn @ Peas and Crayons for hosting What I Ate Wednesday!

Tomato Basil Quinoa

I am all about quinoa right now. I can’t get over how easy it is to make and how versatile it is. It’s good as a side dish with chicken, alongside crackers as a snack, or plopped on a bunch of salad for lunch. That’s pretty much the order I ate this in. 😉 Tuna has decreed it into the usual rotation, so I’m excited to eat it lots this spring and summer!

tomatobasilquinoamain1

Serves 2 (main) or 4 (side dish)

Ingredients:

  • 2 cups water
  • 1 cup uncooked quinoa
  • 2 cloves of garlic, minced
  • 1 onion, chopped
  • 10 oz grape tomatoes, cut in half
  • 1 tsp salt
  • 1 tsp red pepper flakes
  • 1 tablespoon olive oil
  • 1/8 cup basil leaves, chopped and for garnish
  • 1/2 cup shredded mozzarella cheese

Directions:

Add water and quinoa to a medium/large pot.

Add in garlic, onion, tomatoes, salt, and red pepper flakes.

Heat the uncovered pot to a rolling boil.

Cover, reduce to simmer, and cook for 15 minutes.

Remove from burner and let cool for 5 minutes.

Toss in basil and olive oil to serve.

tomatobasilquinoa


tomatobasilquinoa1

Thanks as always to Jenn @ Peas and Crayons for hosting What I Ate Wednesday!