
When Tuna woke up on Saturday morning and wanted to make pancakes, I wasn’t about to try and change his mind.
Because it meant I would get pancakes too.
Tunes got even more points for makin’ them right – i.e., with chocolate chips.
He based his healthy chocolate chip pancakes off of THIS recipe.


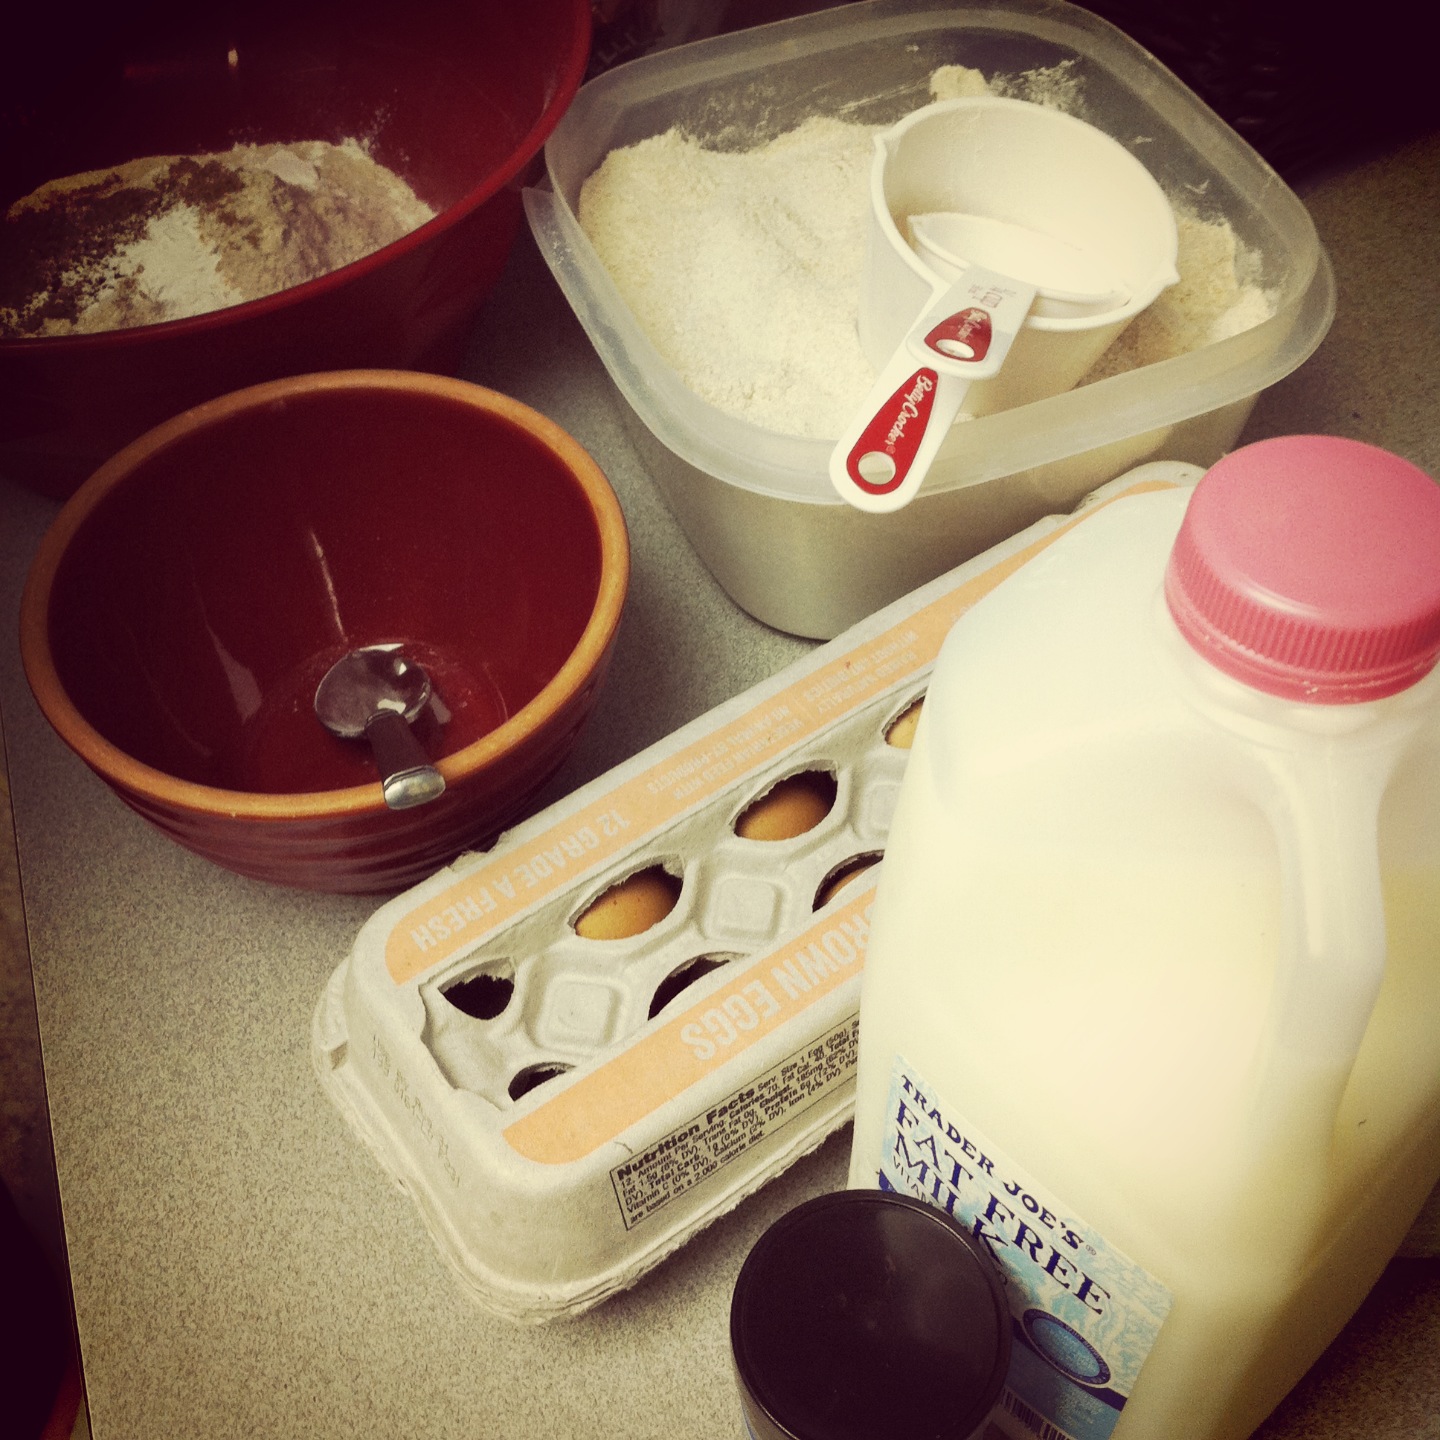
Ingredients:
- 2 2/3 cups whole wheat flour
- 1/4 cup brown sugar
- 2 tbsp baking powder
- 1 tsp salt
- 2 eggs
- 2 1/2 cups skim milk
- 1/3 cup canola oil
- 1/2 cup dark chocolate chips
Directions:
Combine flour, baking powder, sugar, and salt.In a separate bowl, whisk eggs, oil, and milk.
Stir wet ingredients into dry (keep batter a little lumpy).
Grease a skillet (I used Pam) and heat on medium.
Pour 1/2 cup of batter at a time onto skillet.
Let cook for several minutes and flip when bubbles start to appear on top of the dough. Cook on second side for several minutes until golden brown.


 Thanks as always to Jenn @ Peas and Crayons for hosting What I Ate Wednesday!
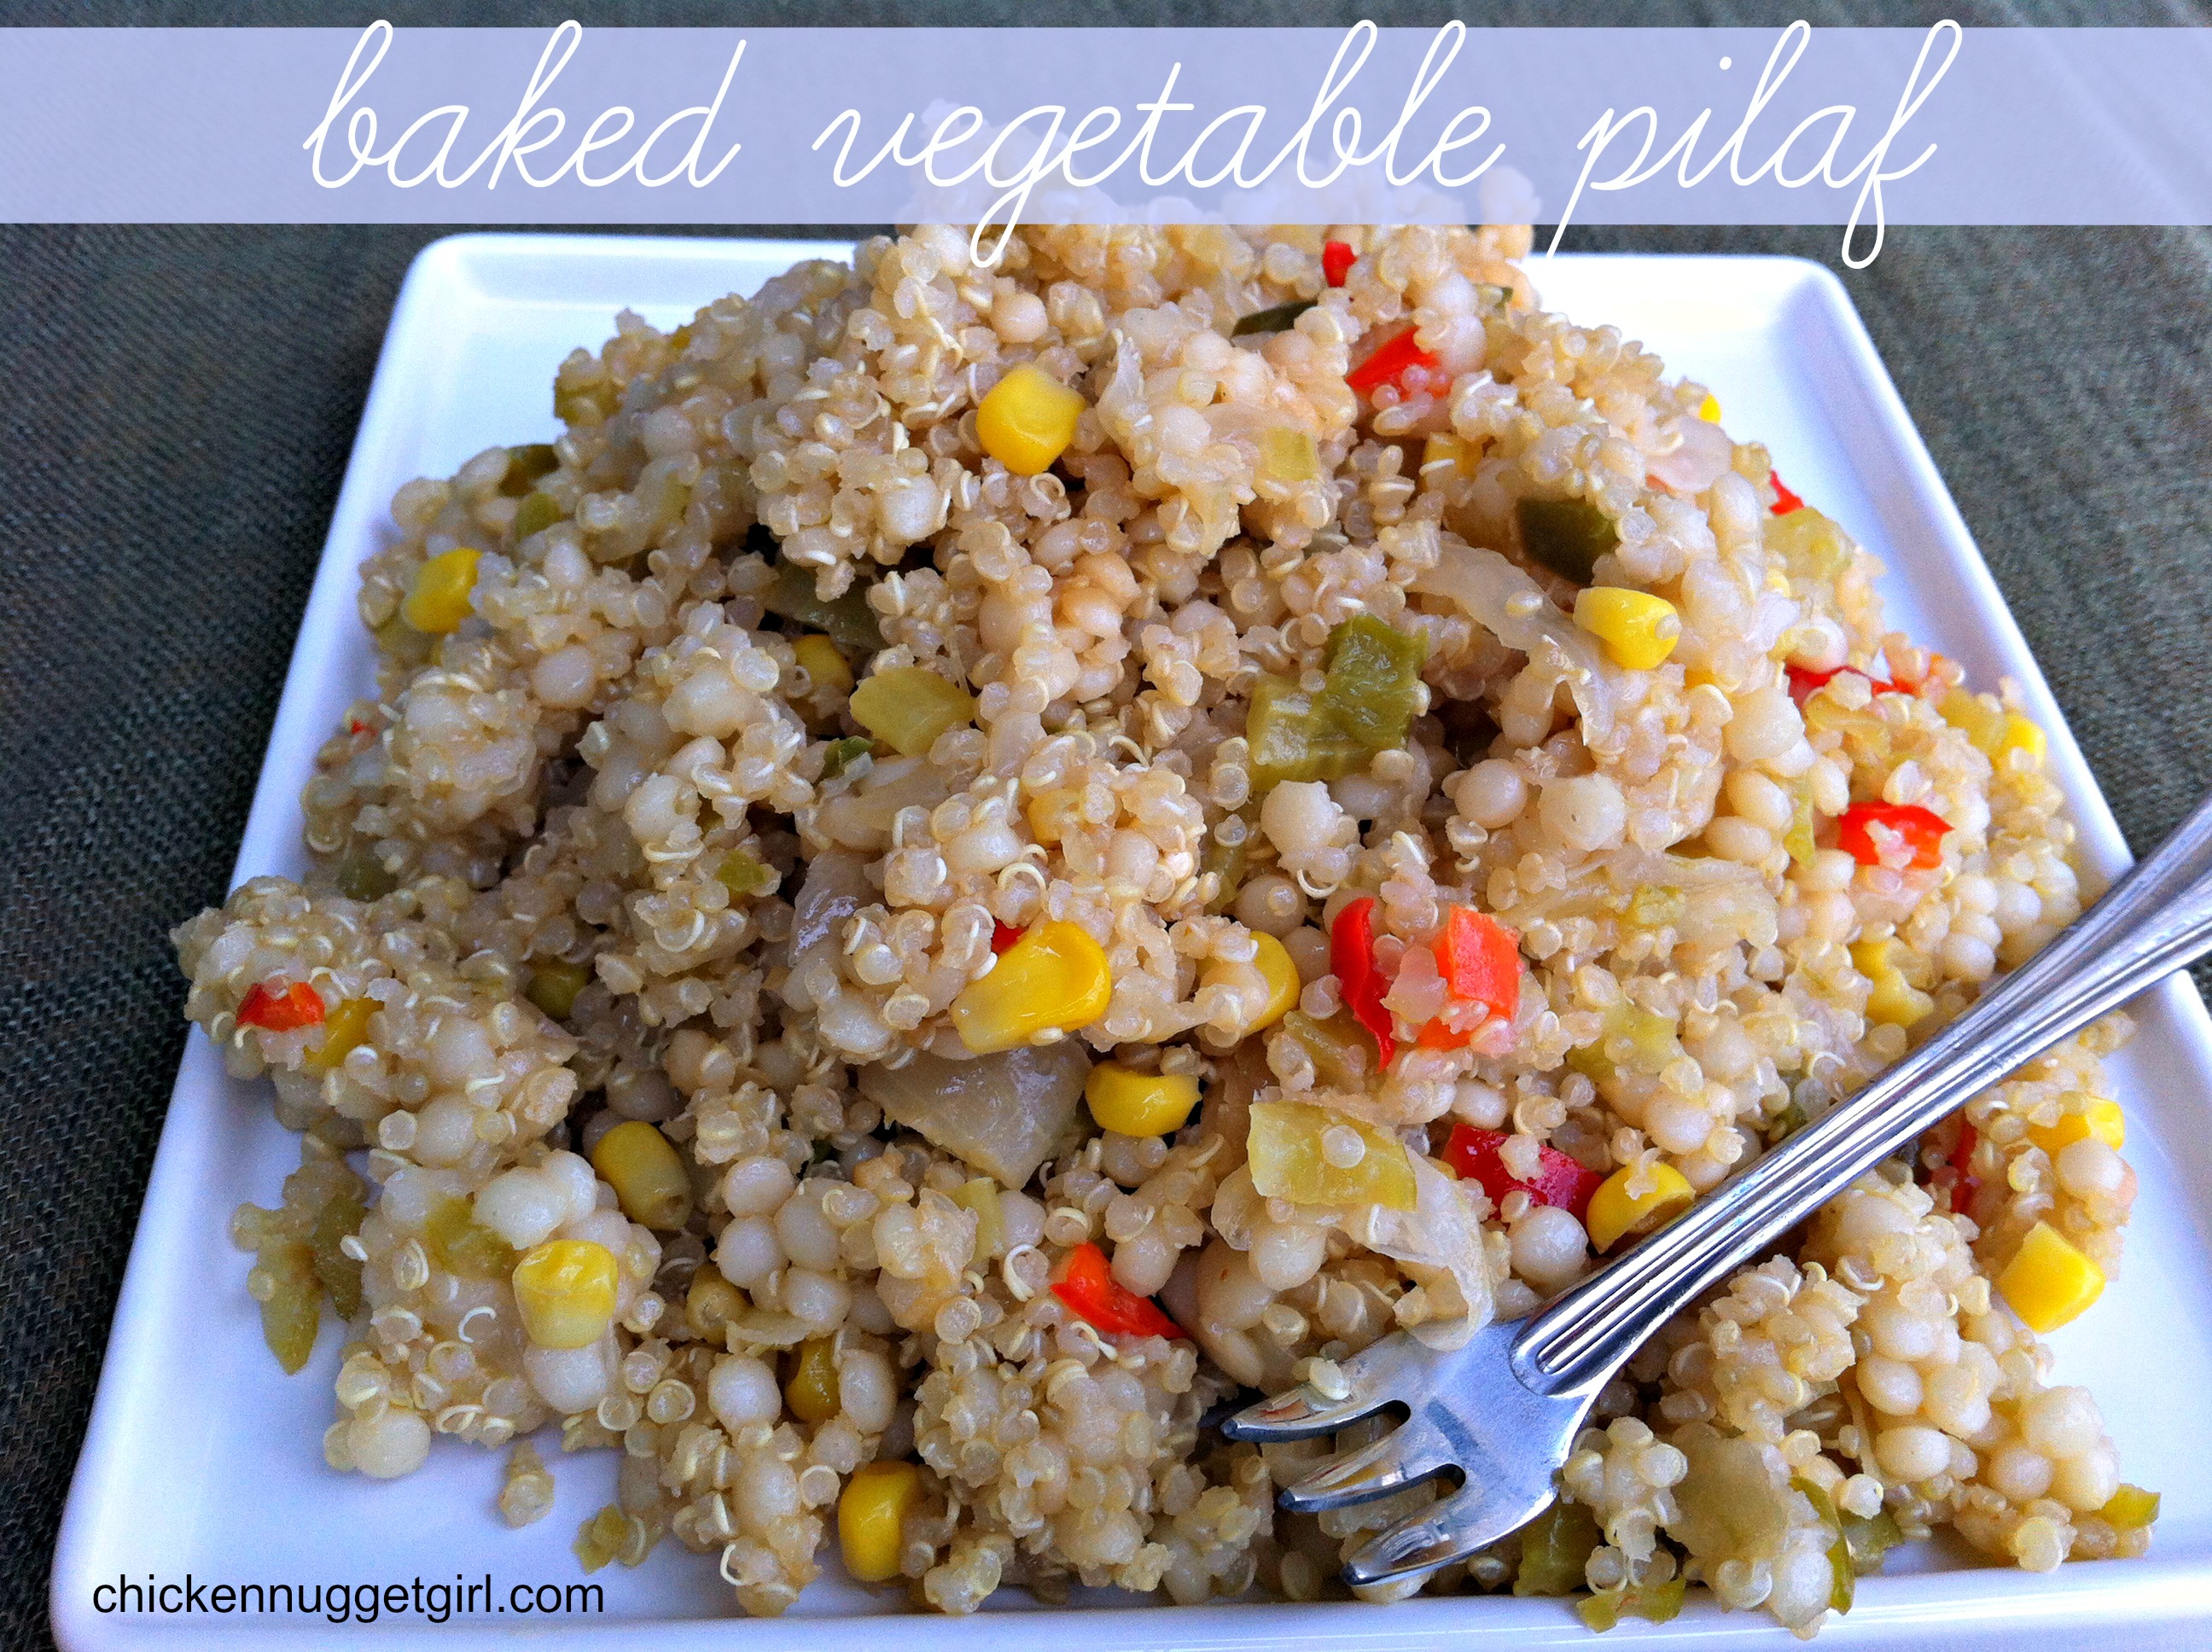
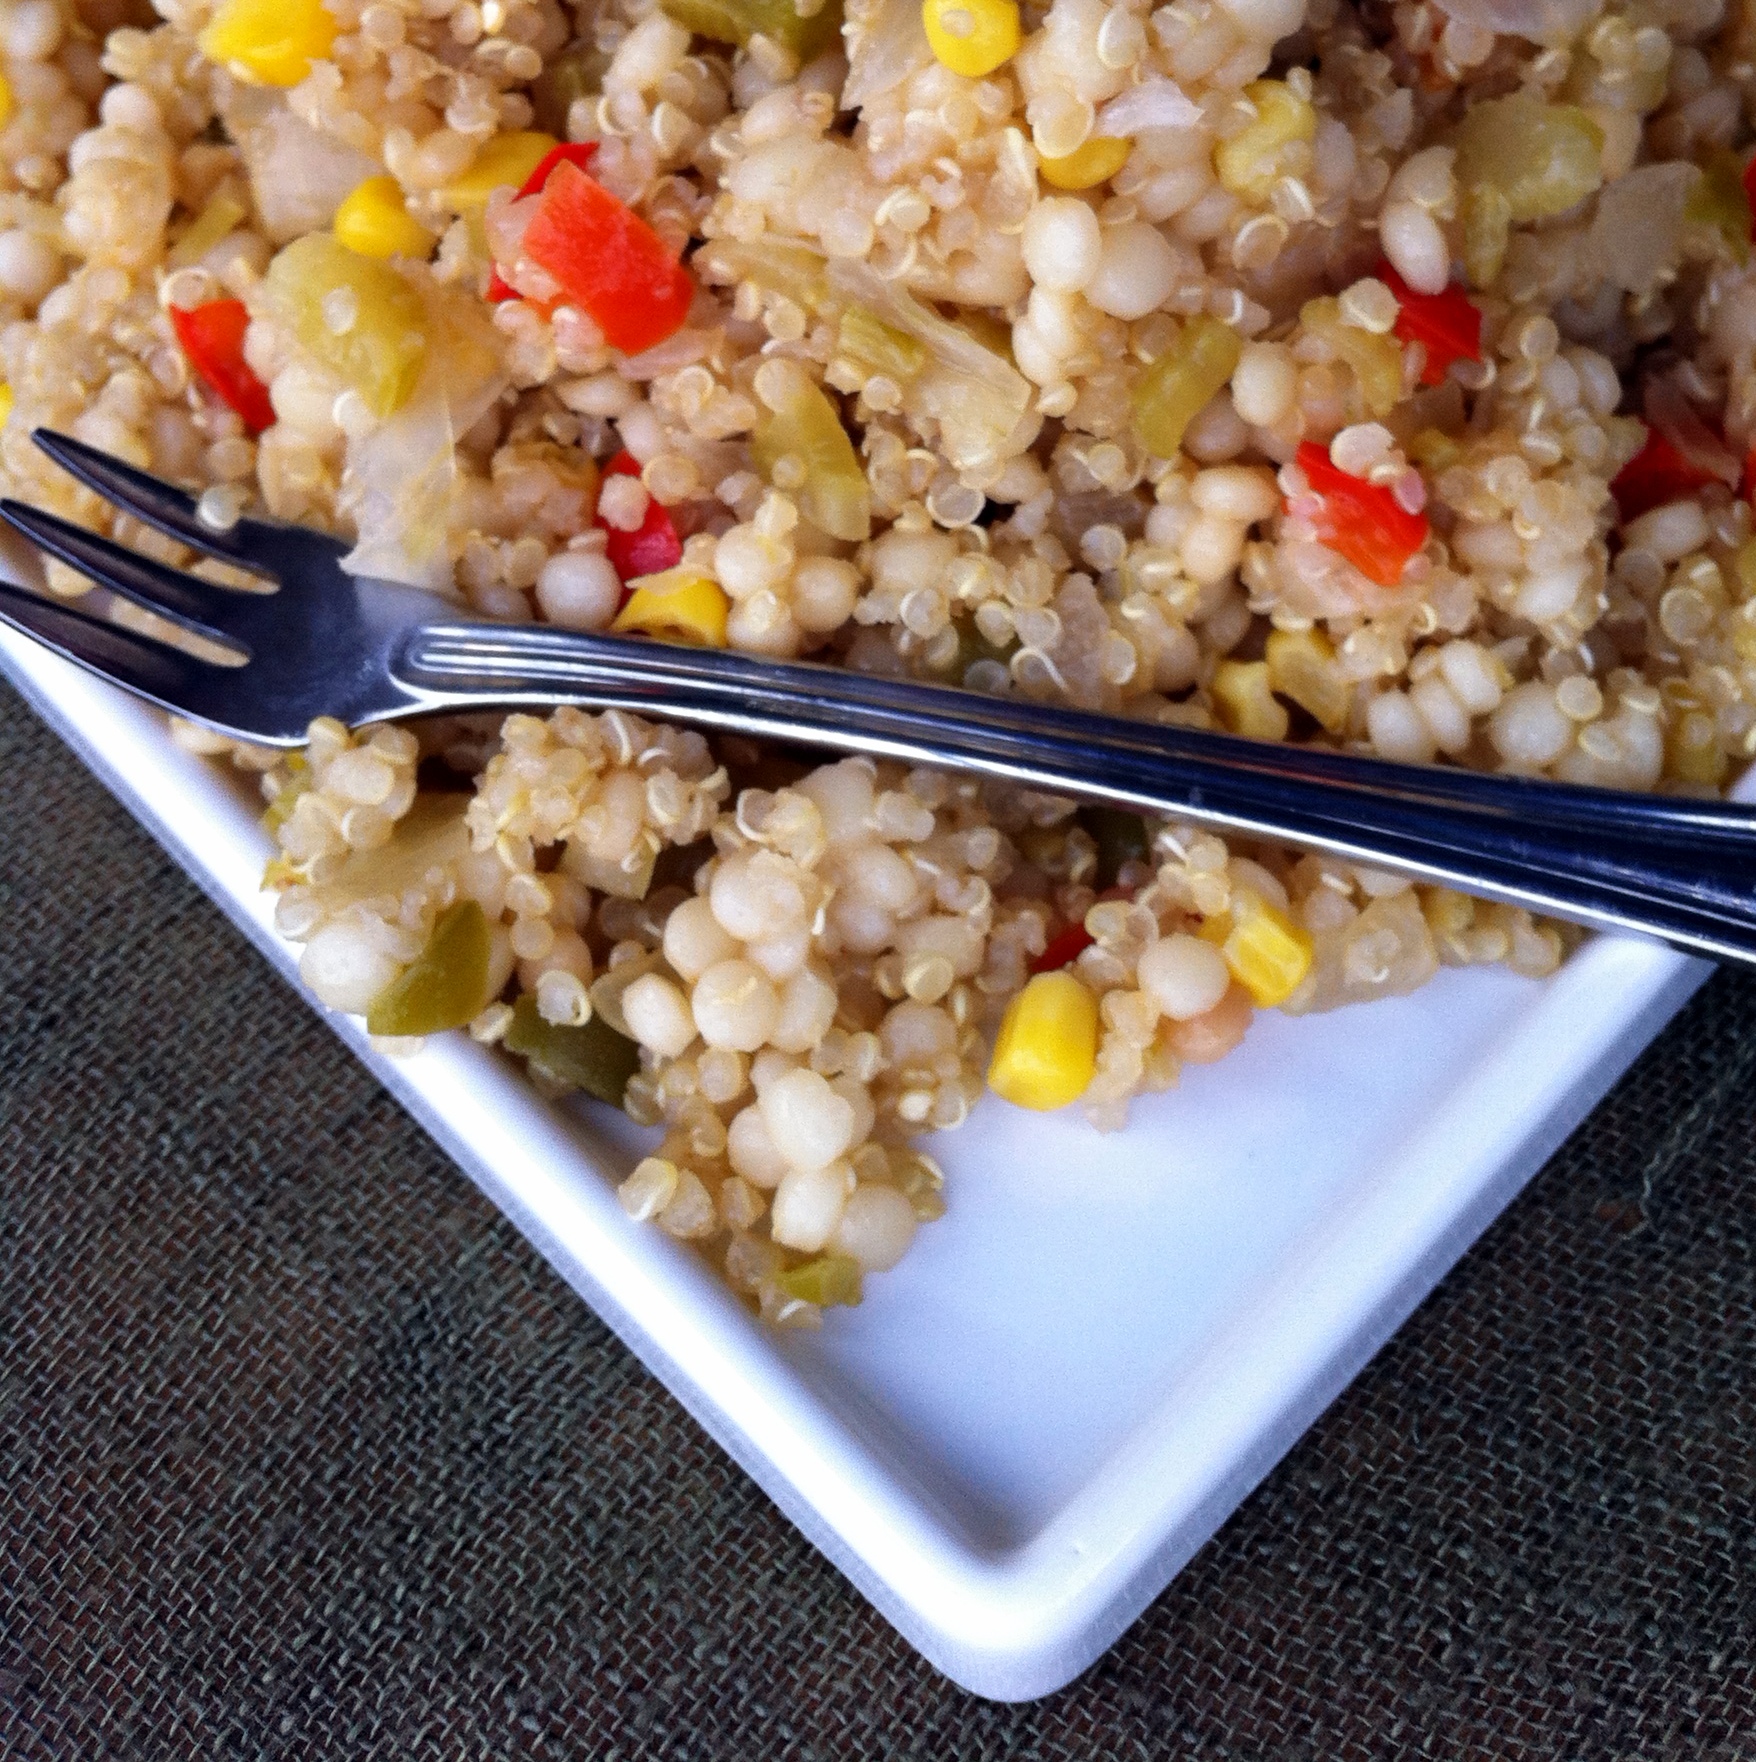
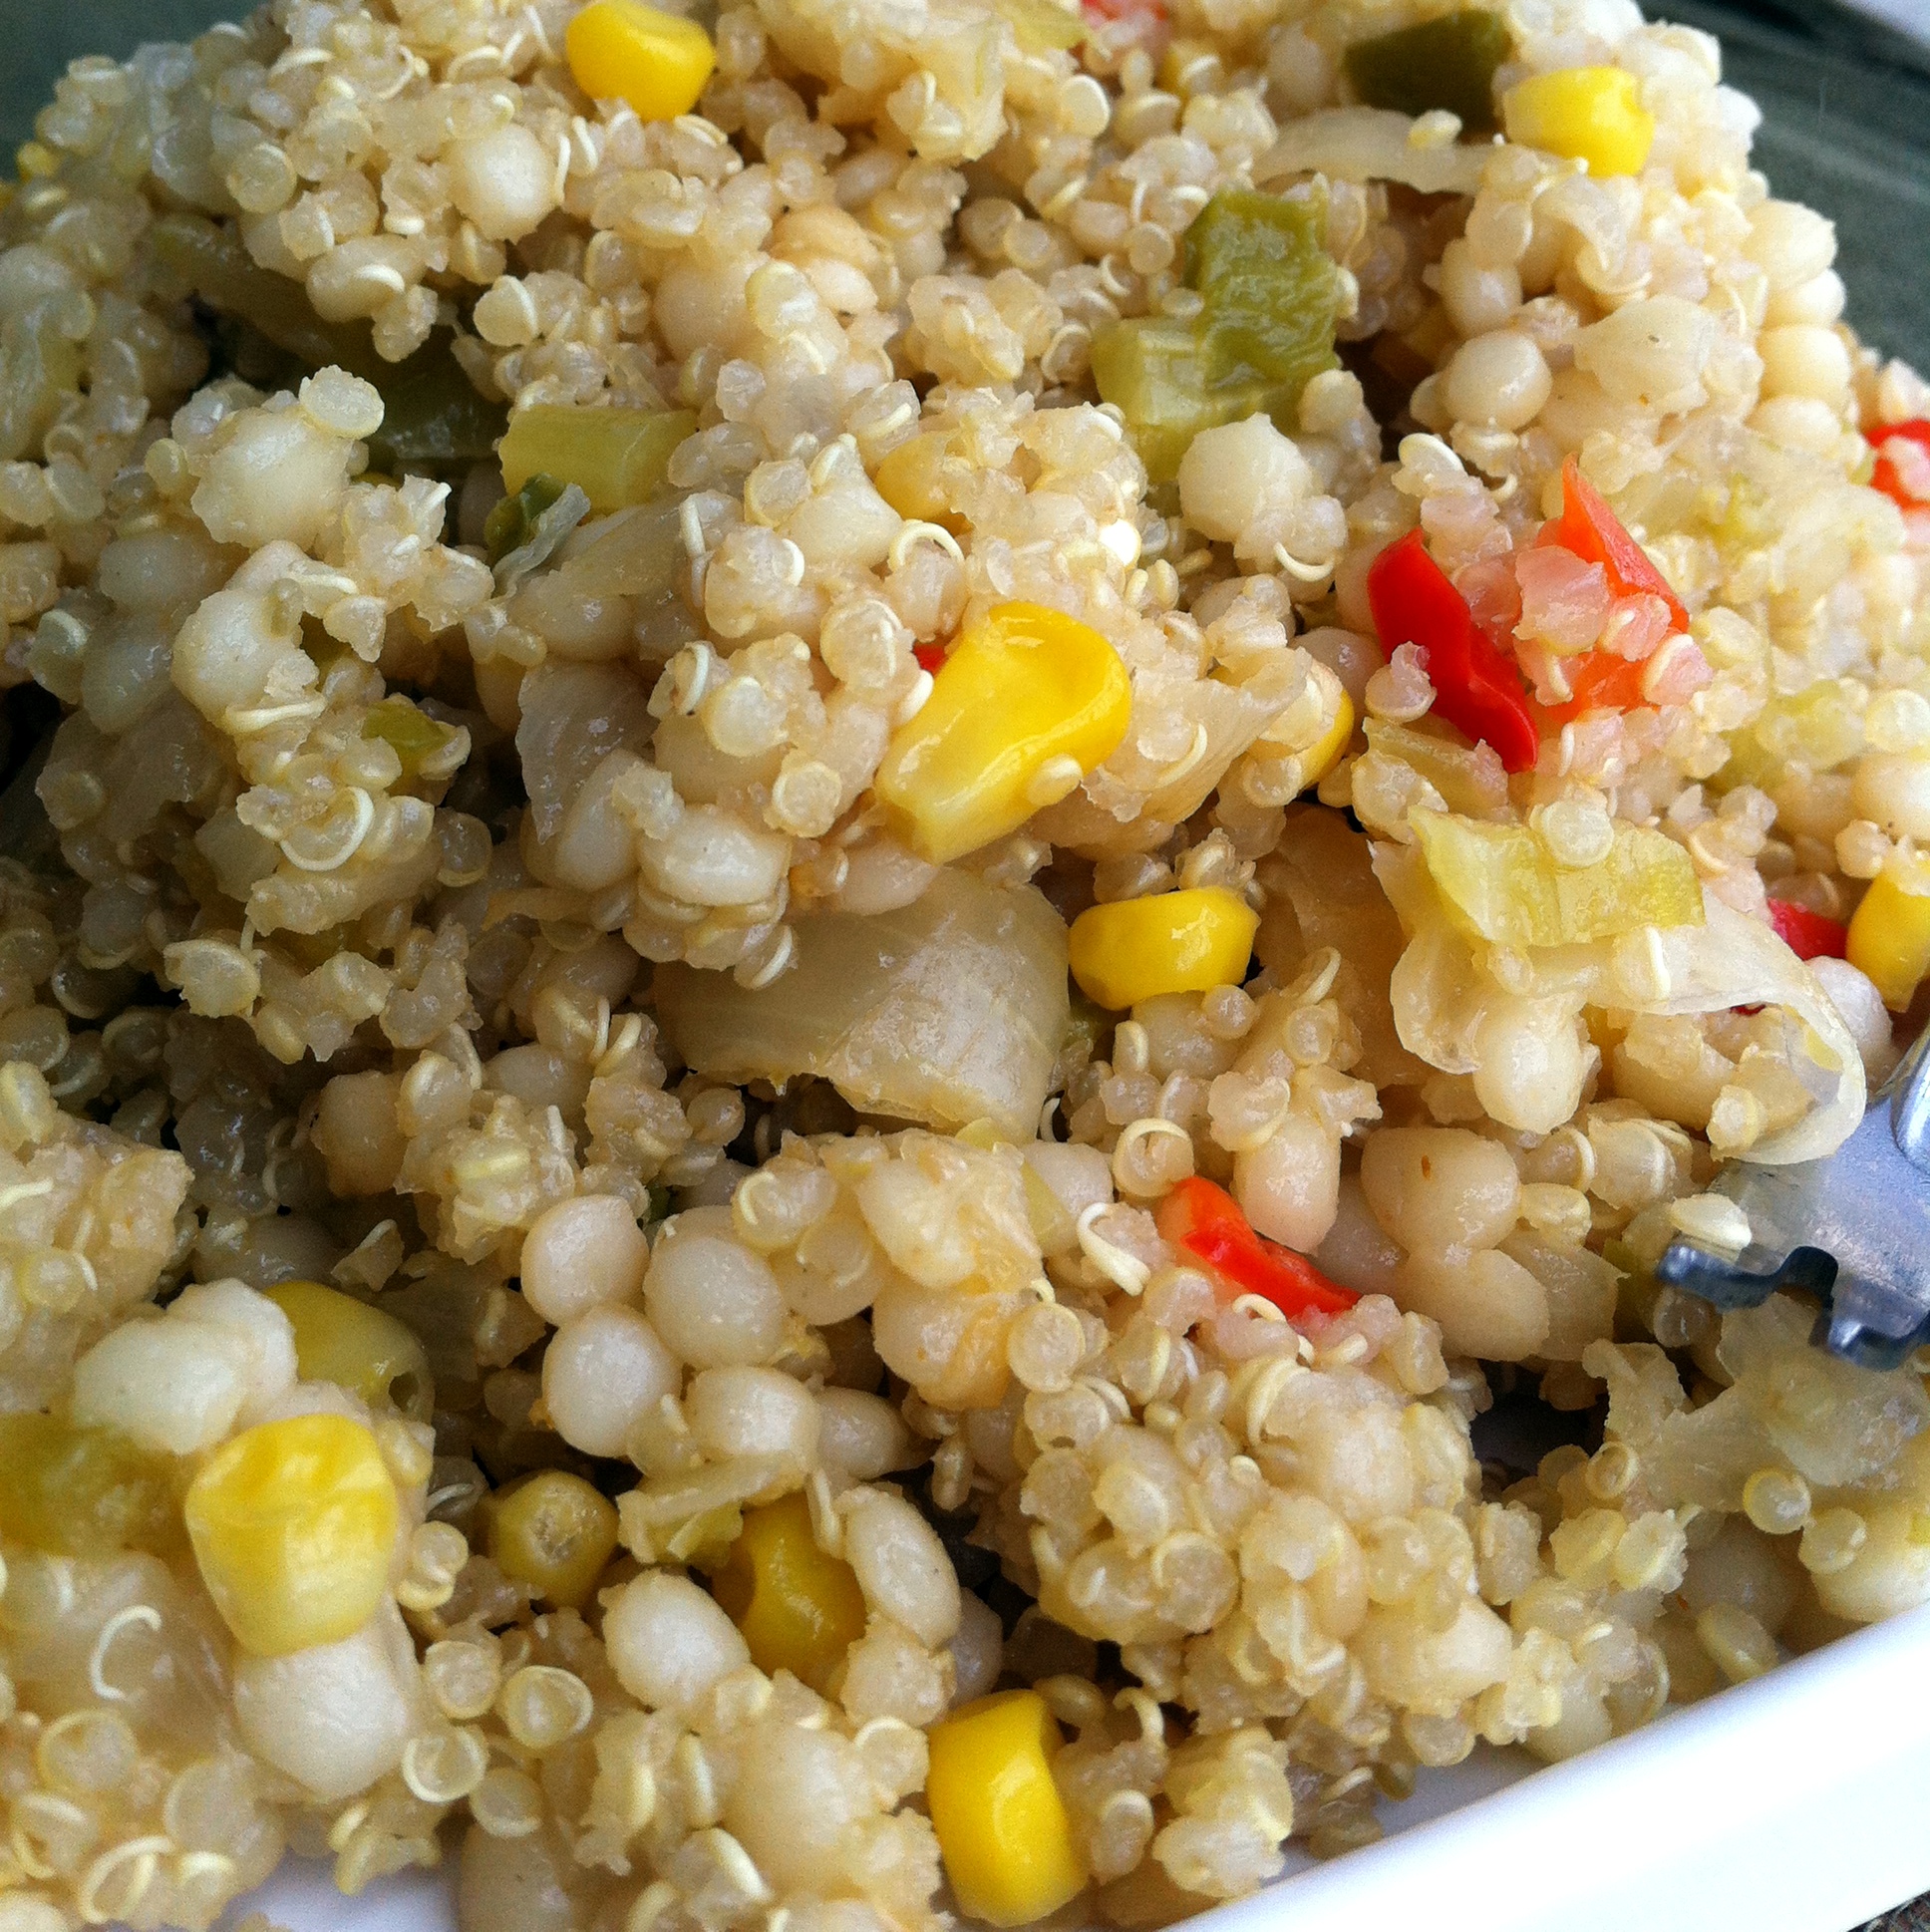
Baked Vegetable Pilaf
I know for a fact that this main dish/side dish is super healthy because I found it in my Eat-Clean Diet book.
I’m so glad I did because it is most definitely delish. Did I mention this recipe is also sups easy to make?
The perfect trio.
I am really liking these quinoa bakes, if you can’t tell!


 Ingredients:
- 2 tsp olive oil
- 1 onion, chopped
- 1 carrot,chopped
- 3 stalks celery, chopped
- 1/2 cup bell pepper (any color, I used red and green) chopped
- 1/2 cup corn
- 3/4 cup uncooked couscous
- 3/4 cup uncooked quinoa
- 3 cups vegetable stock
- 1 tsp salt
Directions:
Preheat oven to 350°F. Spray casserole dish with olive oil.
Cook couscous and the quinoa.
While the grains are cooking, heat olive oil in a medium skillet. Add onion, carrot, celery, pepper, and corn. Cook until onion is translucent.
In a large mixing bowl, combine cooked grains and veggies. Stir in vegetable stock and salt. Pour mixture into casserole dish.
Cover casserole dish with lid. Bake in the oven for 30-40 minutes. Grains are cooked when all water has been absorbed.
 Thanks as always to Jenn @ Peas and Crayons for hosting What I Ate Wednesday!
Easy Stir Fry Sauce
Last week I was really missin’ the stir fry station we had at the cafeteria near my first year (freshman) dorm room.
You could personalize your stir fry by choosing whatever you wanted and the cooks would make it up right there in front of you. Sigh.
Nowadays I have to resort to googling: “how to make a stir fry sauce,” in order to eat. 😉
Obviously I would never imagine making something with ginger, like a lot of stir fry recipes have, so Tuna and I settled on a soy-sesame sauce. It was so good I’m going to use as it as my go to stir fry sauce from now on!


Google led us to THIS article that we based our stir fry sauce on.
INGREDIENTS:
1/4 cup vegetable broth
1/4 cup soy sauce
2 tsp red vinegar
1 tsp sesame oil
1 tsp hot red pepper flakes
1 tsp sugar
DIRECTIONS:
Combine all ingredients in a bowl.
Dump on protein and veggies of choice and cook in a skillet for 10-15 minutes while stirring.
Serve over brown rice.
 Thanks as always to Jenn @ Peas and Crayons for hosting What I Ate Wednesday!
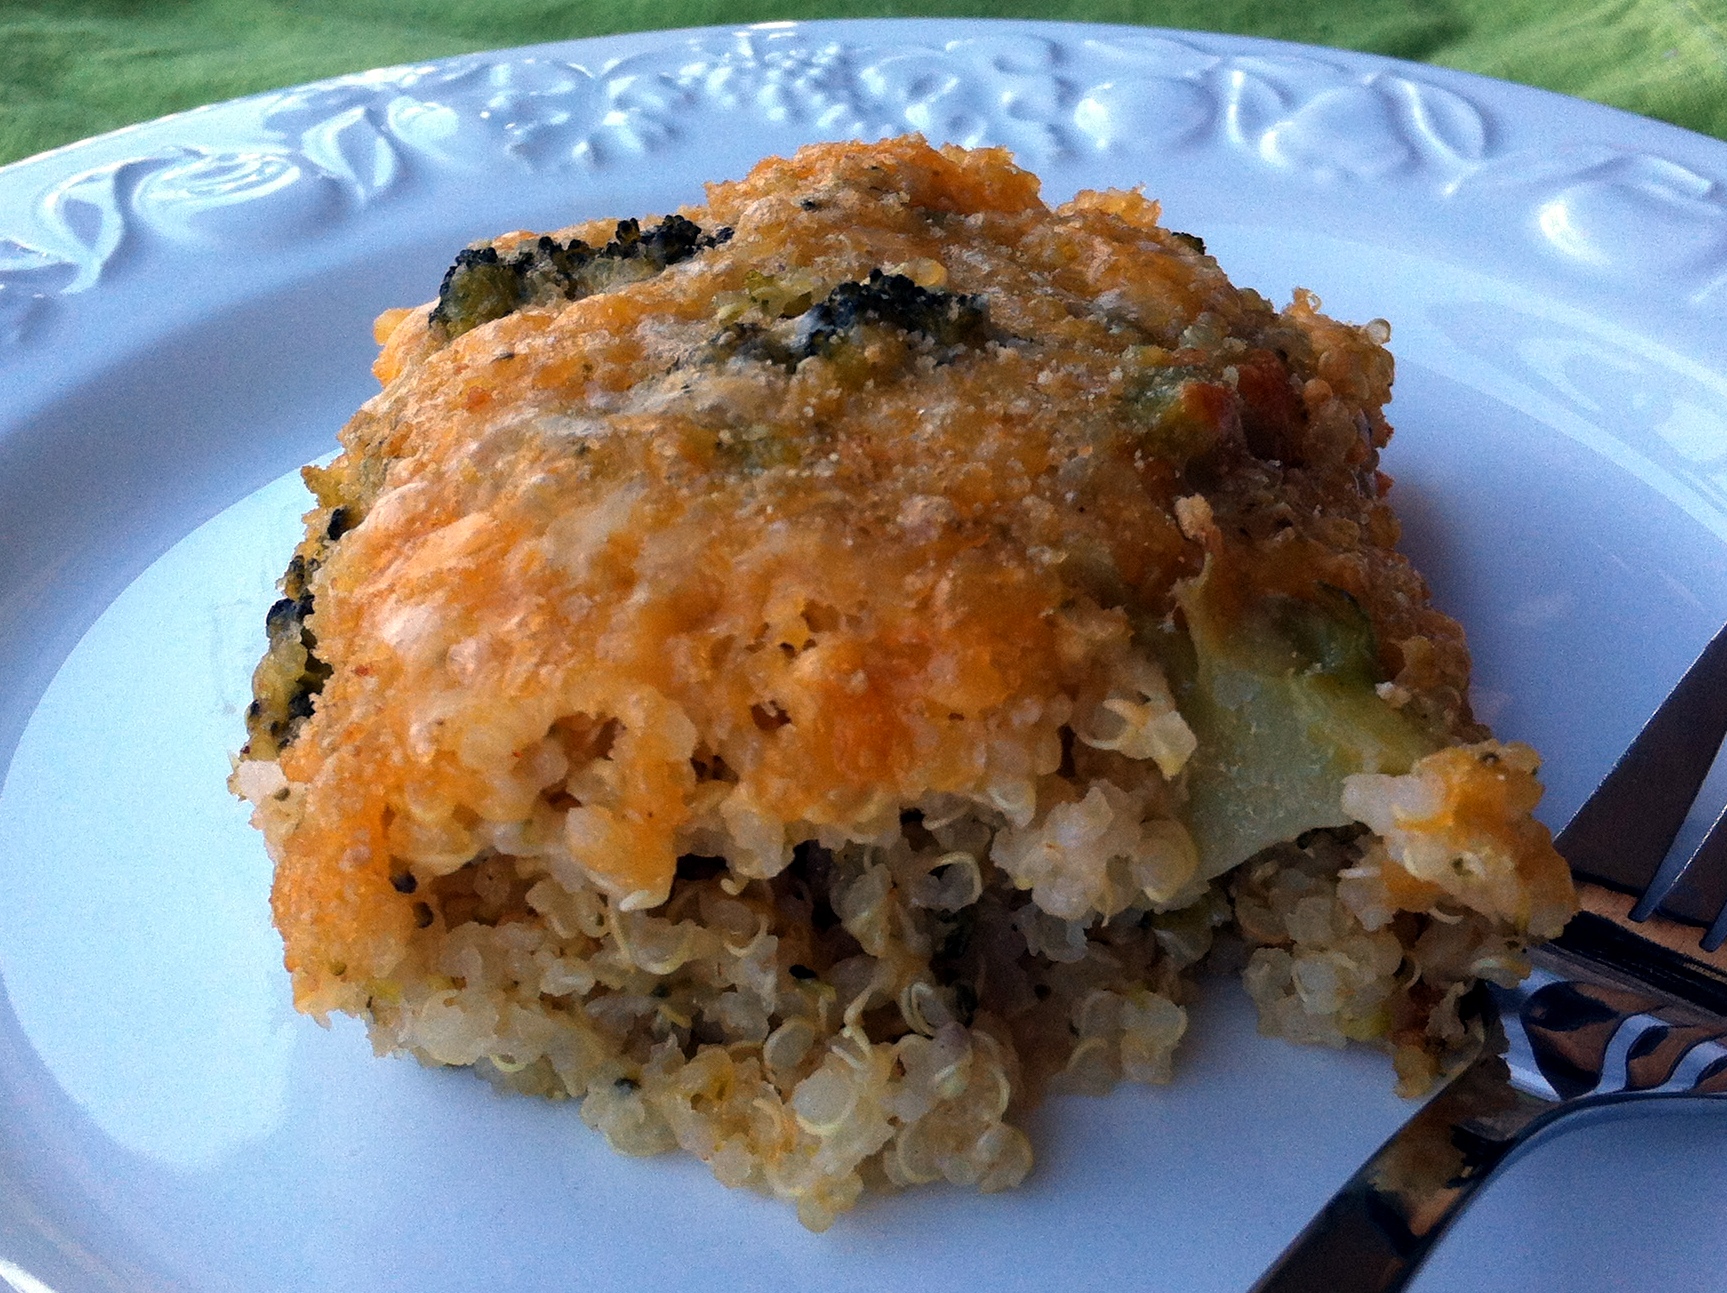
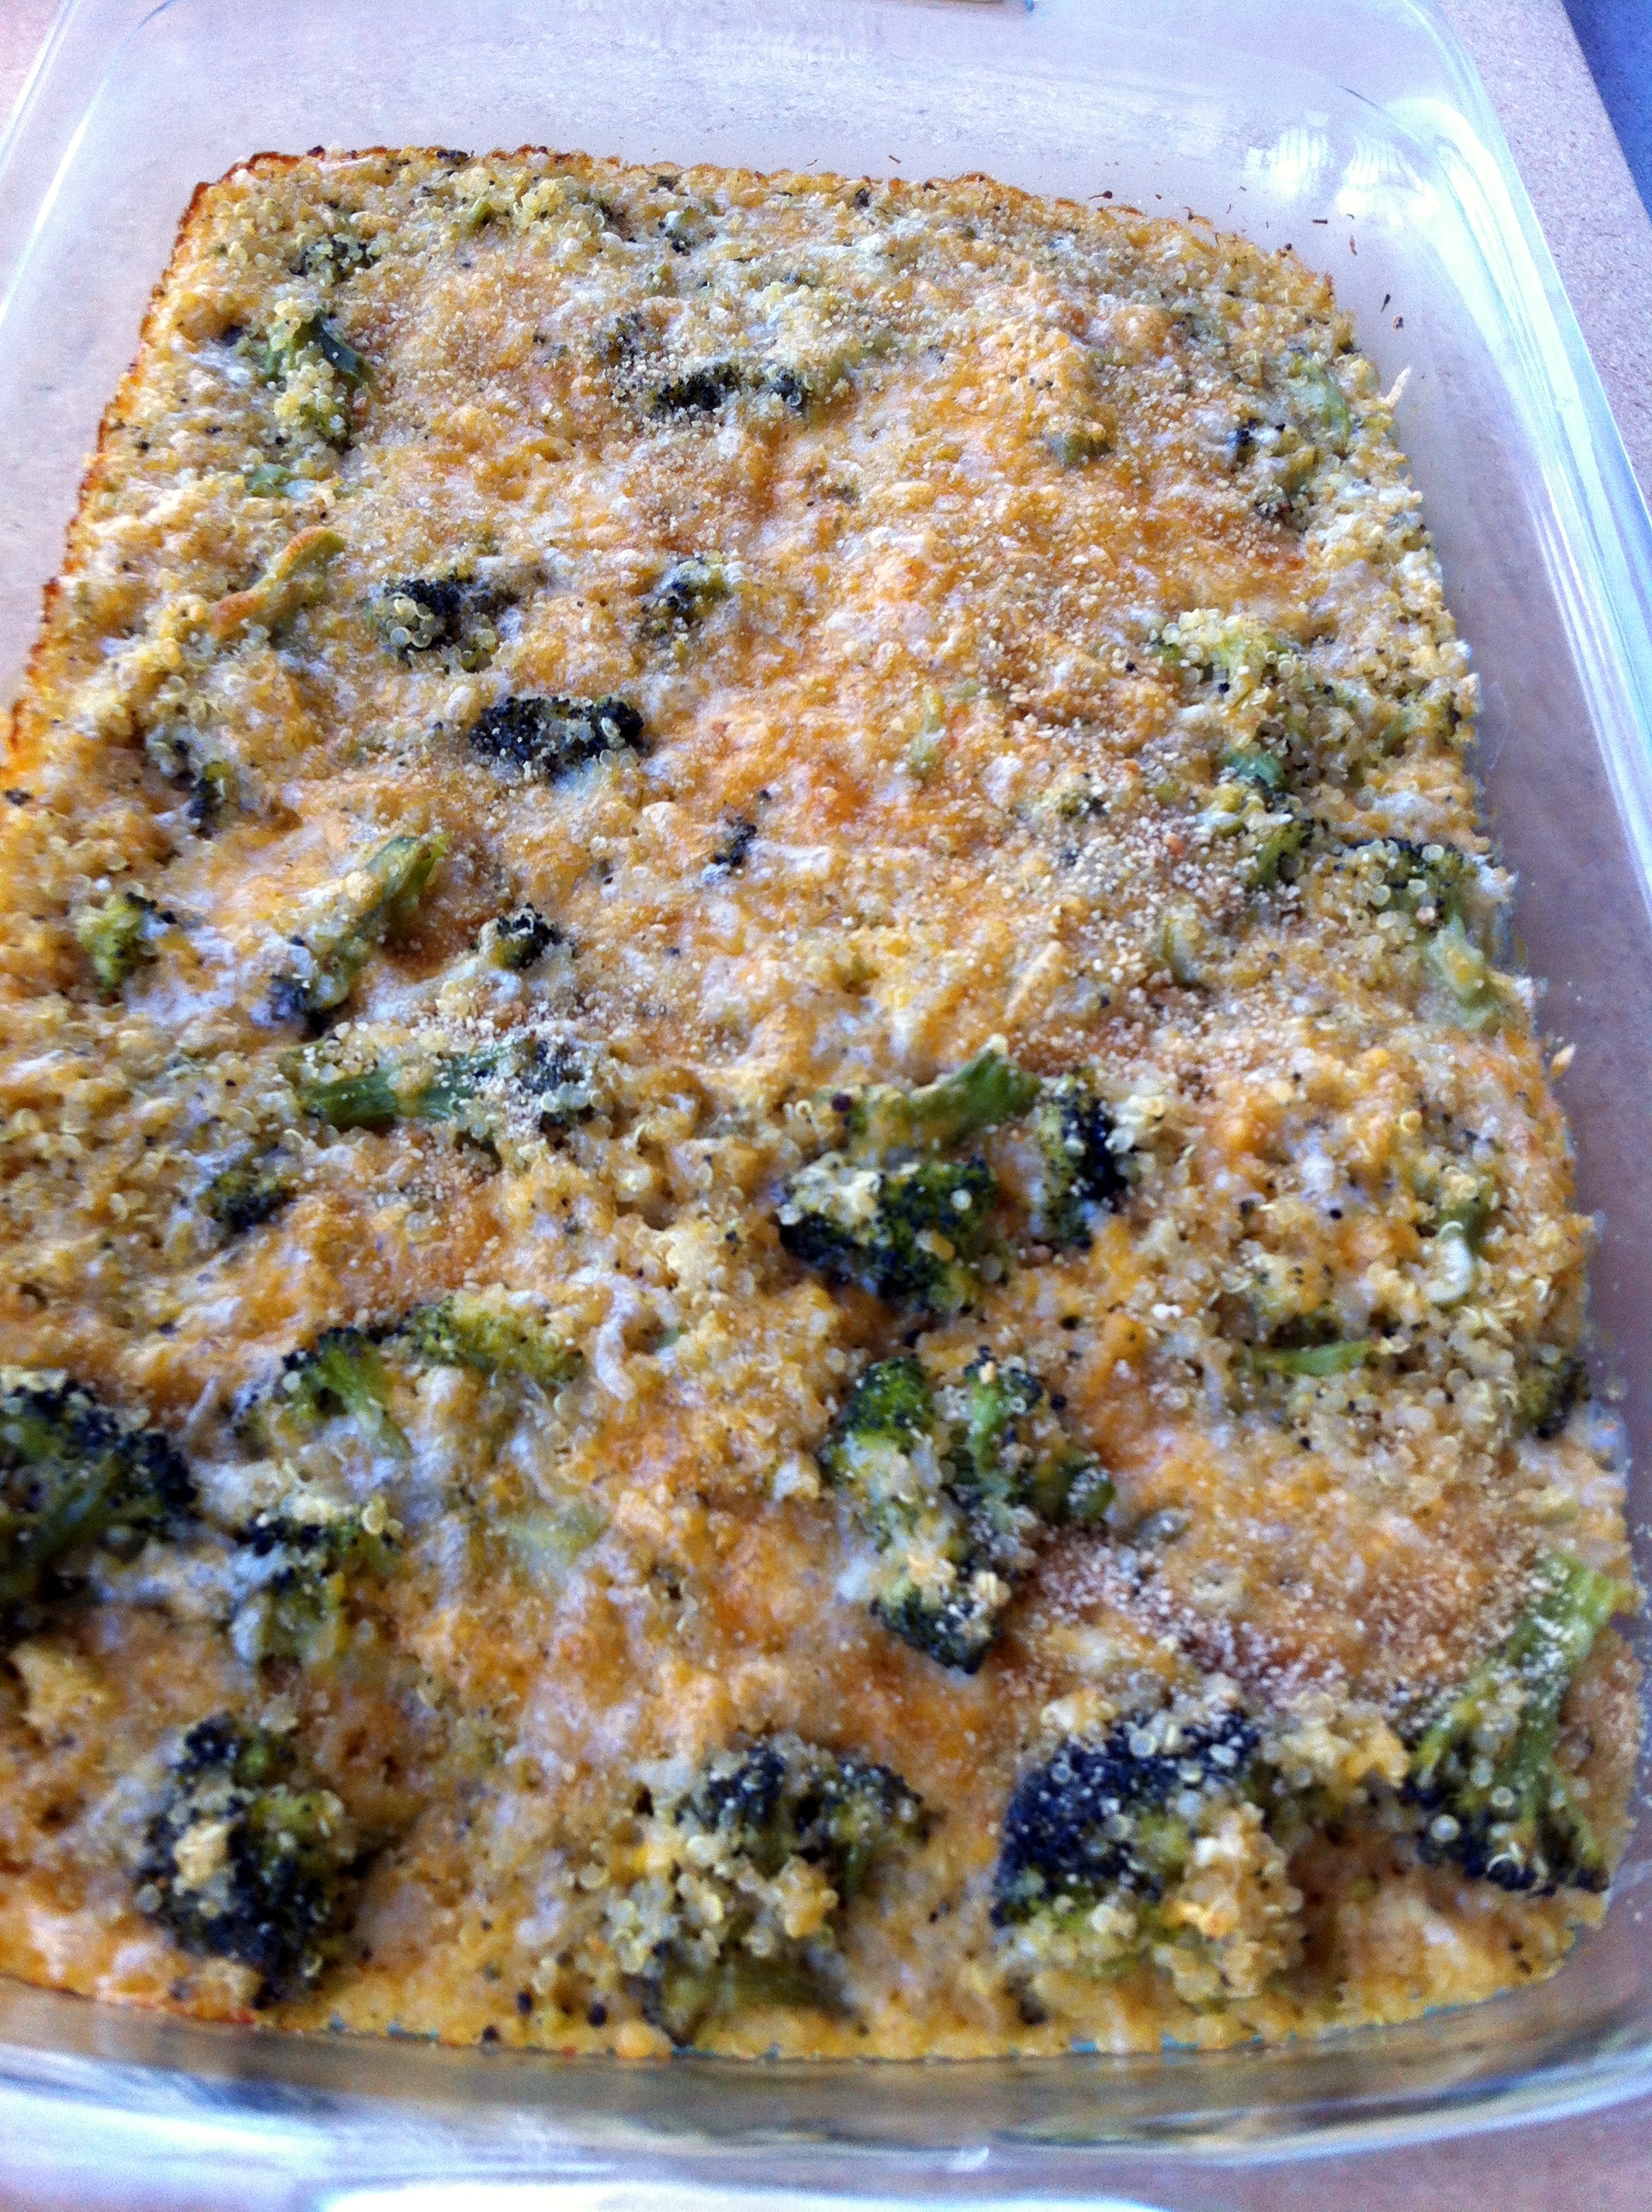
Broccoli and Cheddar Quinoa Bake
I was nervous about this one.
Why? Because it was an experiment.
I need to keep experimenting with food….because this recipe is AWESOME – if I do say so myself.


Looking at Pinterest gave me the usual inspiration that it does with recipes like this one and this one.
I subbed out some of the ingredients that I don’t like (parm, cream of mushroom soup), with some like cheddar and vegetable stock.
When it went in the oven, I wasn’t so sure.
 But I’m starting to think that anything with cheese on it is going to be good. So it turned out alright.
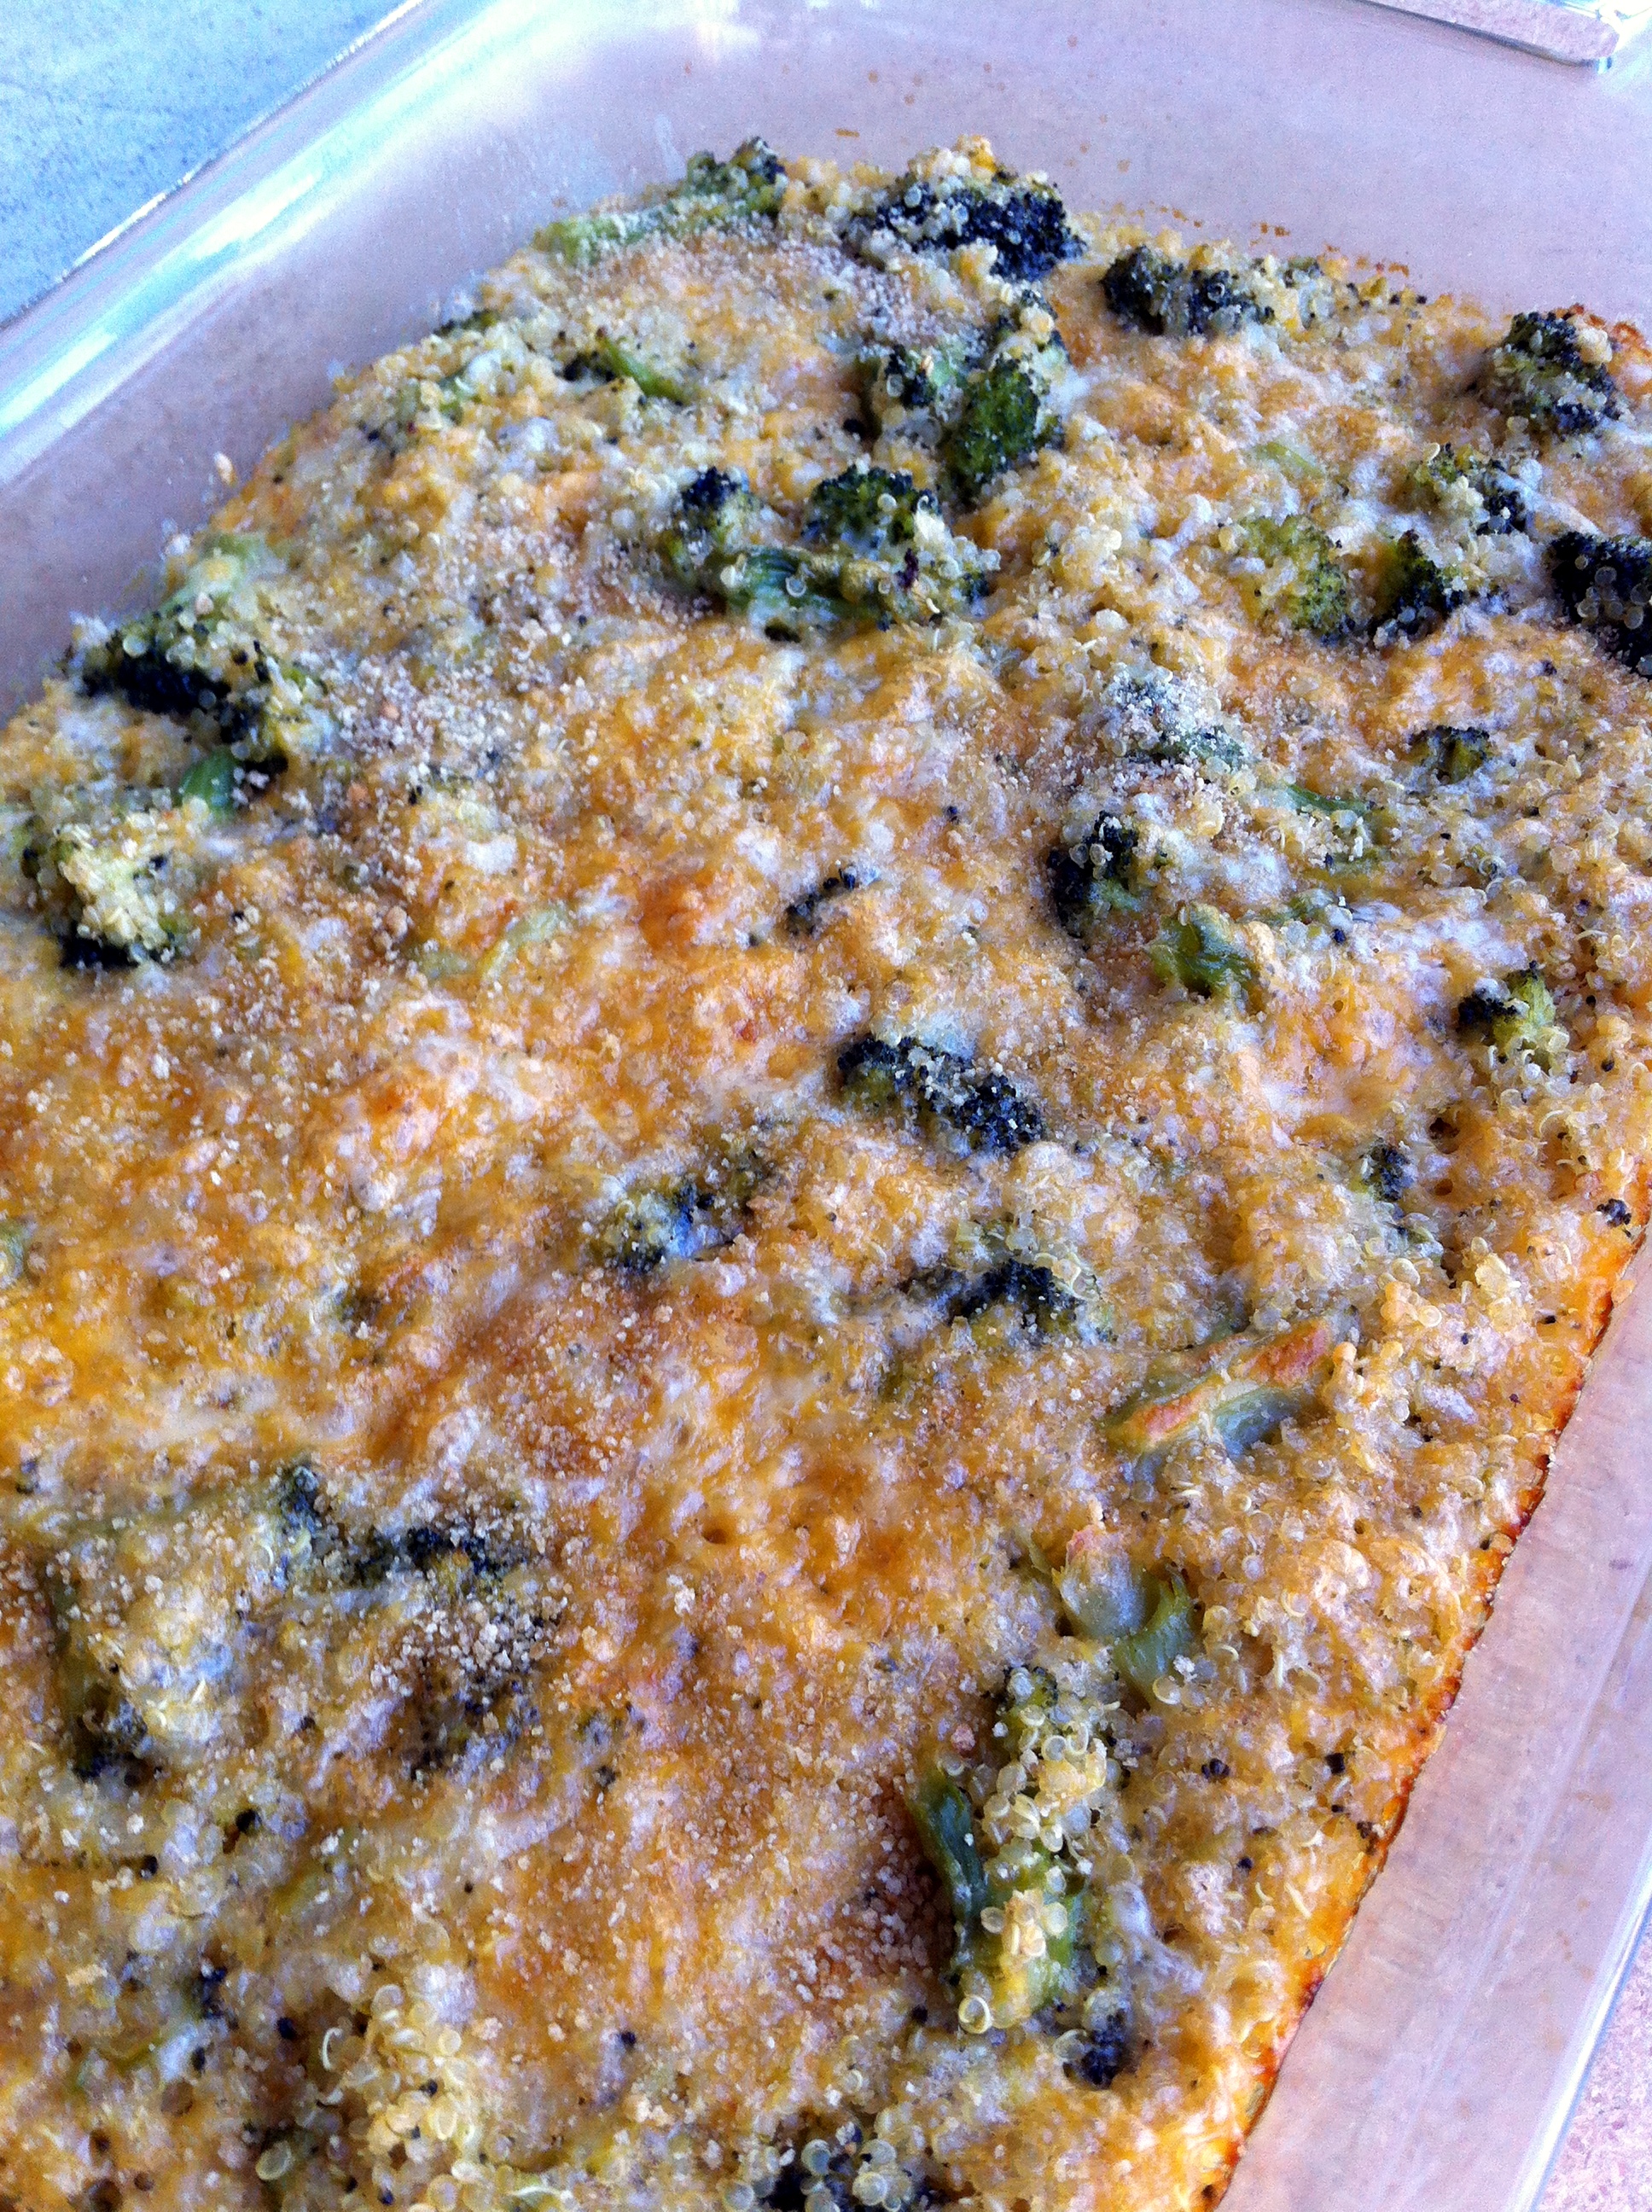 Actually, it turned out like I’m going to be baking it and devouring it quite often.
This dish screams coming back for thirds seconds.
 Ingredients:
- 1 cup uncooked quinoa
- 2 cups cooked broccoli
- 1 3/4 cups reduced fat shredded cheese (cheddar, monterey jack)
- 10 oz vegetable stock
- 1/3 cup reduced fat chipotle mayonnaise
- 2 tbsp skim milk
- 1/2 tsp Splenda
- 1/4 tsp black pepper
- 2 tbsp wheat bread crumbs
Directions:
Cook quinoa.
Preheat oven to 350ºF.
Spray a shallow 9×13 glass Pyrex casserole dish (that’s just what I used, you could probably use any pan) with cooking spray.
In a large bowl, combine the vegetable broth, mayonnaise, milk, 1 1/4 cup shredded cheese, Splenda, and pepper until mixed. Stir in the quinoa and broccoli.
Pour mixture into casserole dish. Sprinkle 1/8 cup cheese on the top and bake for 30 minutes.
Take out the dish, sprinkle 1/8 cup cheese and bread crumbs on top for some crunch. Put back in the oven and take for 10 more minutes (40 minutes total).
 Thanks as always to Jenn @ Peas and Crayons for hosting What I Ate Wednesday!
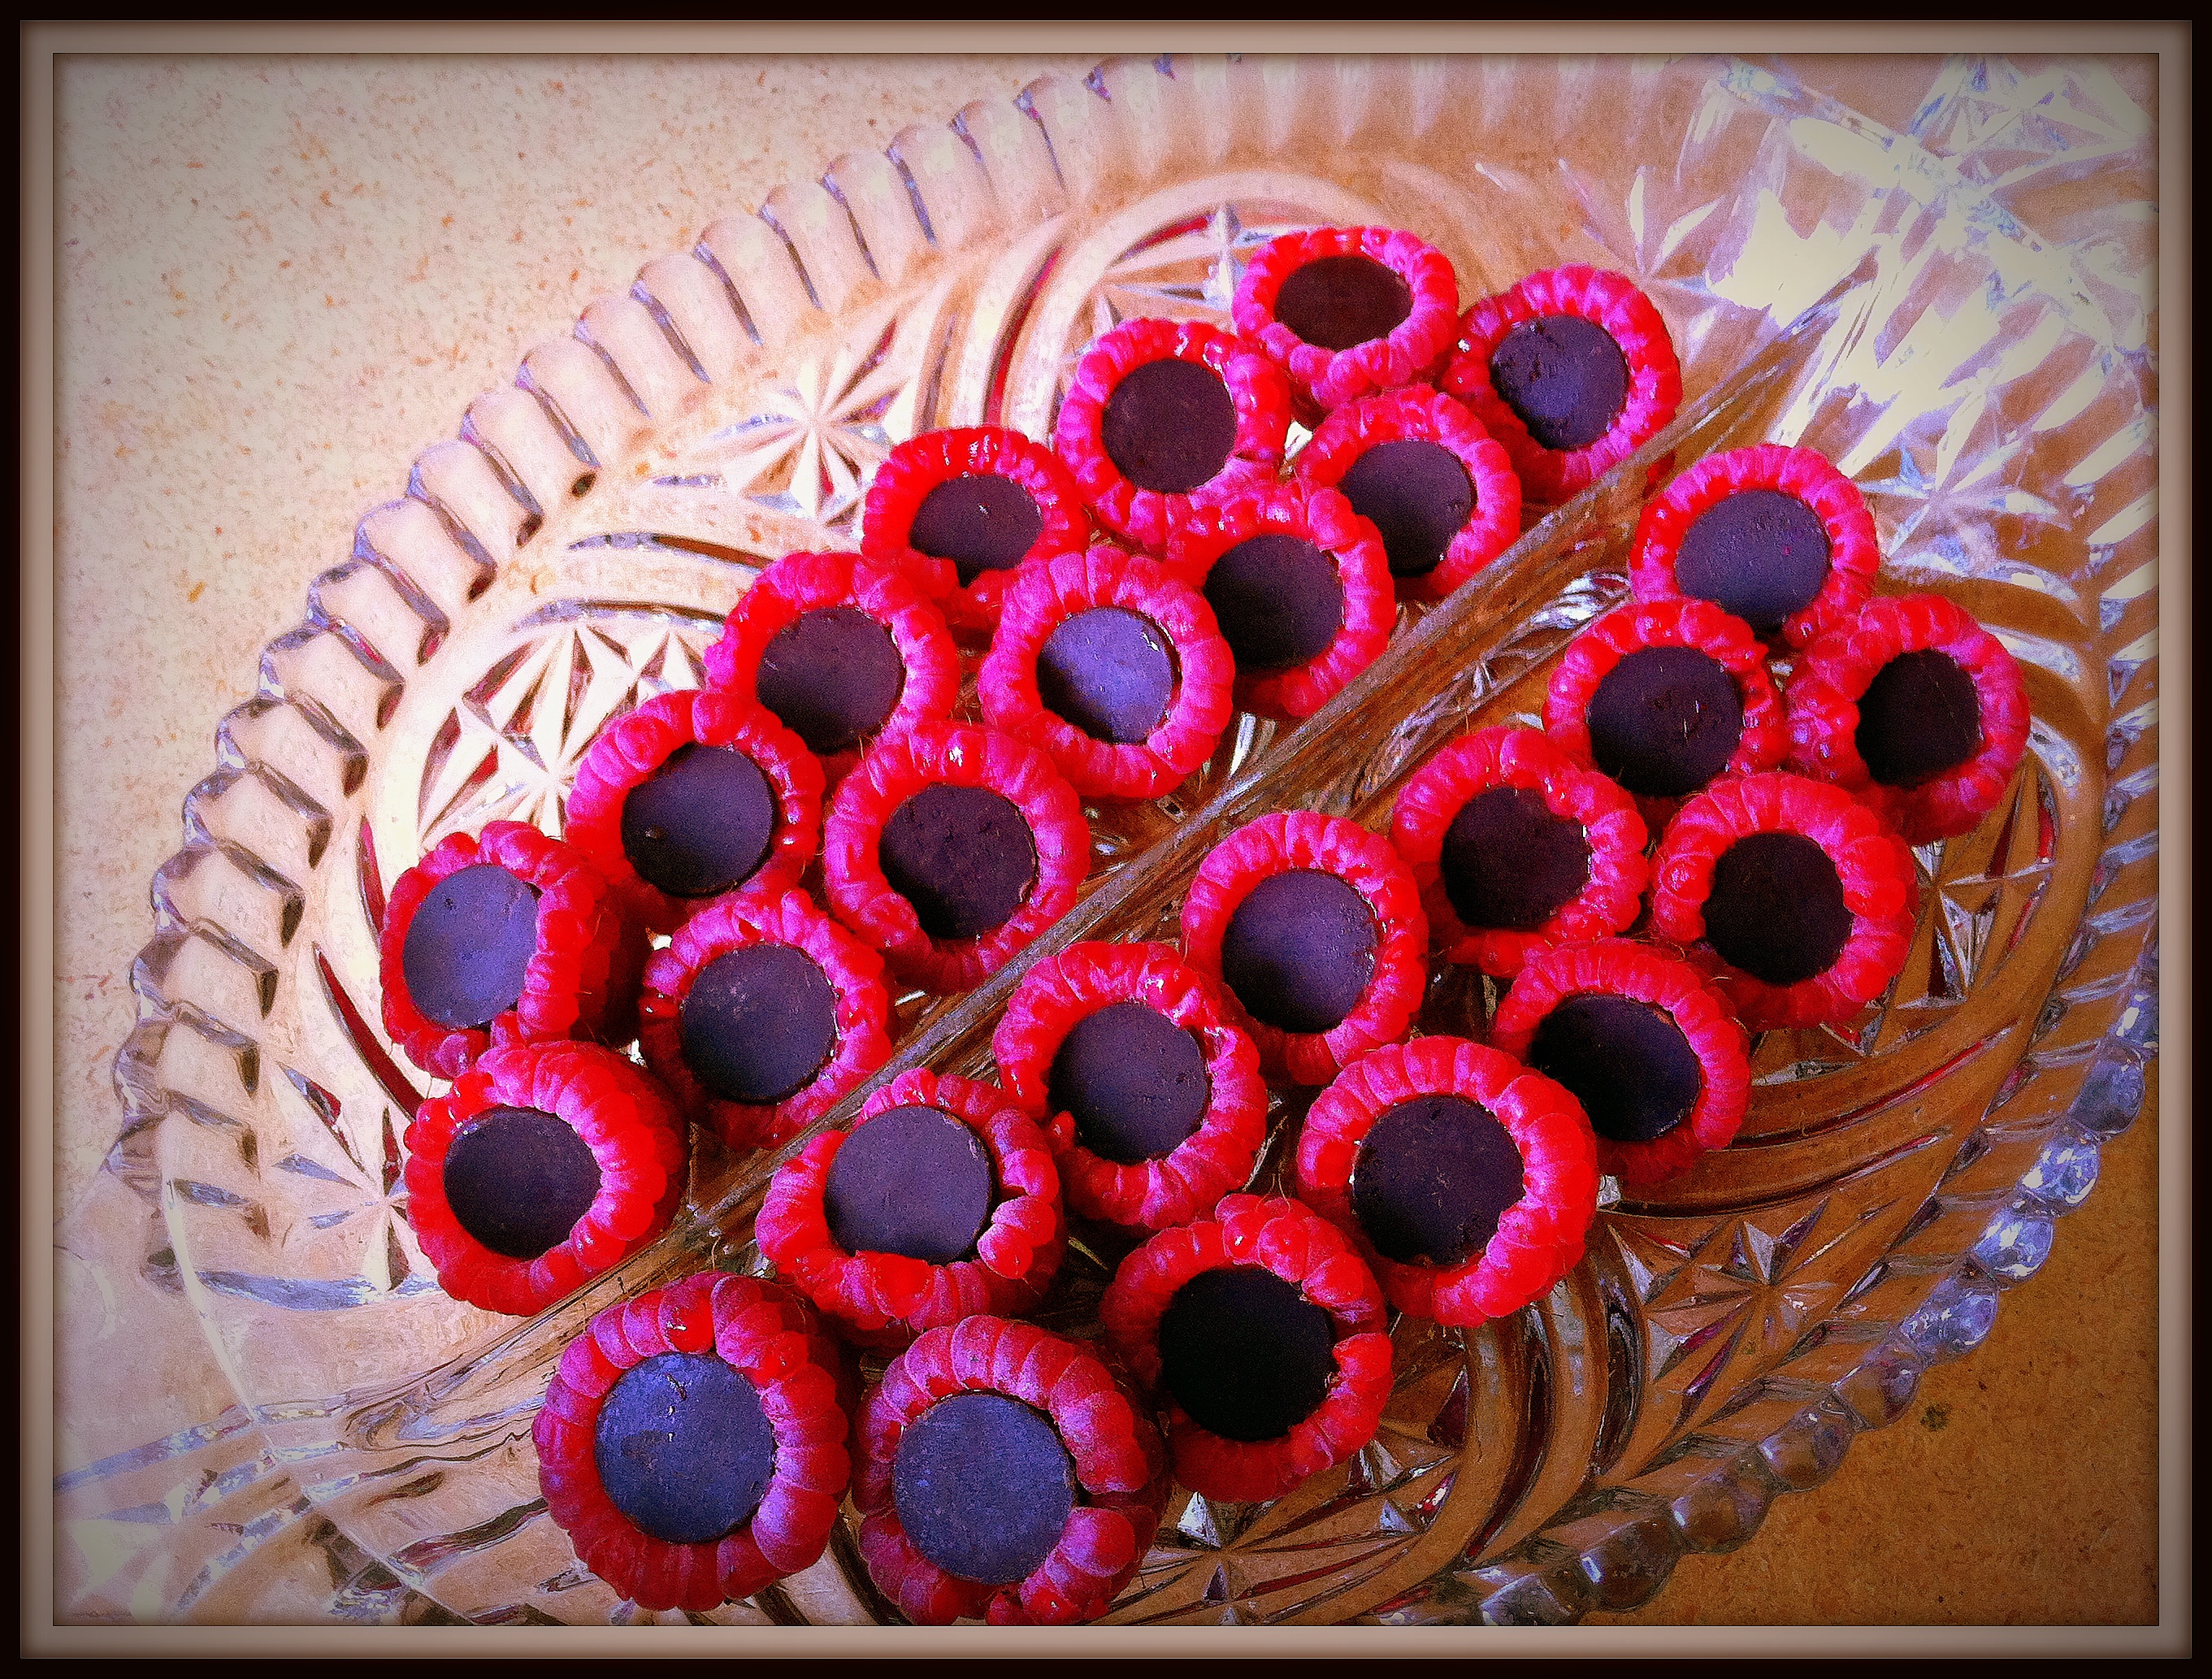
Dark Chocolate Raspberry Bites
So in true CNG style, this is basically the easiest “recipe” ever.
Step 1: Take a dark chocolate chip.
Step 2: Shove it inside of a raspberry.
And you’re done!
I used big ol’ chips that broke apart the raspberries a bit, so next time I shall use the mini kind.
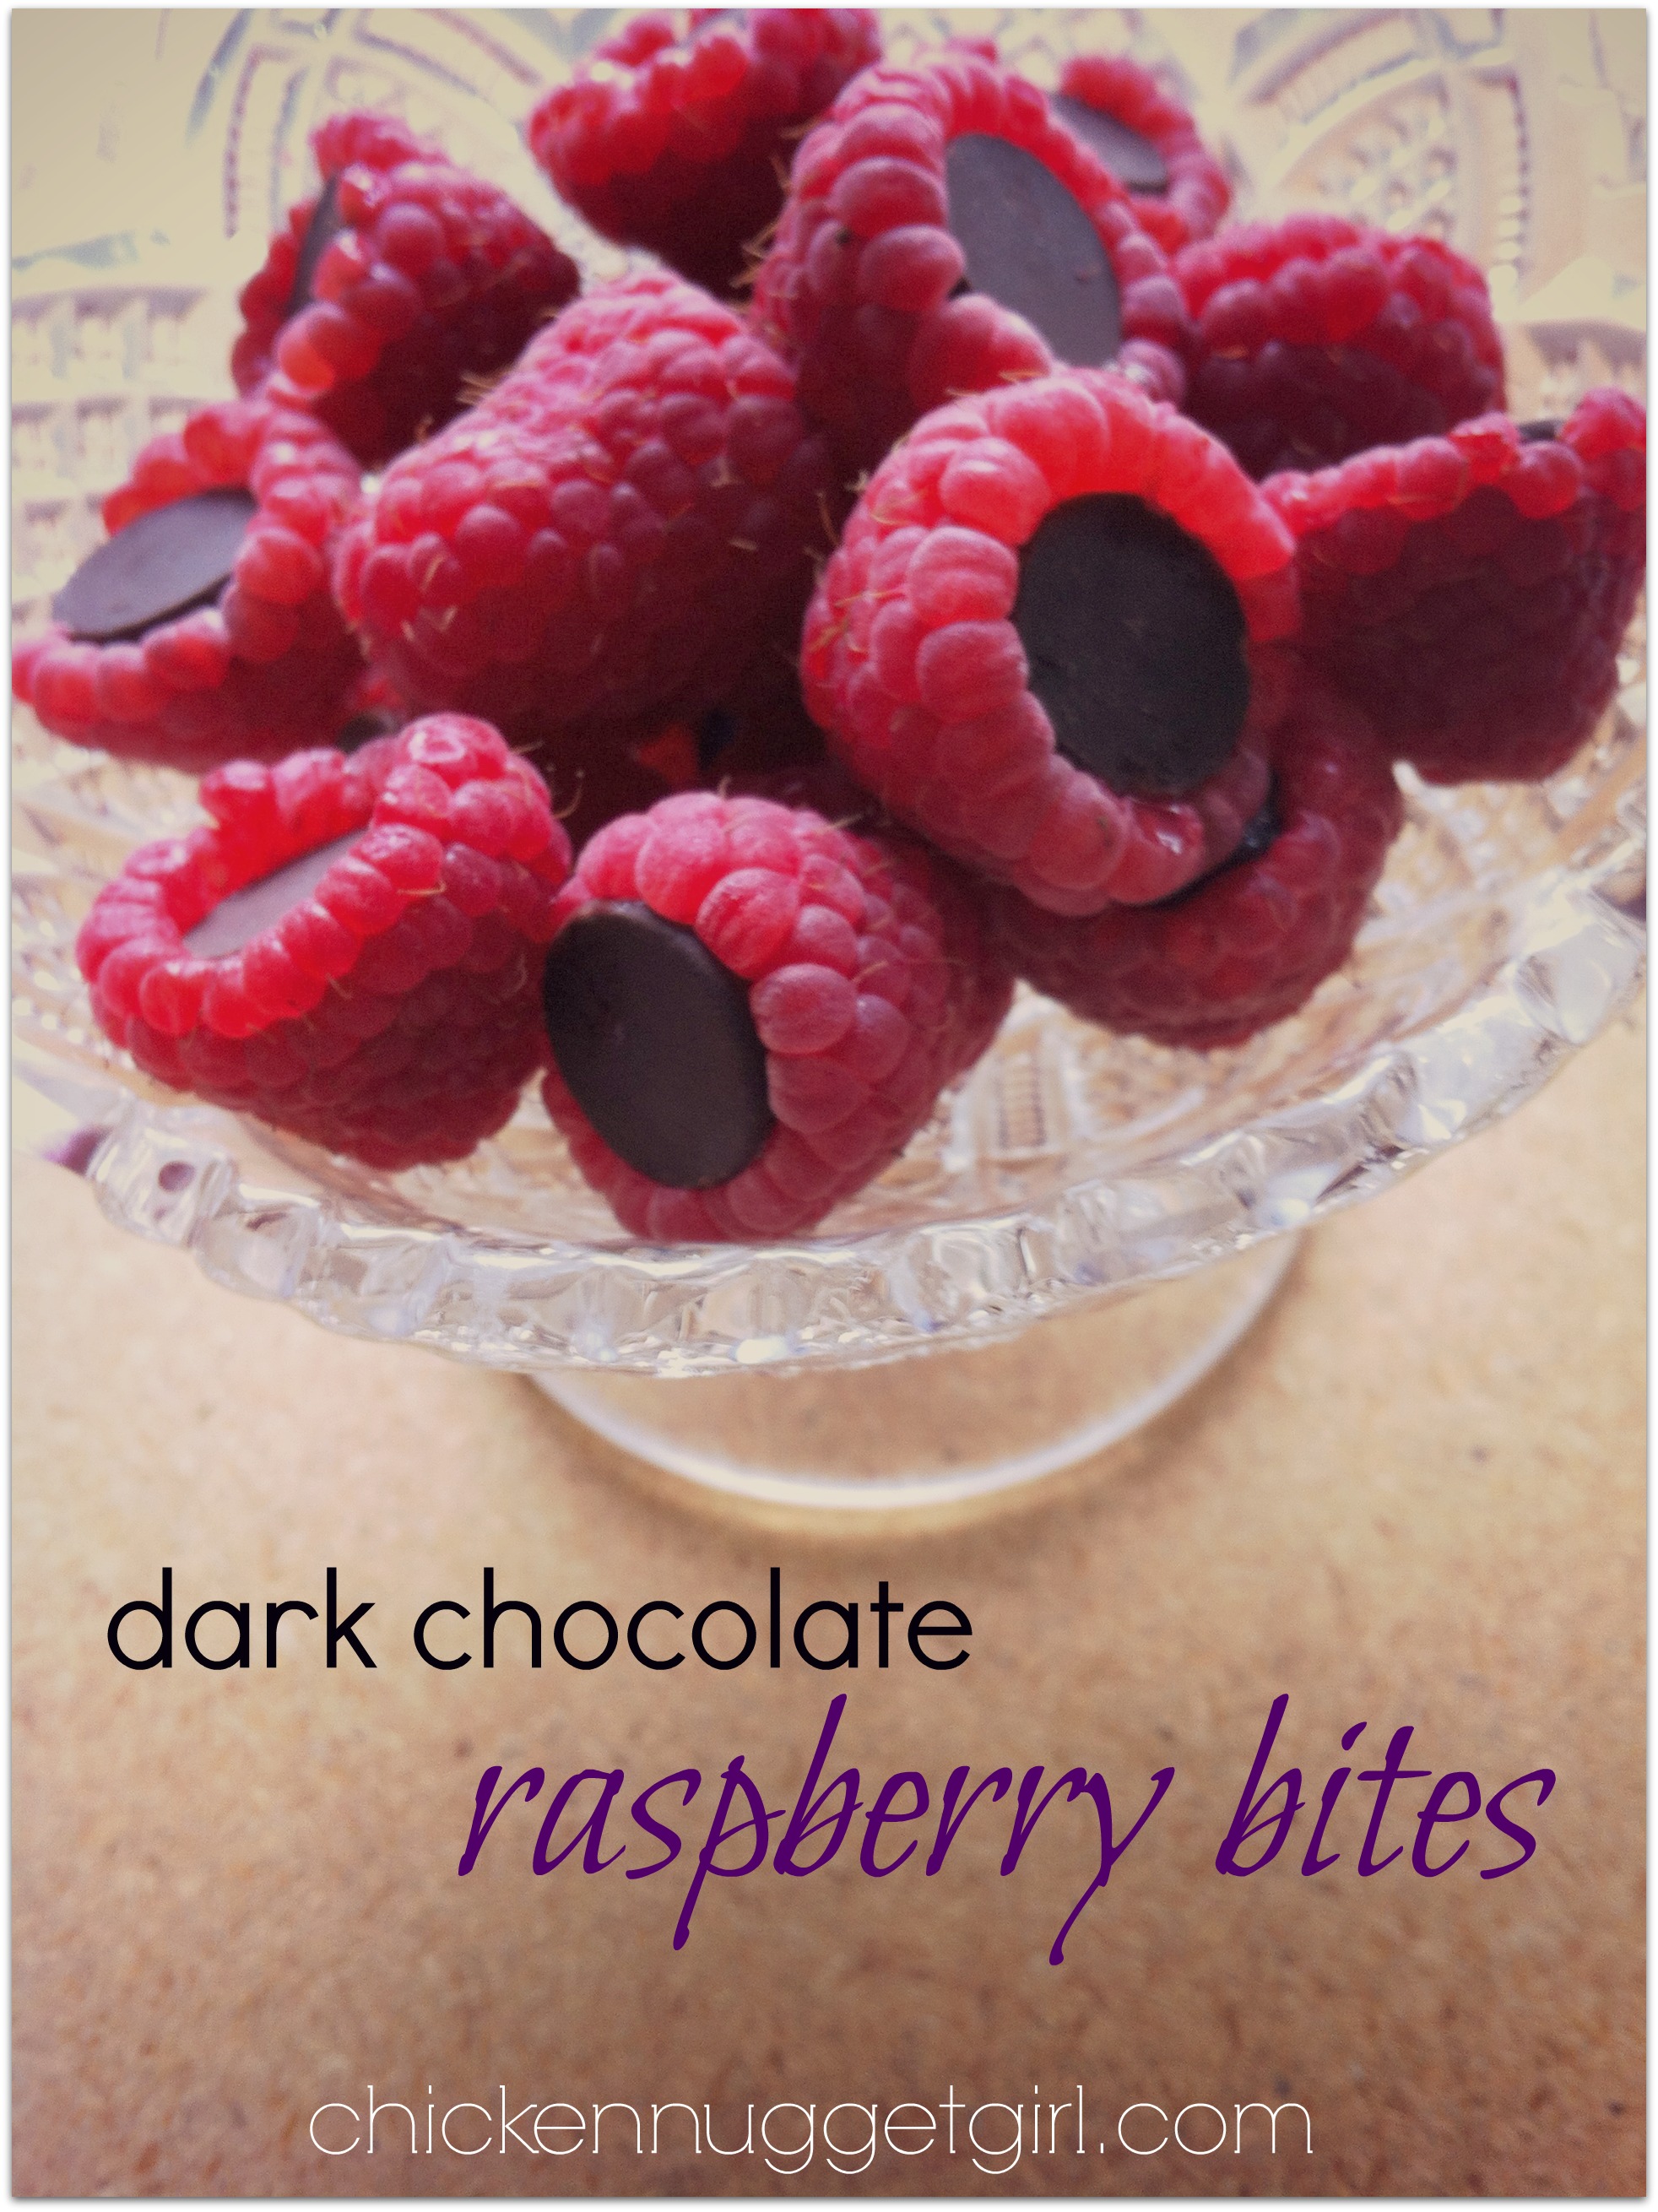

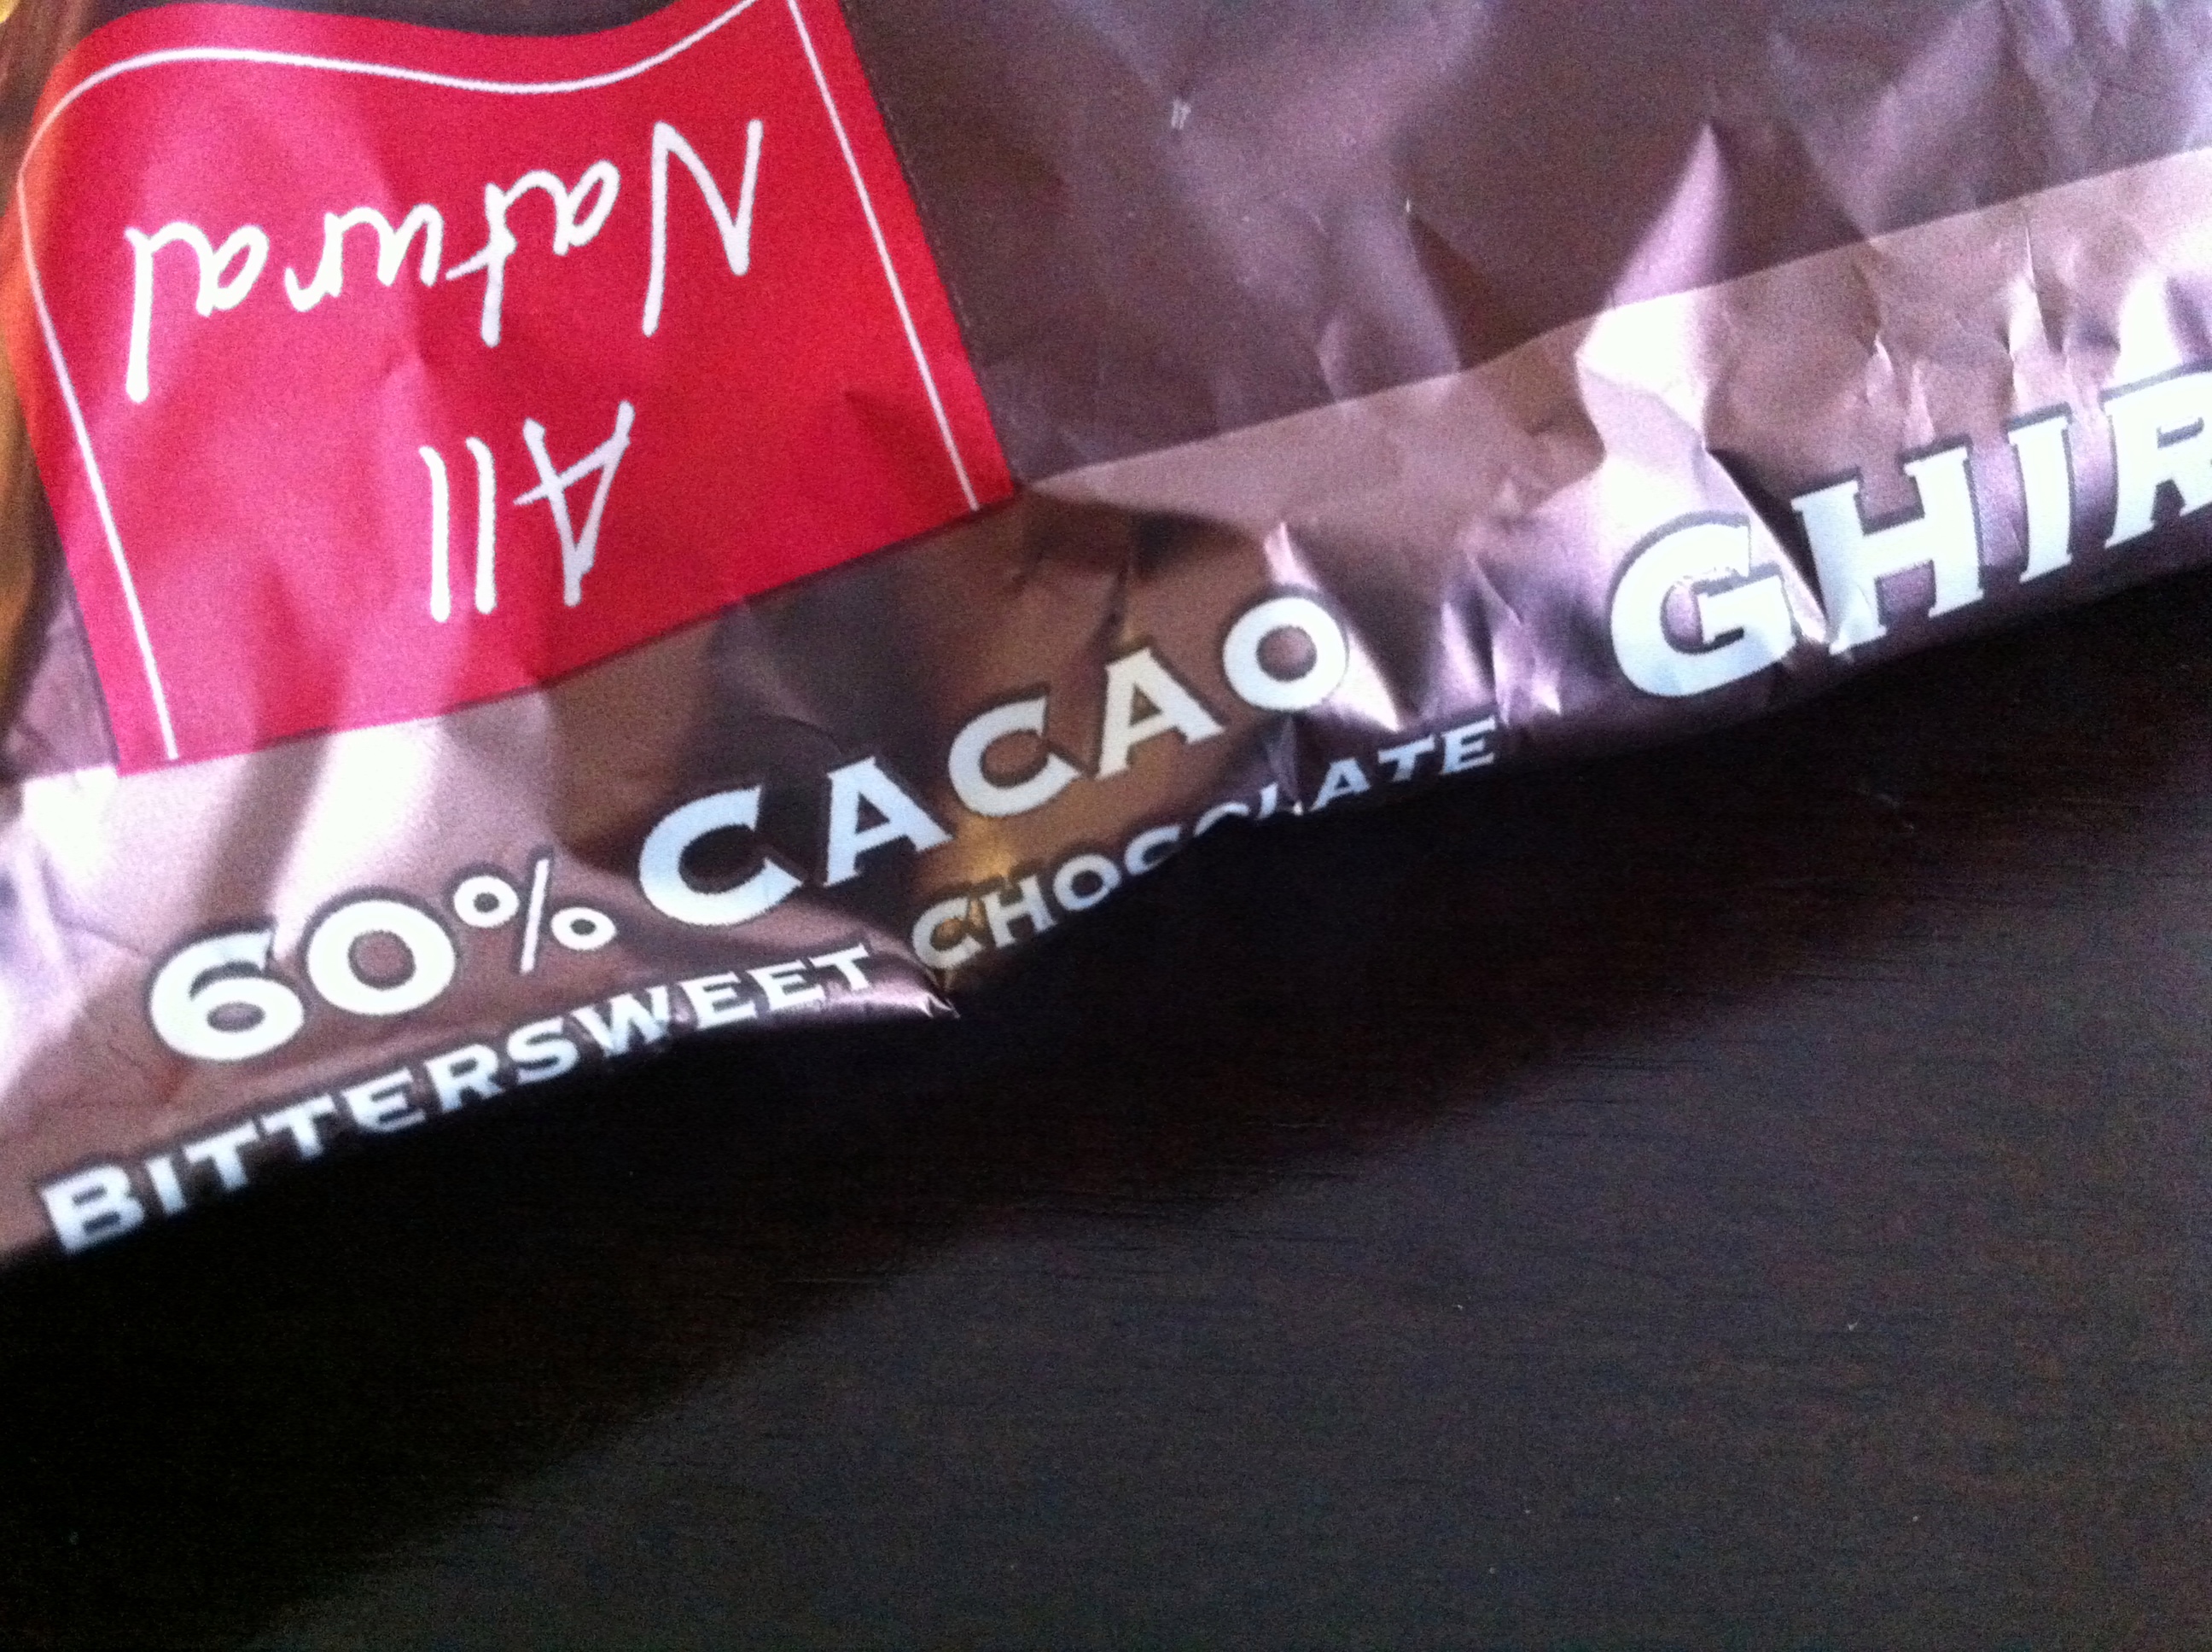 These yummy bites aren’t even a guilty pleasure because dark chocolate is good for you.
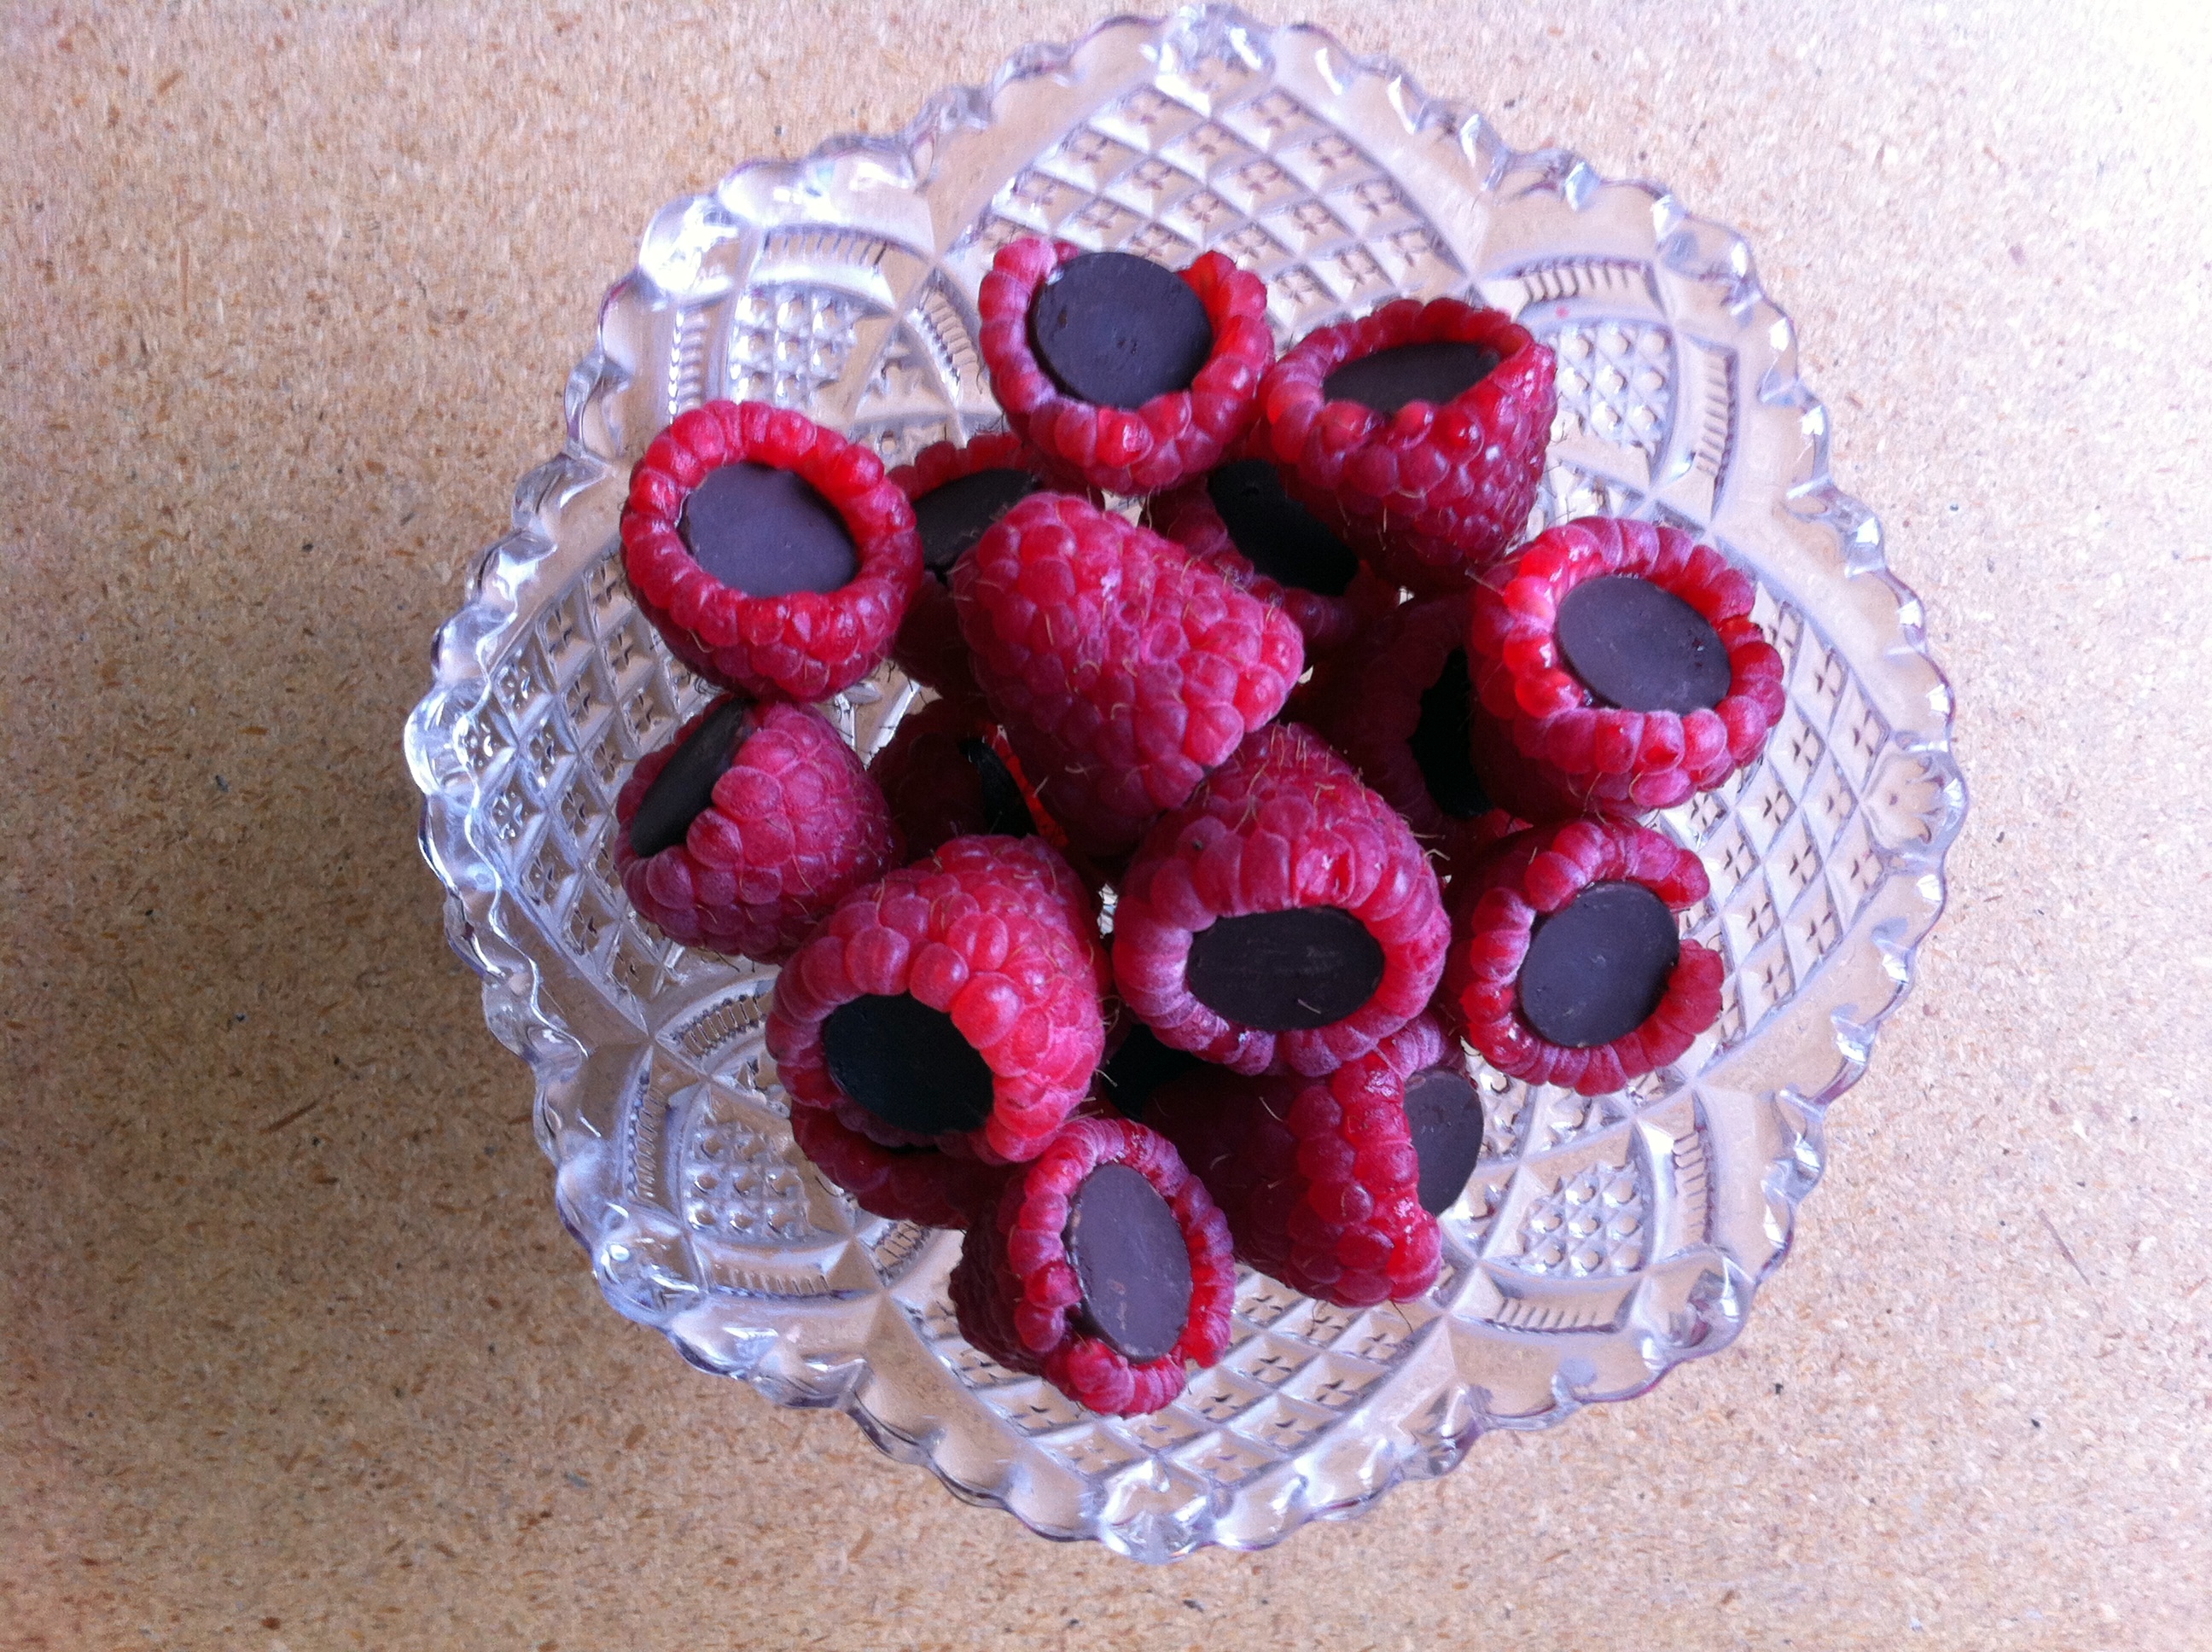 They were the perf little snack to bring to book club last week and disappeared shortly after my arrival. 🙂
 Thanks as always to Jenn @ Peas and Crayons for hosting What I Ate Wednesday!
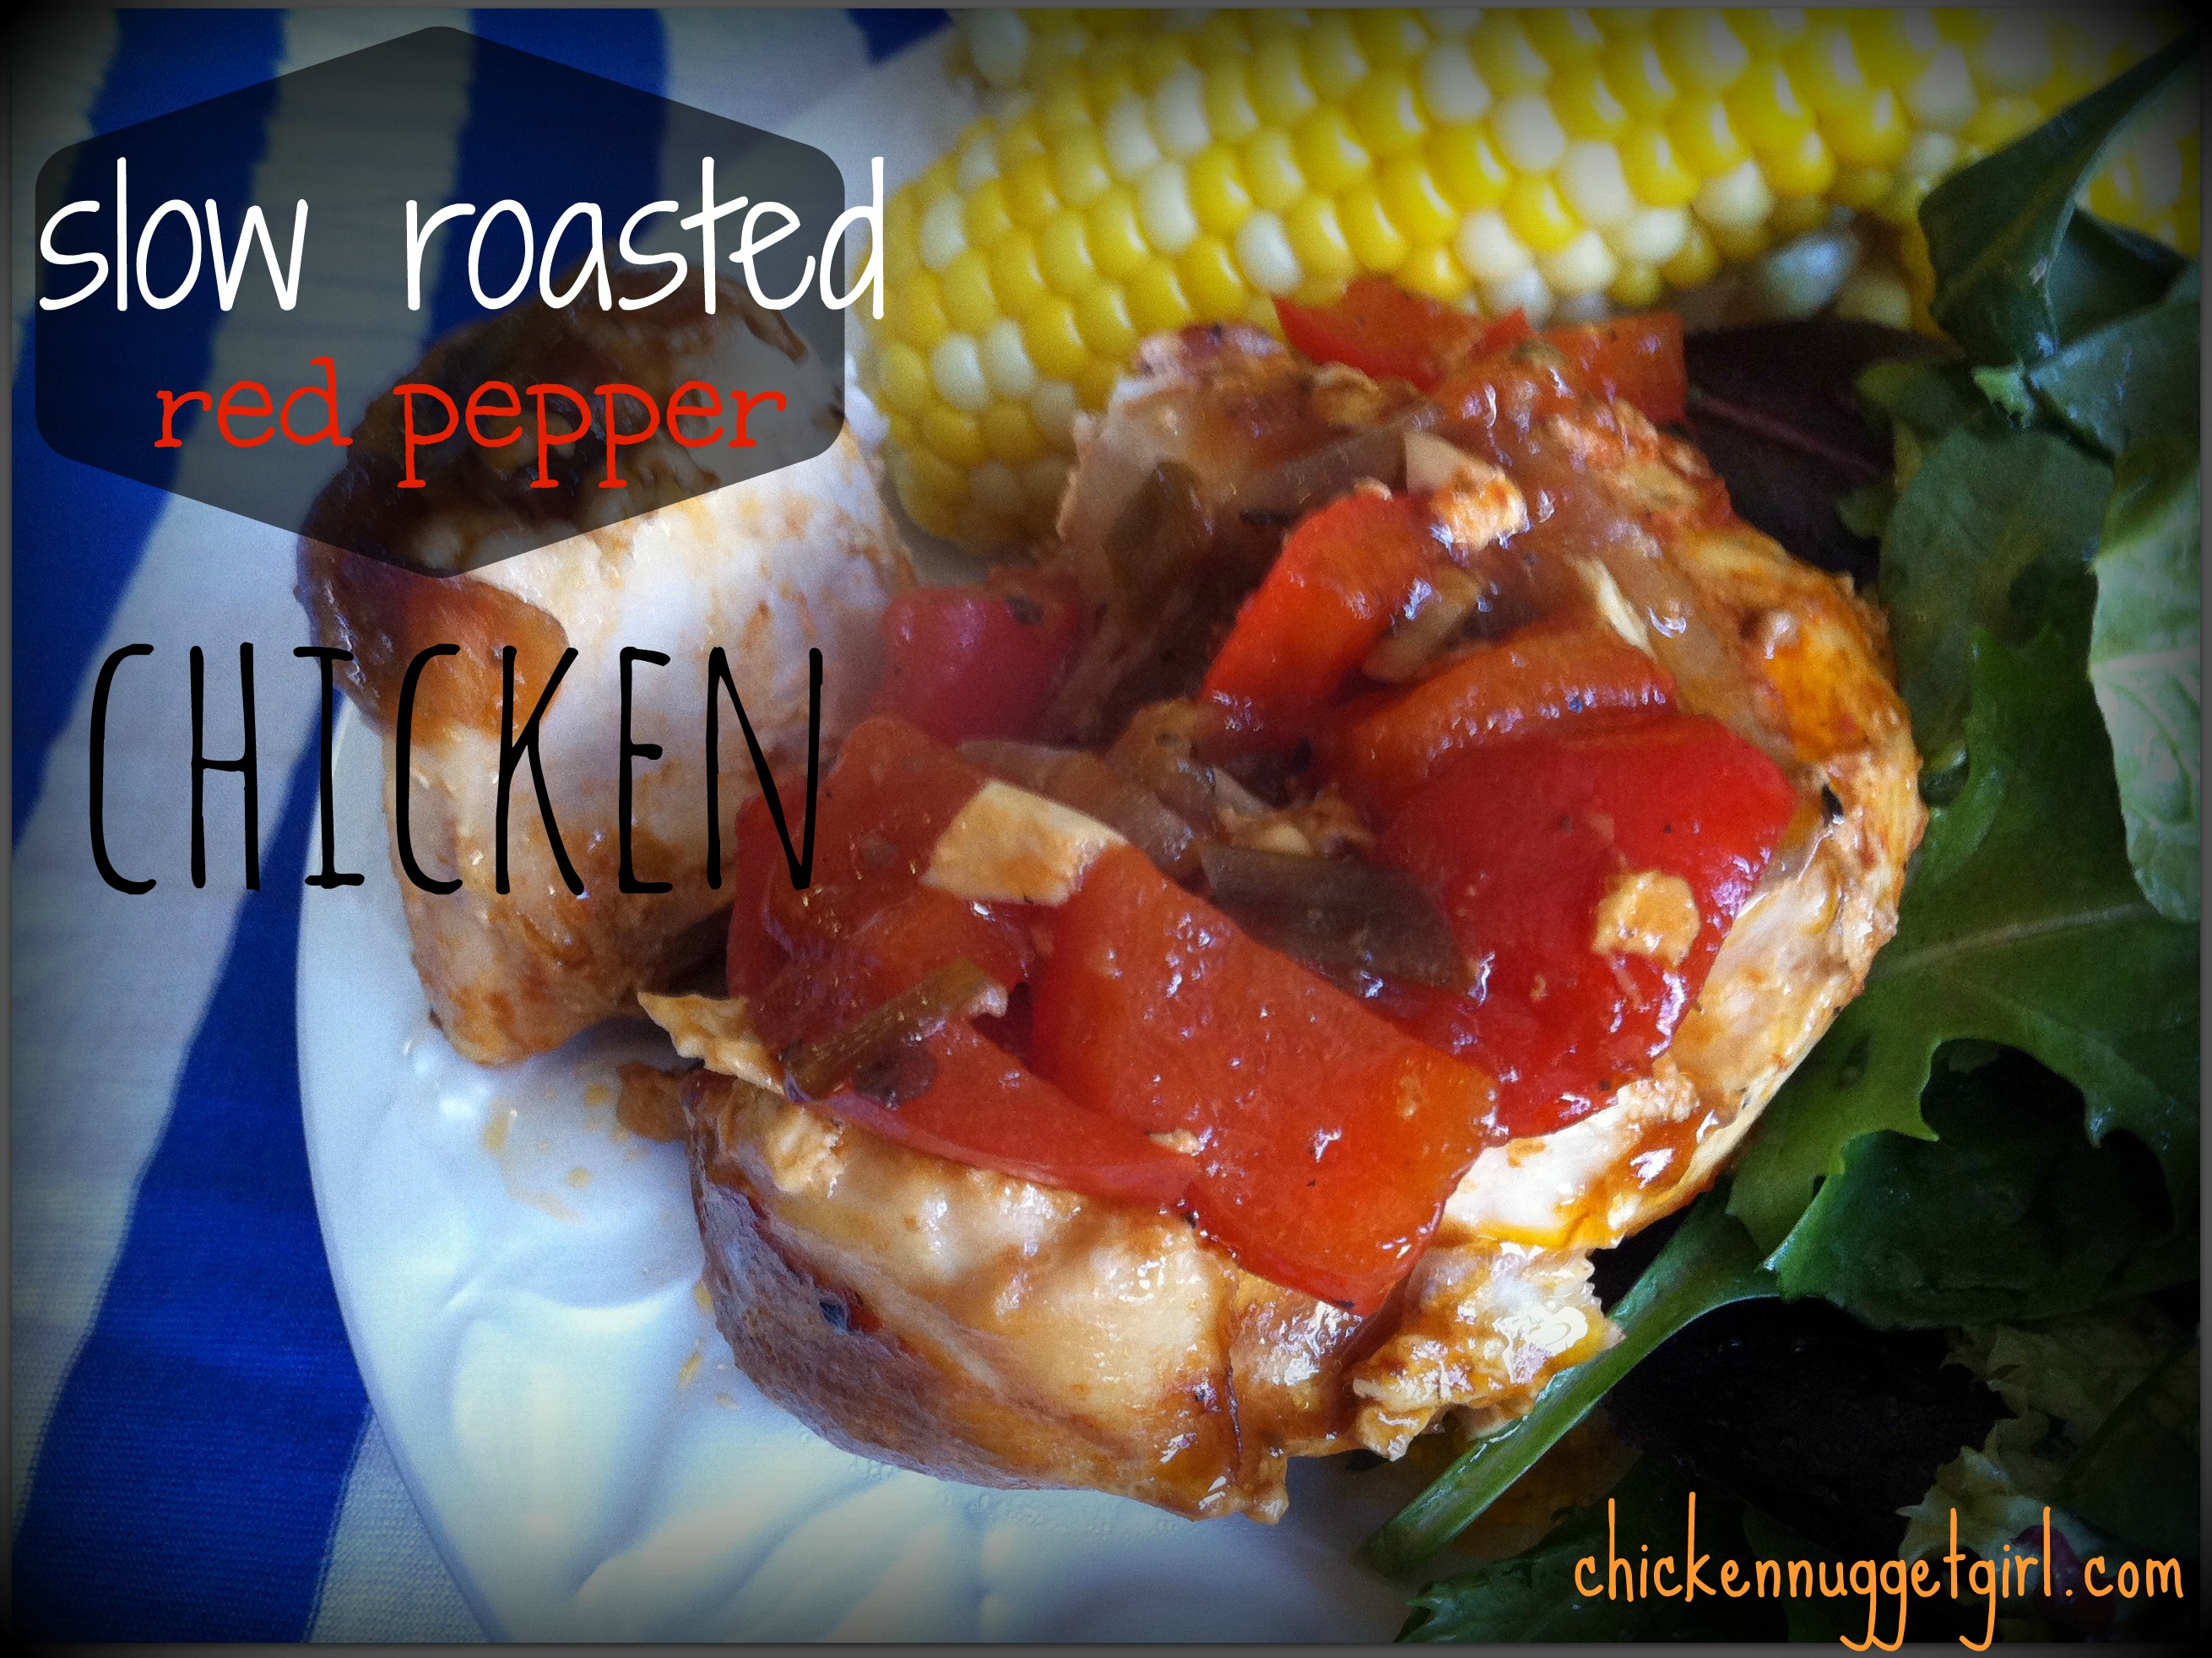
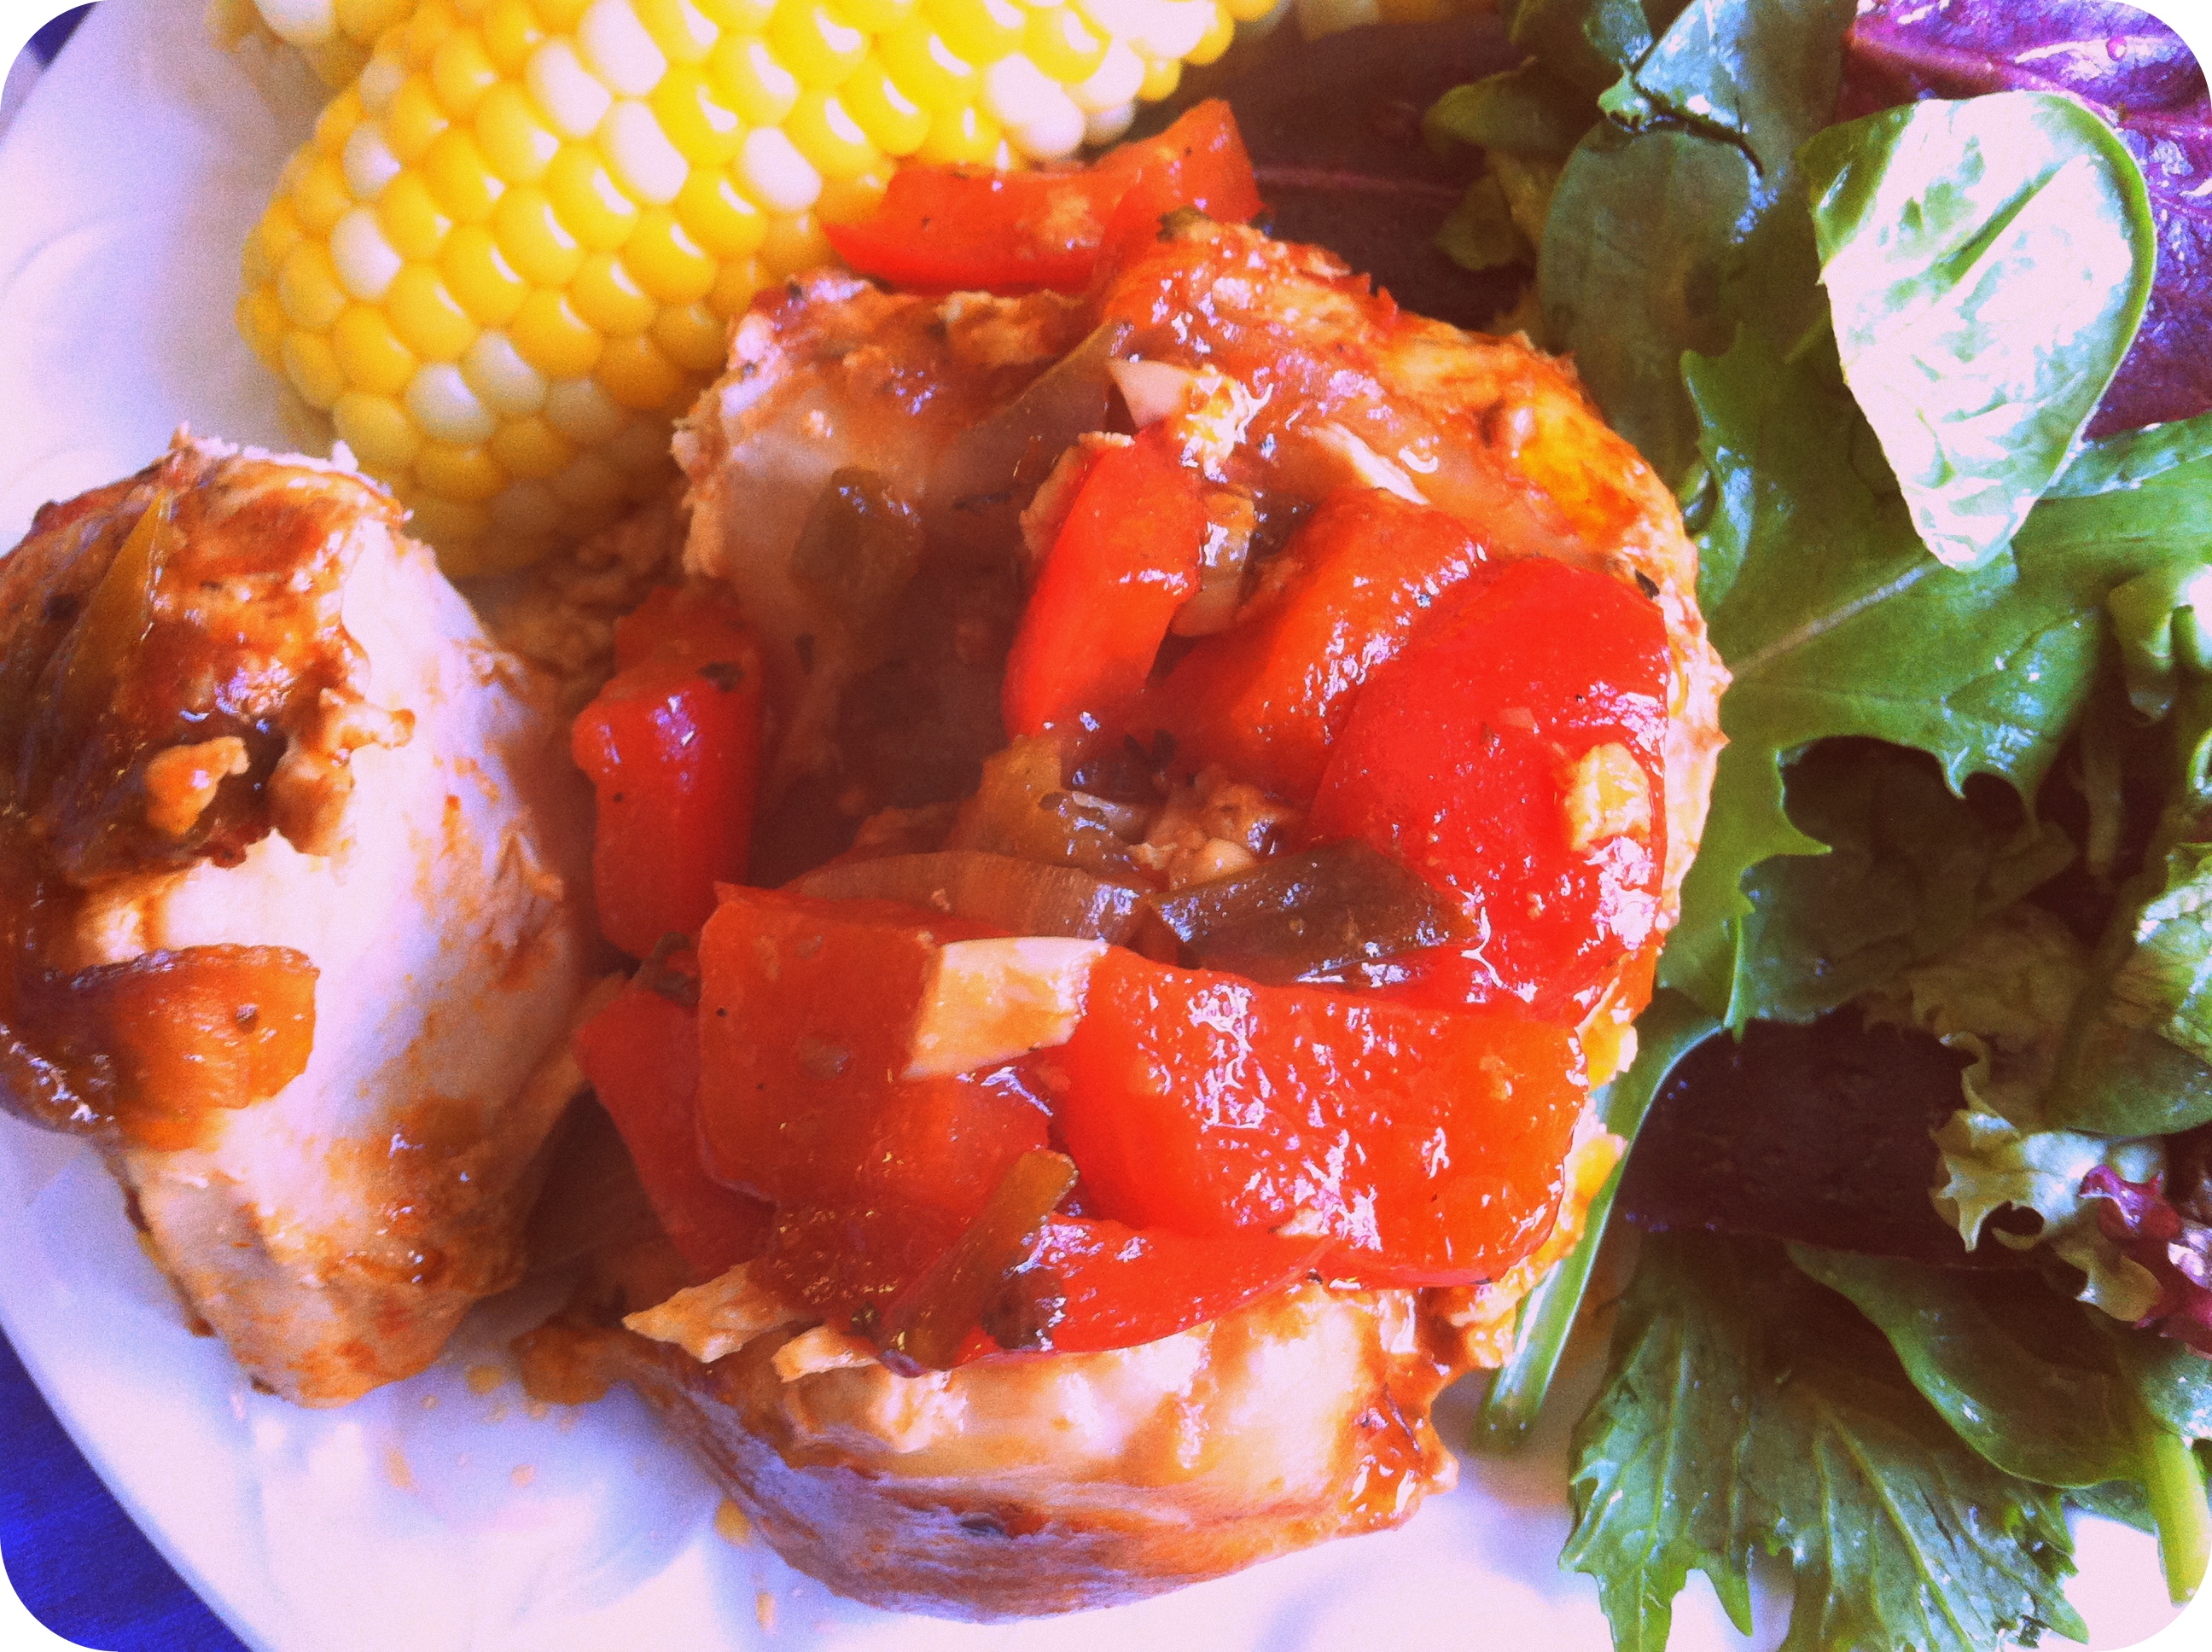
Slow Roasted Red Pepper Chicken
I finally remembered that I own a crock-pot and that I need to USE it!
This was the first time I tried cooking full chicken breasts with the crock-pot and love love loved how easy it was. Plus, no futzing around with raw meat – I dumped the chicken right from the plastic into the pot.

I looked up some generic recipes for cooking chicken in the crock pot and altered it to what I had in the fridge. (Whenever I make something new, Tuna has started asking me, “Are you going to make it with everything the recipe says?)
Cooking in the crock-pot gives everything so much more flavor! Since I haven’t been able to perfect baked chicken breast in the oven, I was relieved for a better tasting – and easier – solution.
The only downside is that you need to plan ahead because most crock-pot recipes call for at least 4 hours of cooking time.
Added side effect: this recipe fills up your house apartment with wonderful smells.


Serves 2-3
Ingredients:
- 1.3 lbs chicken breast
- 1/2 cup Italian salad dressing
- 1 red bell pepper, chopped
- 2 scallions, chopped
- salt and pepper to taste
- 1/2 tsp oregano
- 4 cloves garlic, minced
- 1 tbsp tomato paste
Directions:
 Thanks as always to Jenn @ Peas and Crayons for hosting What I Ate Wednesday!
A Peek Inside My Kitchen
Like I’ve said before, I’m slightly obsessed with keeping healthy food in my apartment. If I have junk food around, I will most definitely eat it. All of it.
To prevent a ridiculous amount of potato chip consumption, I’m at the point where I keep a nutrient stocked pantry/fridge most of the time.
It’s pretty cool to be able to cook a variety of dishes on any given night by throwing together ingredients that I already have in the fridge. Before I started eating clean, that never would have happened.
To give you more of an idea of what my normal food sitch looks like, I thought it could be fun to take a peek inside my kitchen.


Let me just say that in no way do I think I am a pantry expert. Hell, I’m still figuring out which veggies need to be refrigerated and which ones don’t.
 My dream pantry would be more along the lines of this:
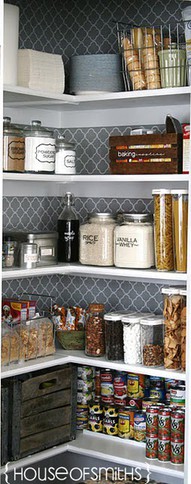
from PINTEREST
But I have come up with a few tricks that make my food storage space more appealing to me!
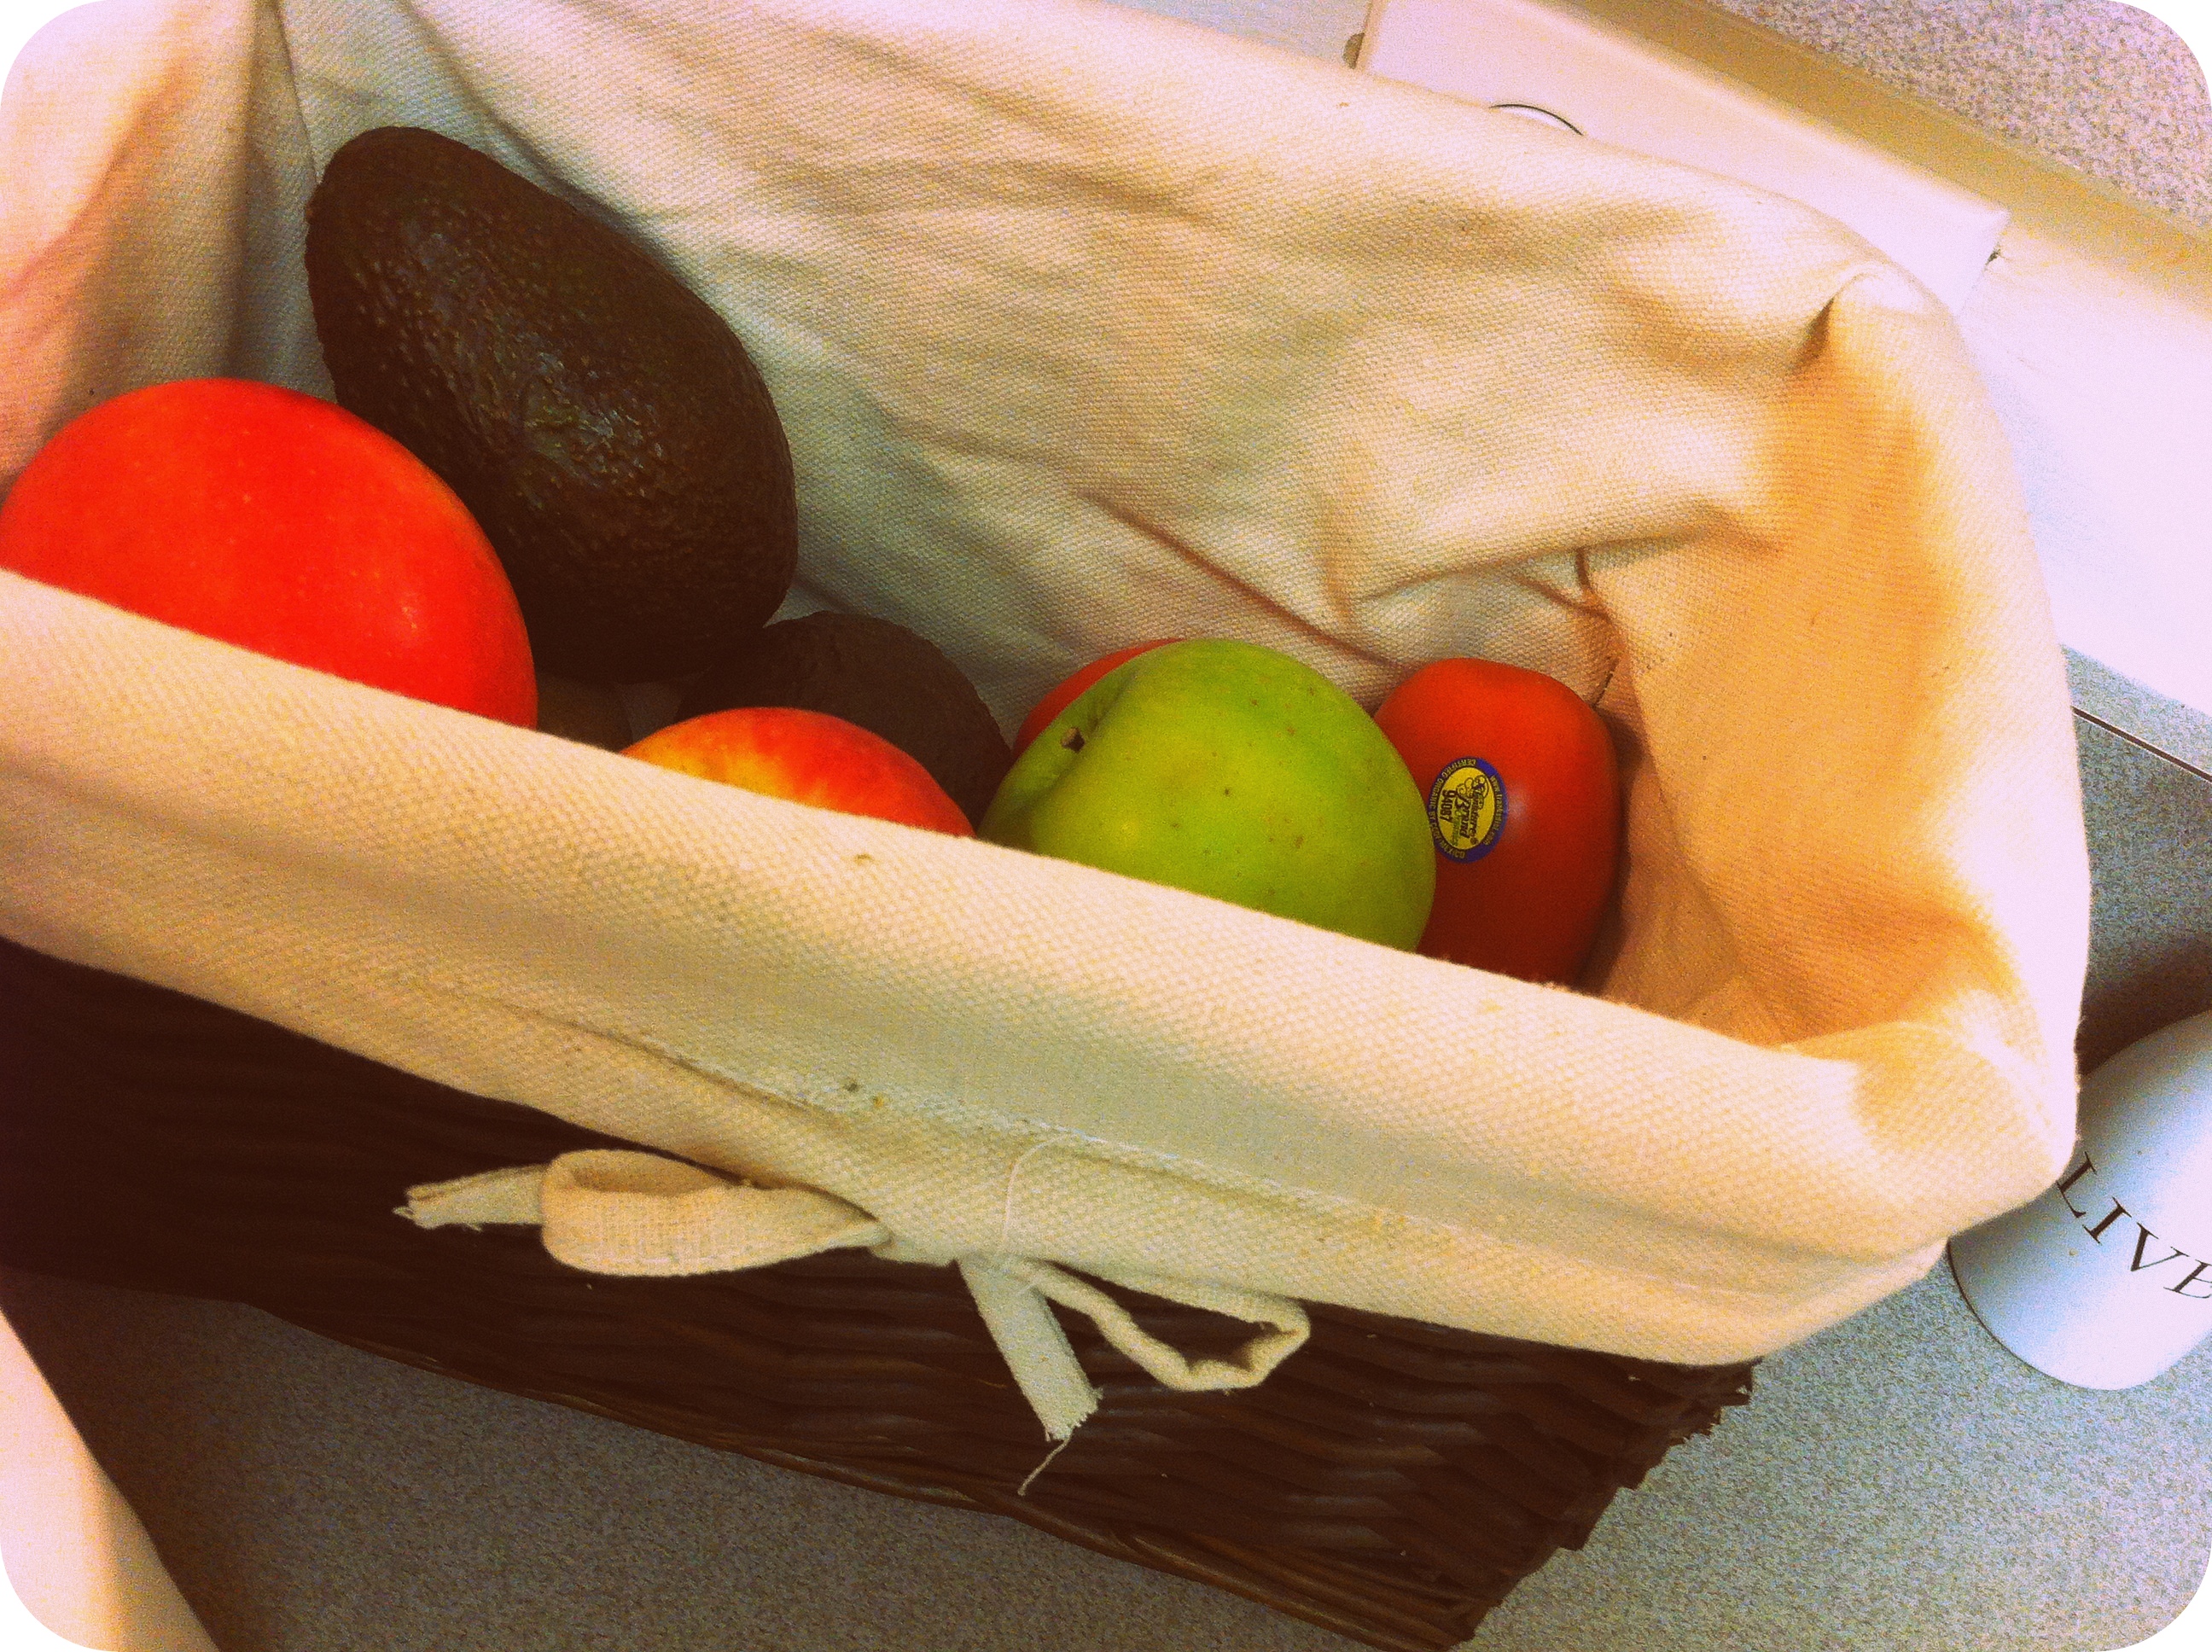
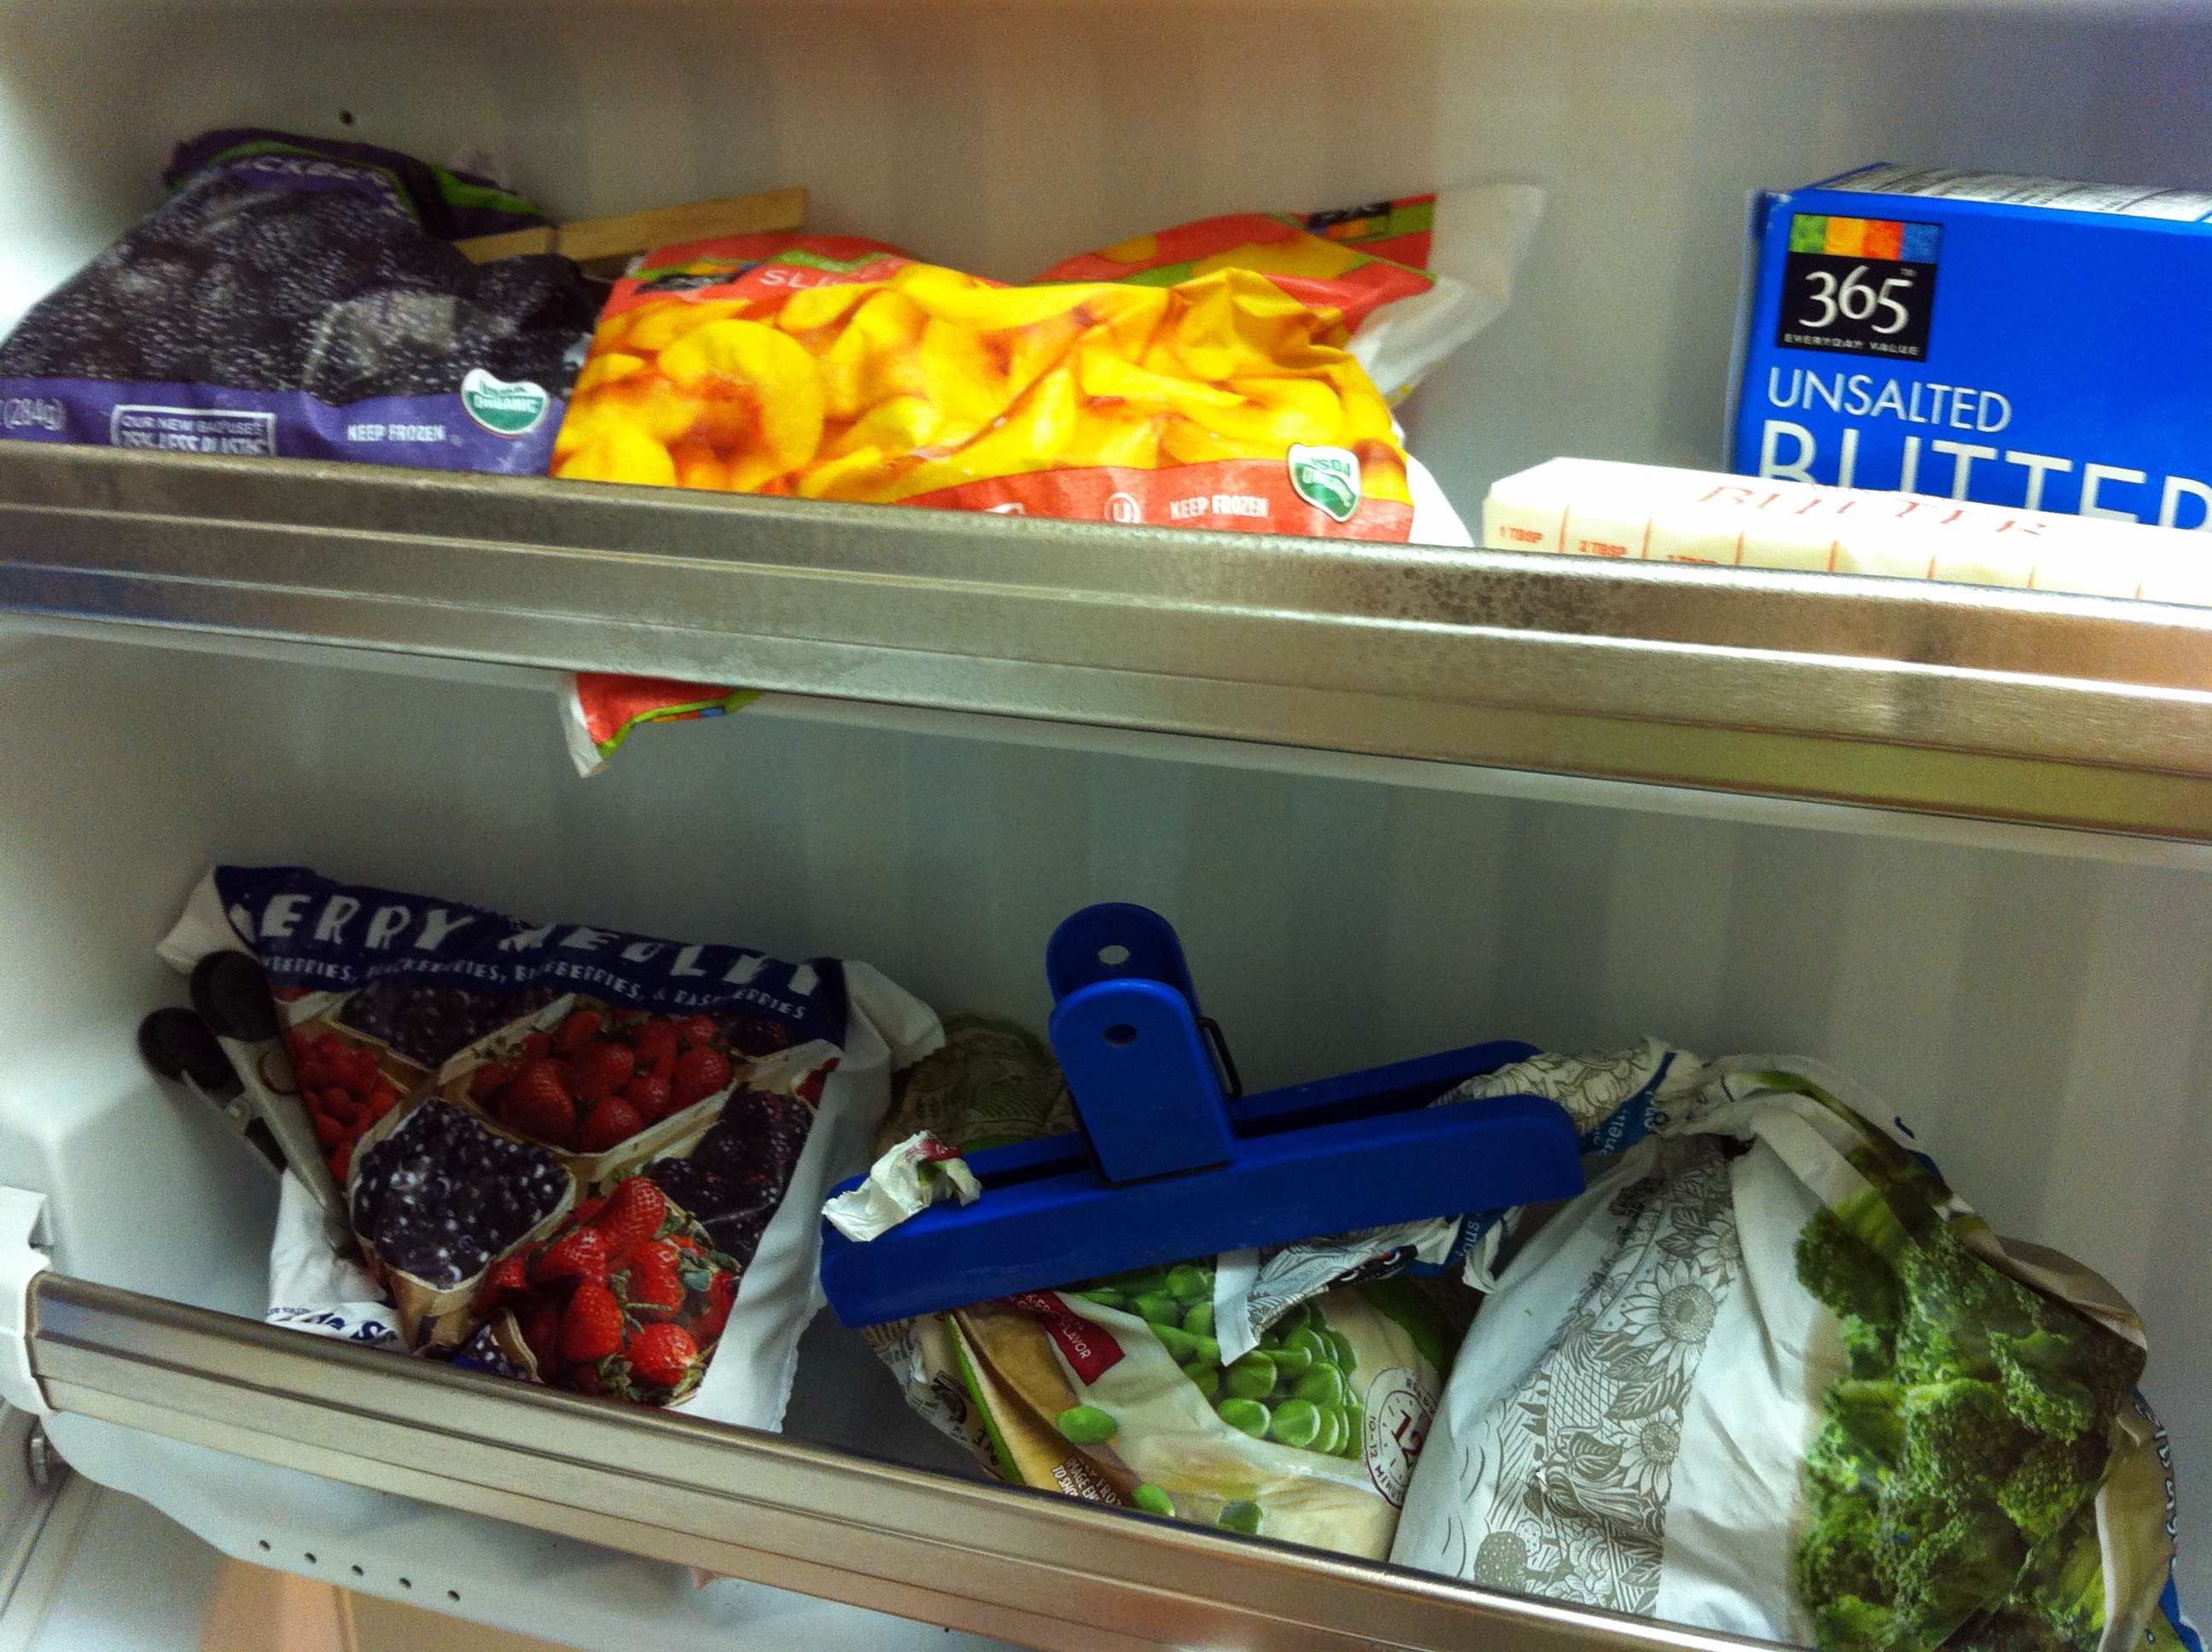
Fridge
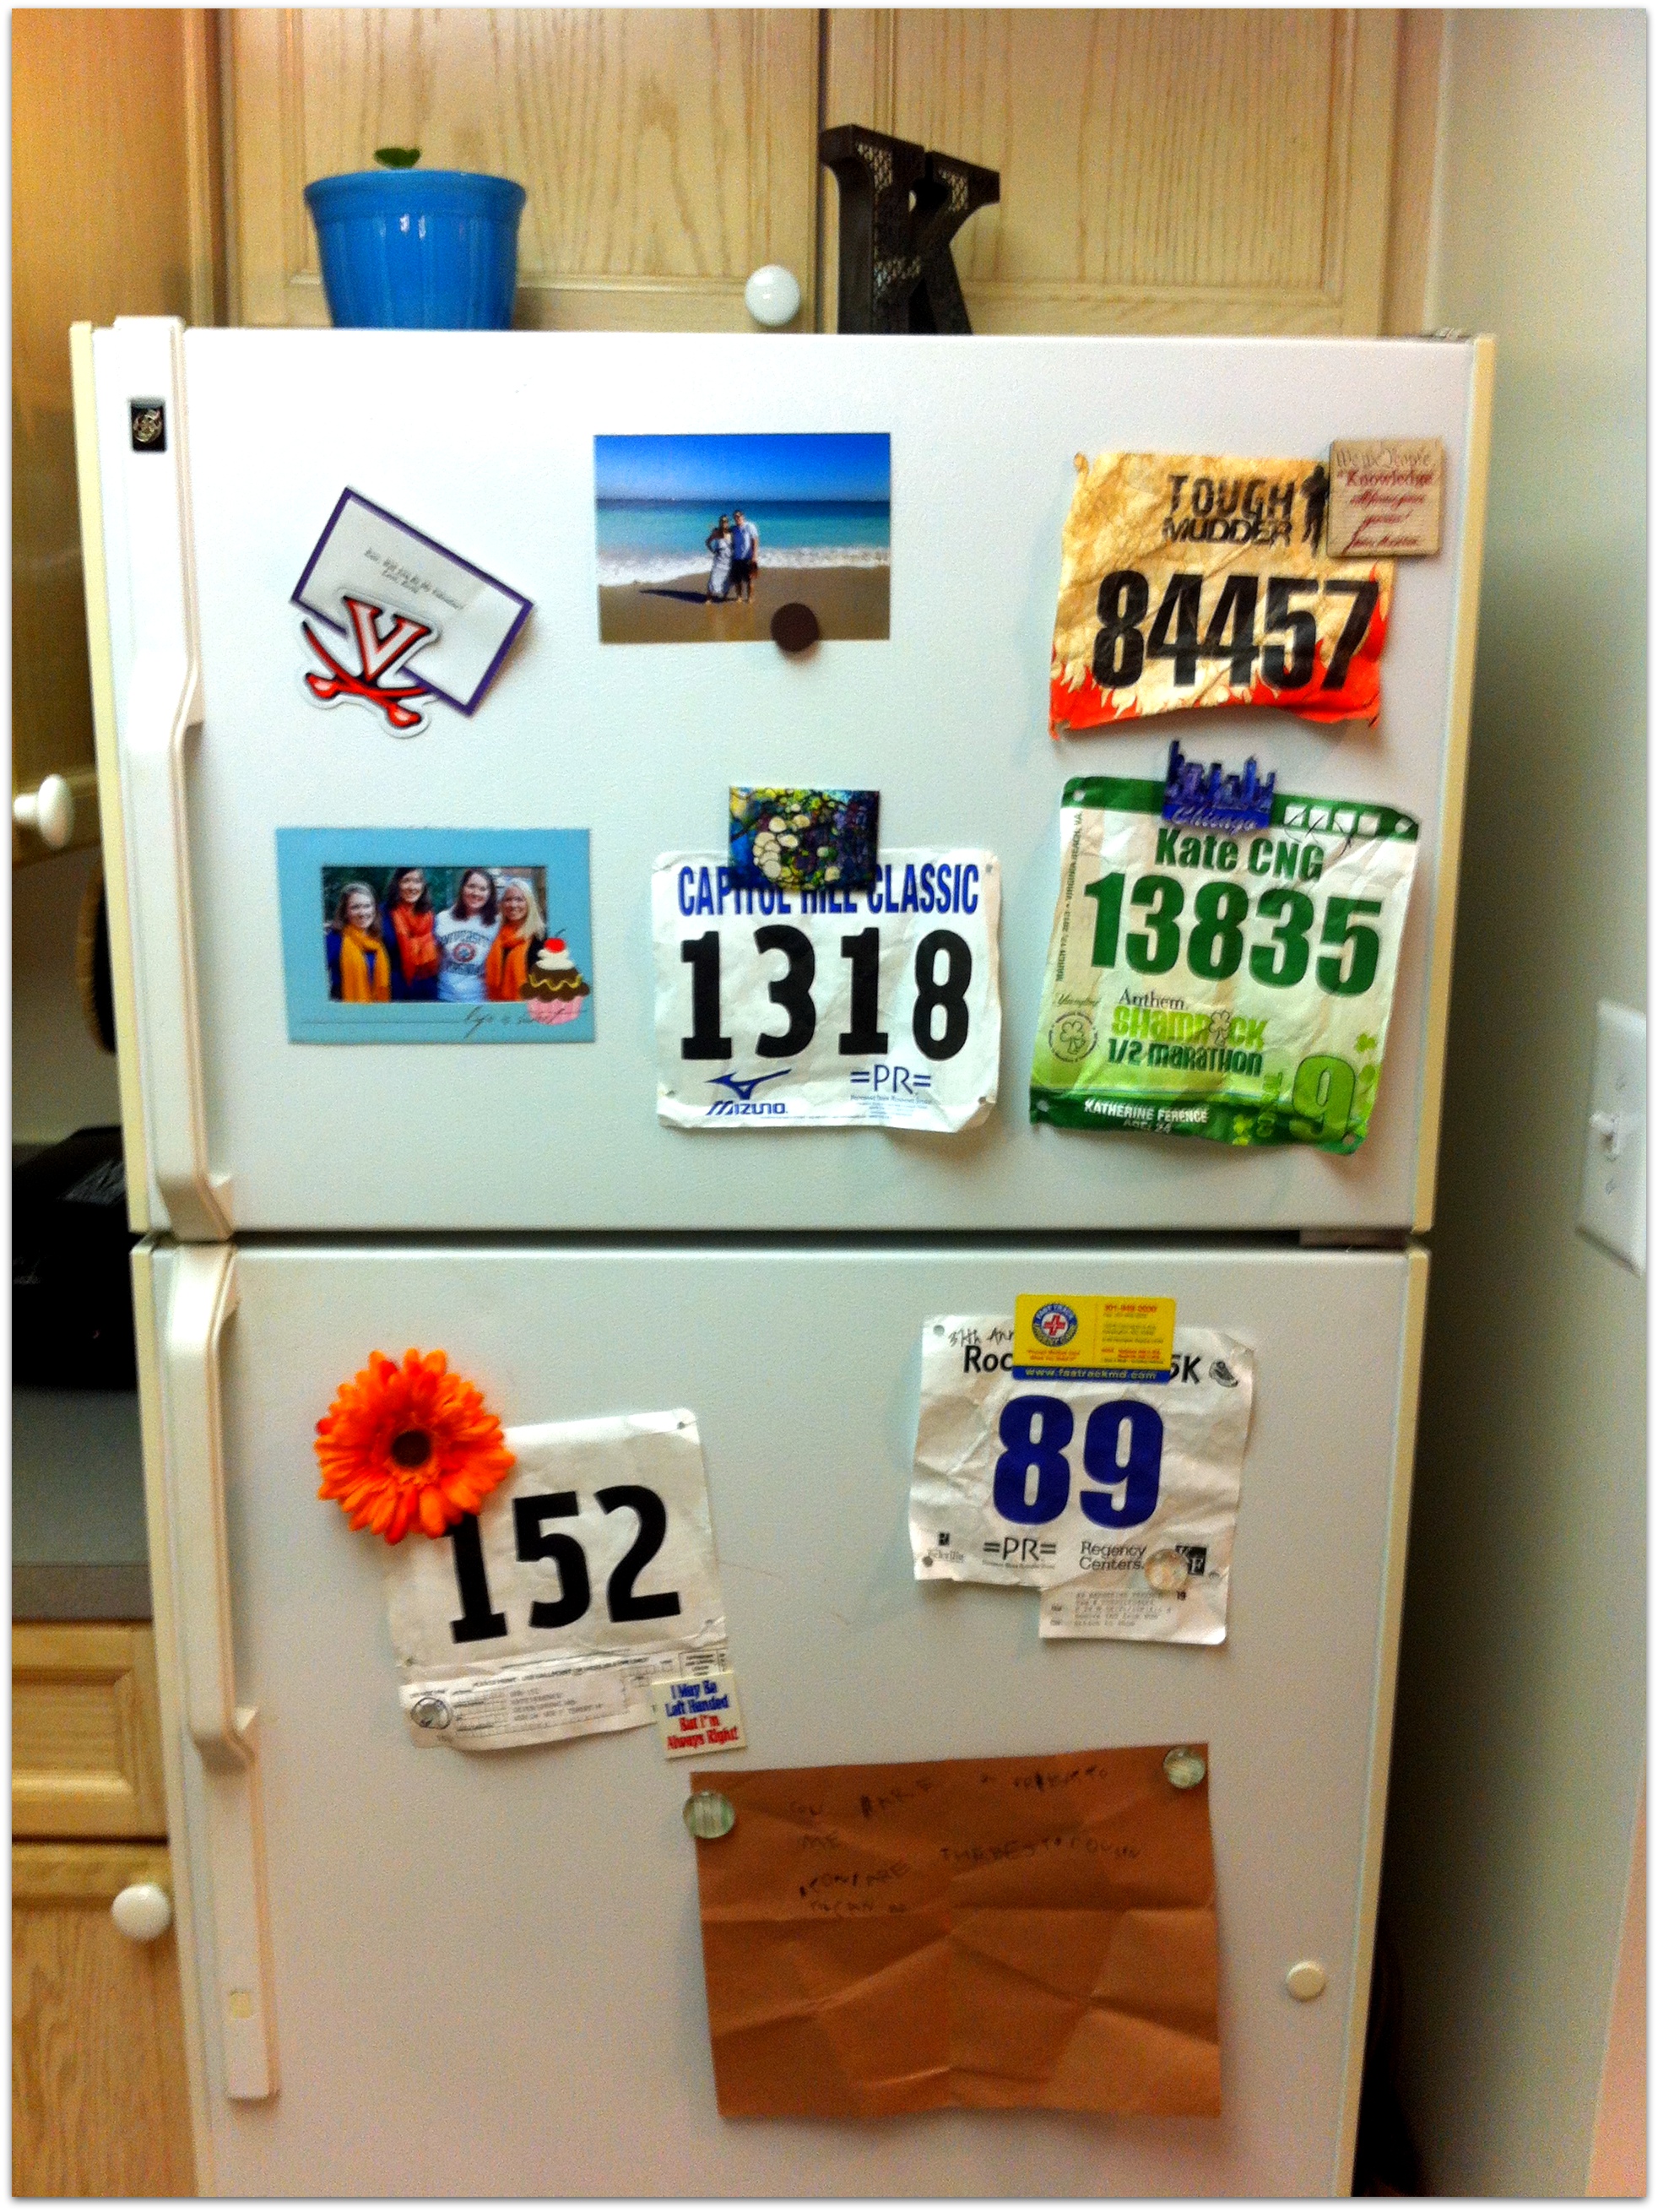 I like to keep everything where it’s easily visible. Otherwise, I’ll totally forget what I have and end up wasting or buying double of things I already have in stock.
 Every time I buy fresh produce from the farmer’s market or the grocery store, I keep the little green bins it comes in. Not only are they cute, but they also help me keep everything organized.
Yup, you are seeing my lunchbox in there. I pack my lunch the night before I eat it, and keep it all packed up so in the morning I can literally just grab it and go.
Freezer
My freezer isn’t as full as I’d like it to be. I plan to start making more leftovers to freeze for future meals when I get the chance to experiment with my crock-pot a little more.
 Frozen fruit = necessary for smoothies. When I first started making smoothies, I mostly used fresh fruit until my mom was horrified and told me to buy FROZEN fruit. The $$ saving factor of frozen fruit is absurd.
 Pantry


Glass jars. Not only are they pretty, it’s healthier to store your food in glass containers (vs. plastic). It’s fun to decorate/label them too – I got the idea from our very own Peas and Crayons!
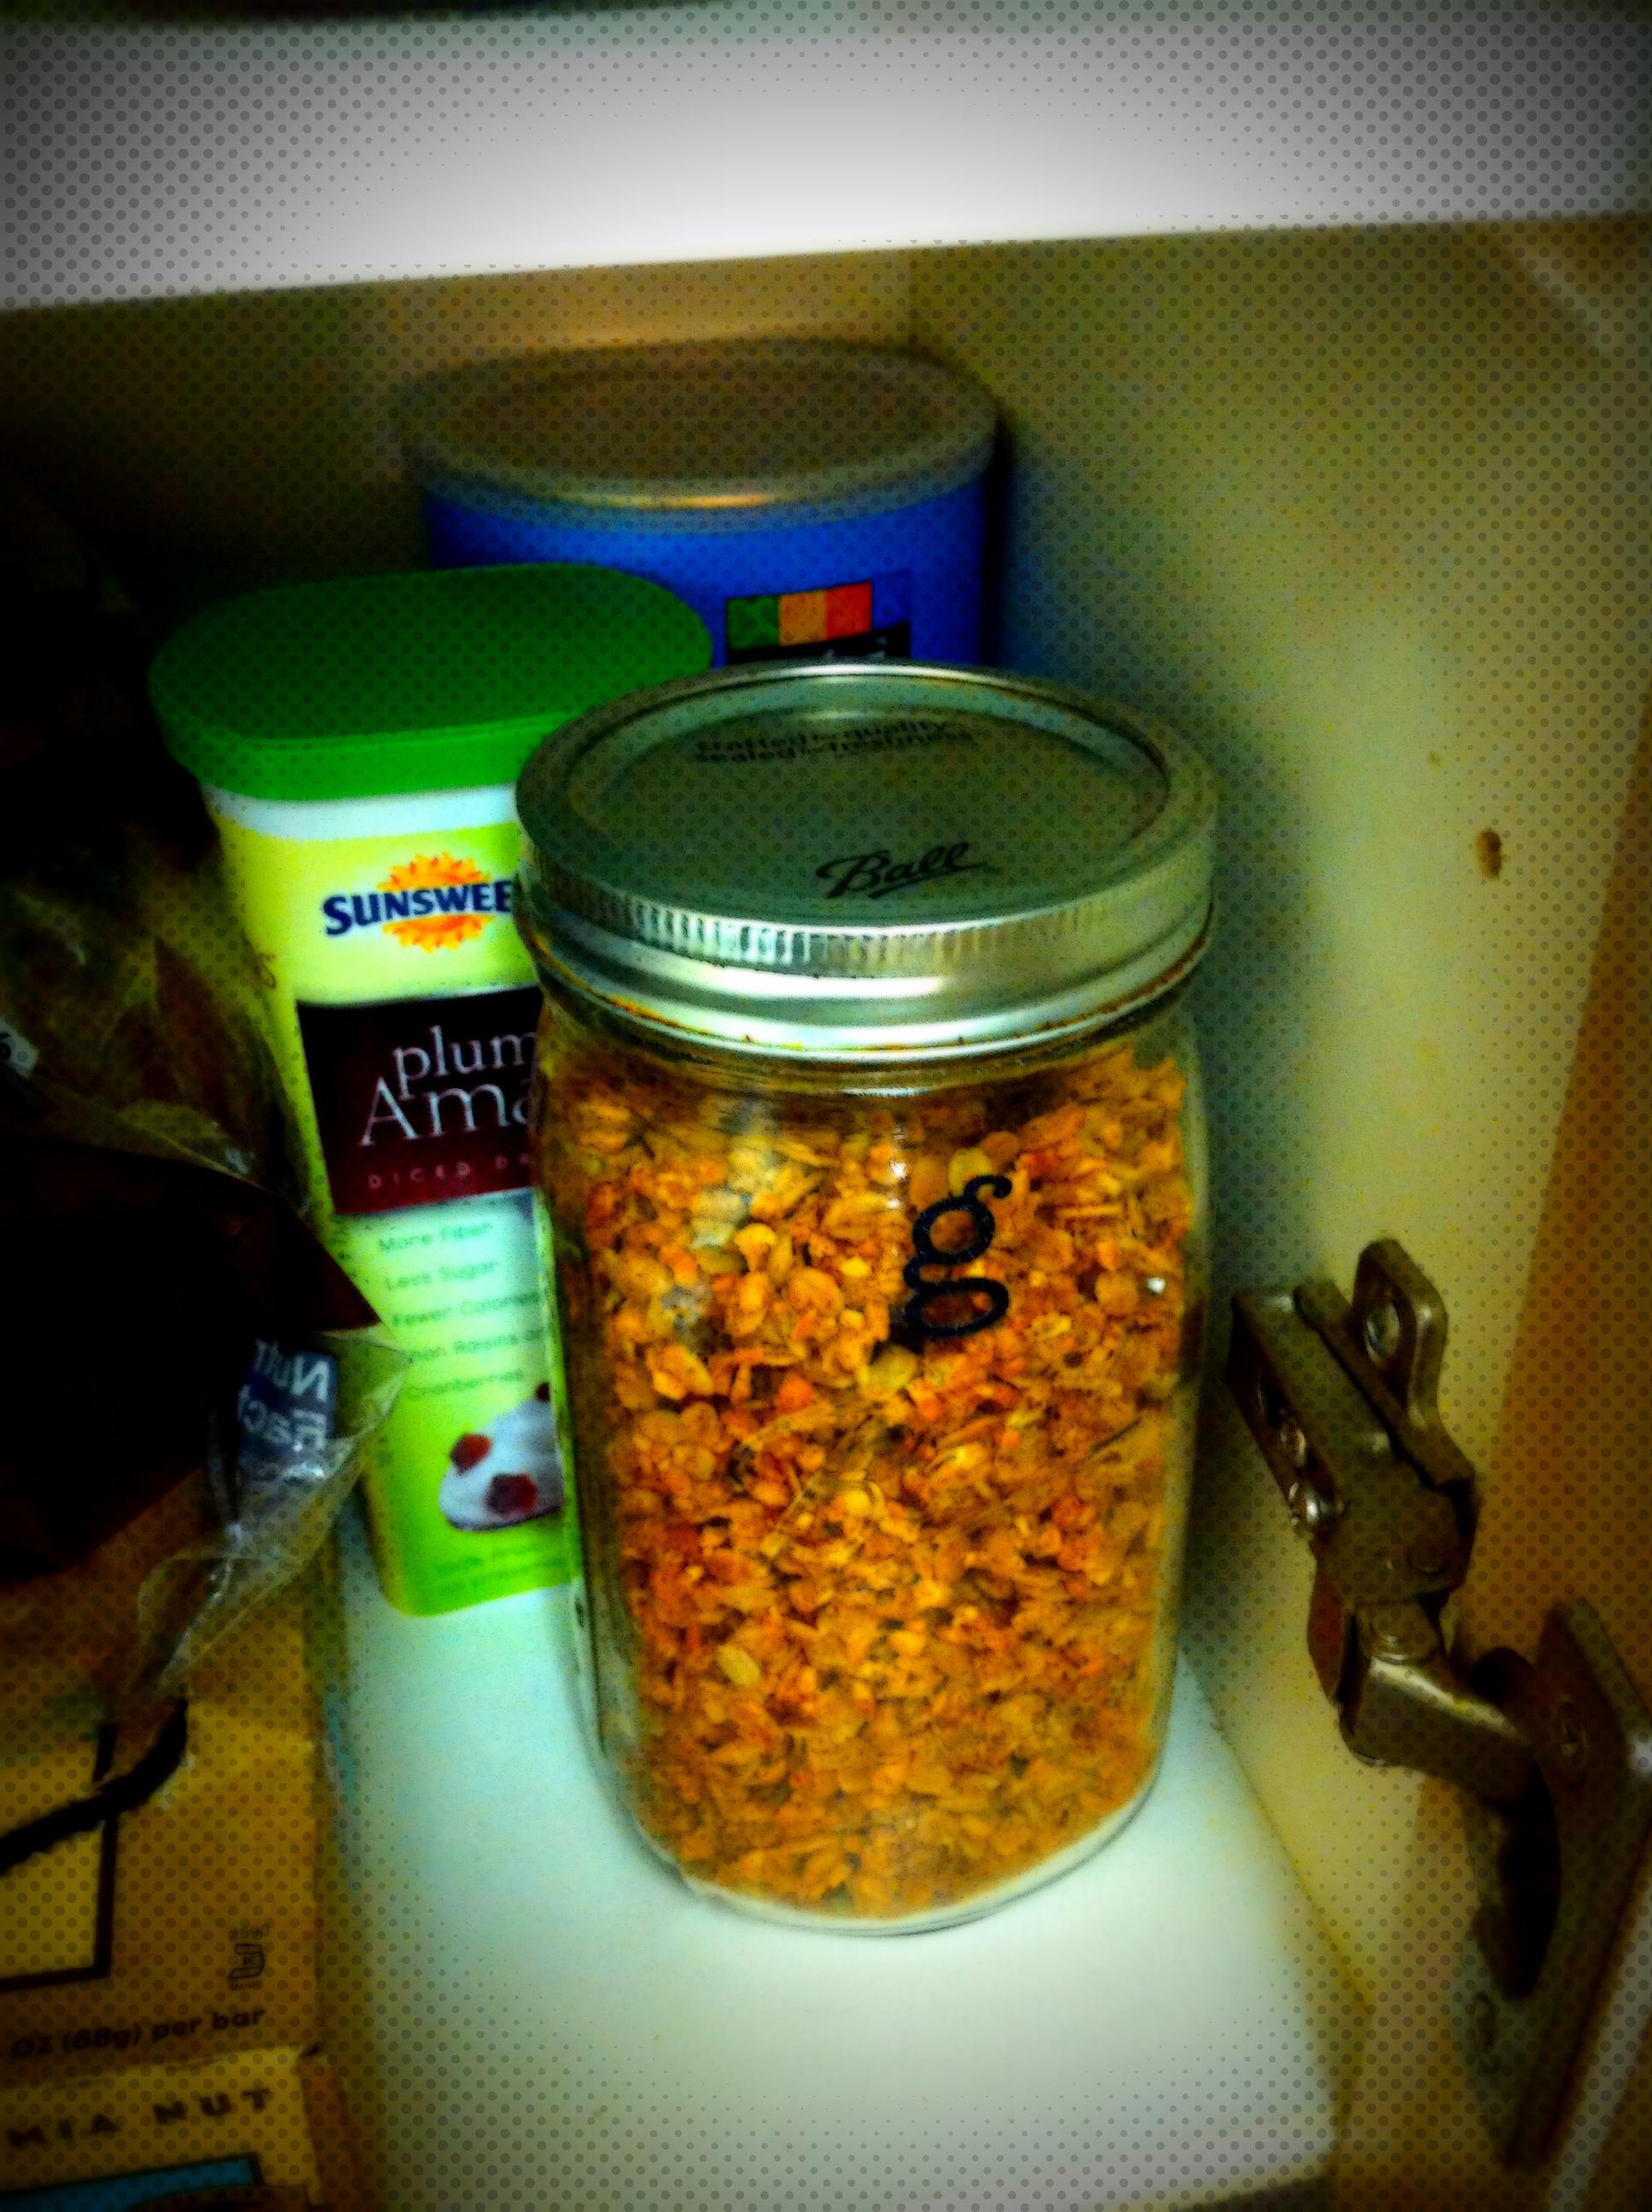 Using baskets, etc to group individual items. I’m experimenting with different samples of protein powder right now, plus I still have some GU hanging around for when I start half marathon training again.
 I finally broke down and have been buying the boxes of Clif Bars because it is cheaper than buying them individually!
Leftover produce bags are the perfect size for my juicer’s pulp canister. That way, when I’m juicing, I can just pull out the bag and plop it in the trash without having to clean the pulp out of the bin.
 I showed you mine, now you show me yours!
Thanks as always to Jenn @ Peas and Crayons for hosting What I Ate Wednesday!
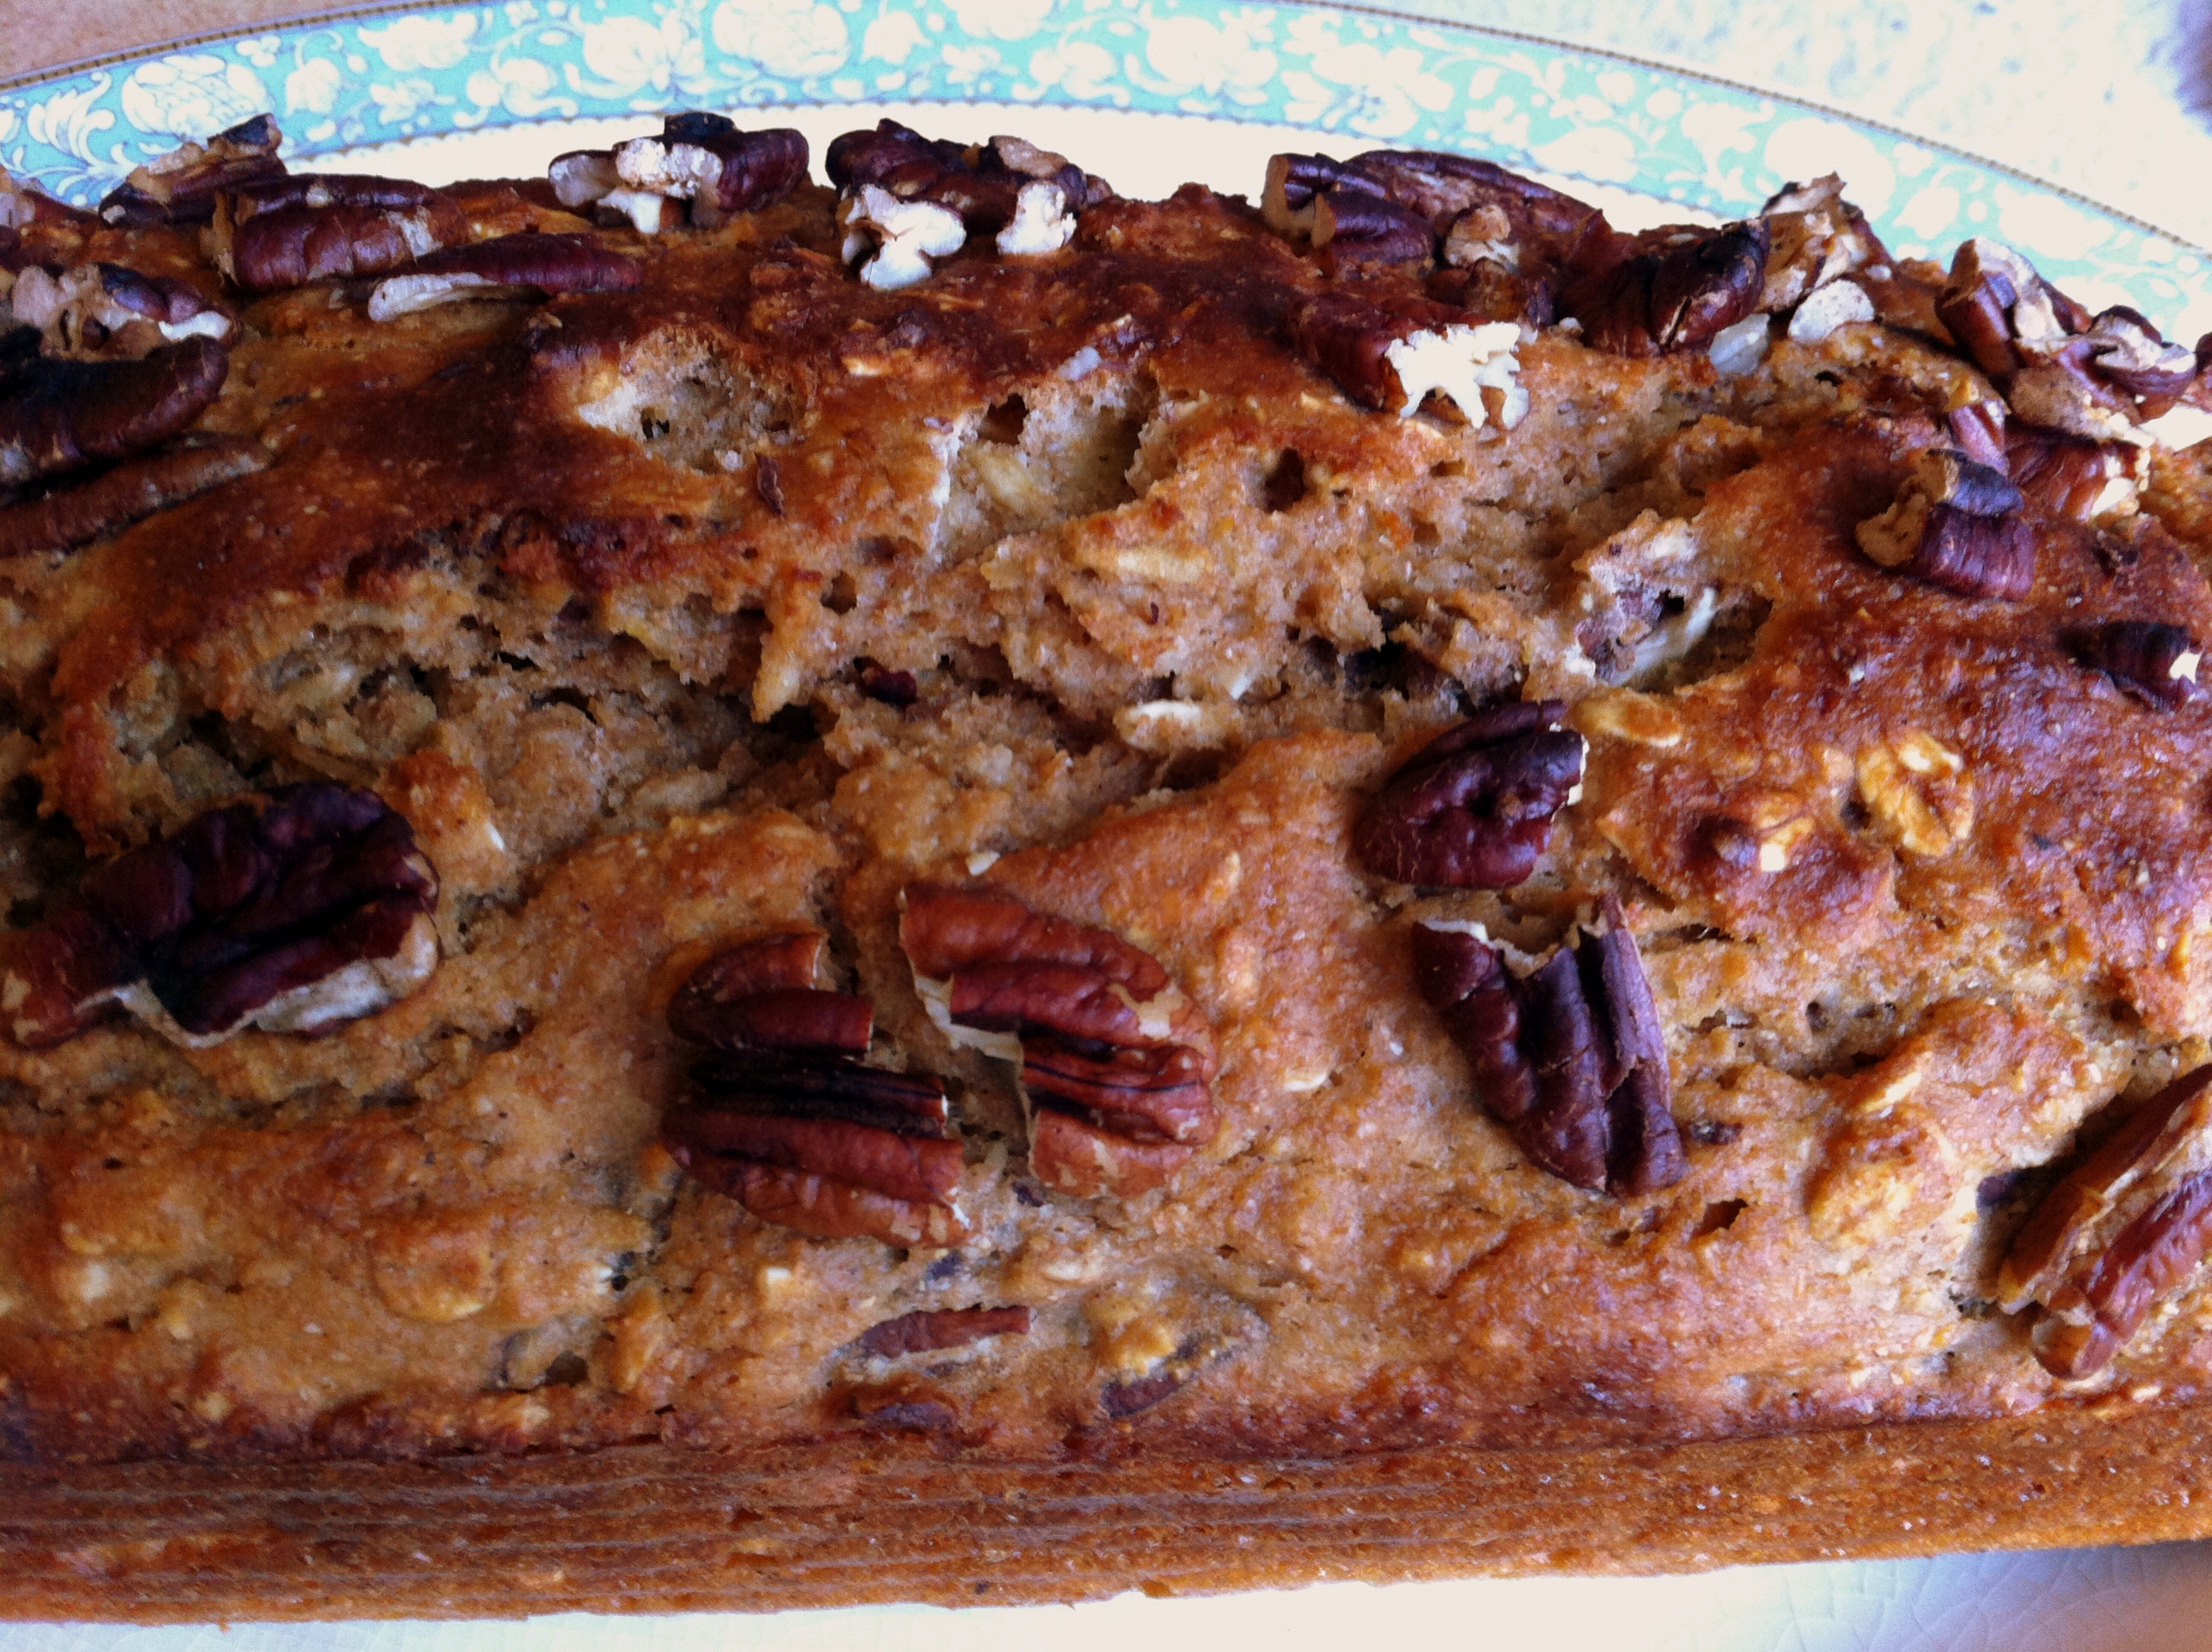
Old Fashioned Pecan Bread
This is an oldie redone into what I had left in the pantry.
Blueberries out, pecans in.
It’s crazy how the same batter can taste so different featuring just one extra ingredient.


My family of beach-goers chowed down on this for breakfast. Heated, served with cream cheese? The best.
 Ingredients:
- 1 1/2 cups whole wheat flour
- 1/2 cup wheat germ
- 1 cup old fashioned rolled oats
- 1 cup pecans
- 1/3 cup splenda or sugar substitute
- 3 tsp baking powder
- 1 tsp cinnamon
- 1/2 tsp salt
- 1 2/3 cups low fat vanilla yogurt
- 3 eggs (use 2 eggs, 1 egg white)
- 1 tsp vanilla extract
Directions:
Pre-heat oven to 350°F and grease a bread pan with cooking spray.
Mix dry ingredients in a medium bowl: oats, flour, cinnamon, baking powder, salt, sugar, and wheat germ.
Beat together eggs, yogurt, and vanilla extract. Gently stir in the dry ingredients.
Fold pecans into the batter and pour into the bread pan. Bake for about 50 minutes.
Let the bread cool before serving.
Thanks as always to Jenn @ Peas and Crayons for hosting What I Ate Wednesday!
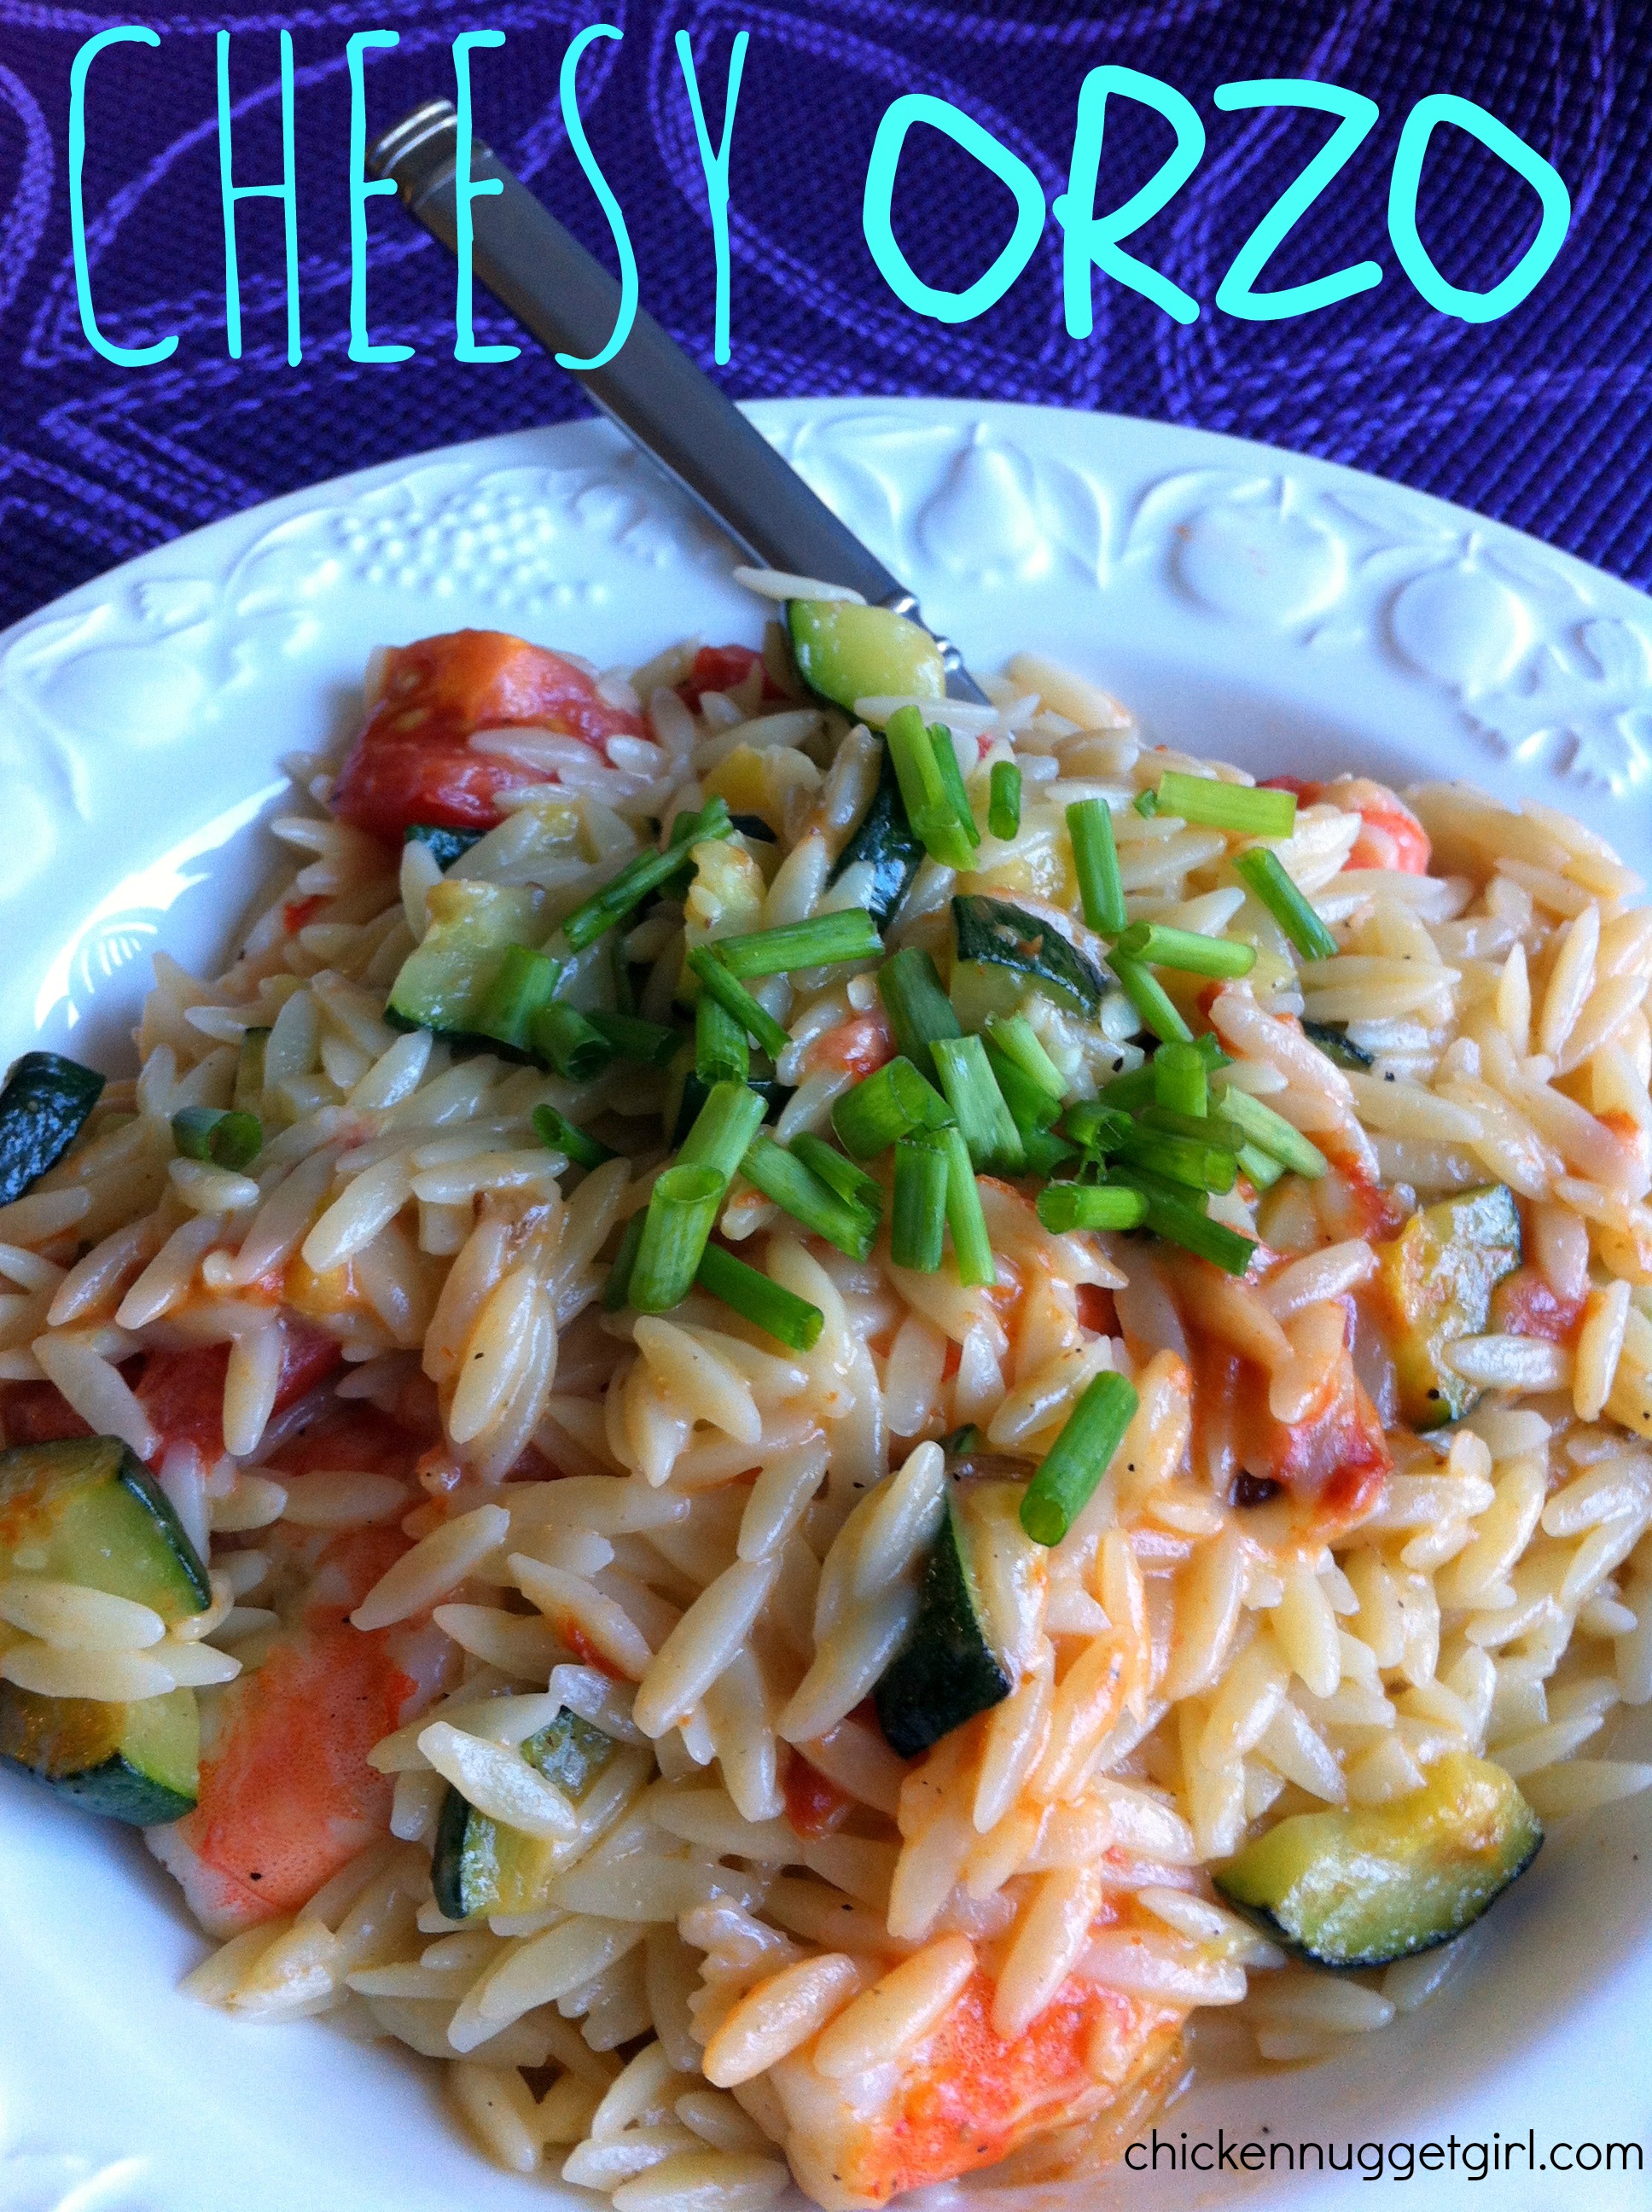
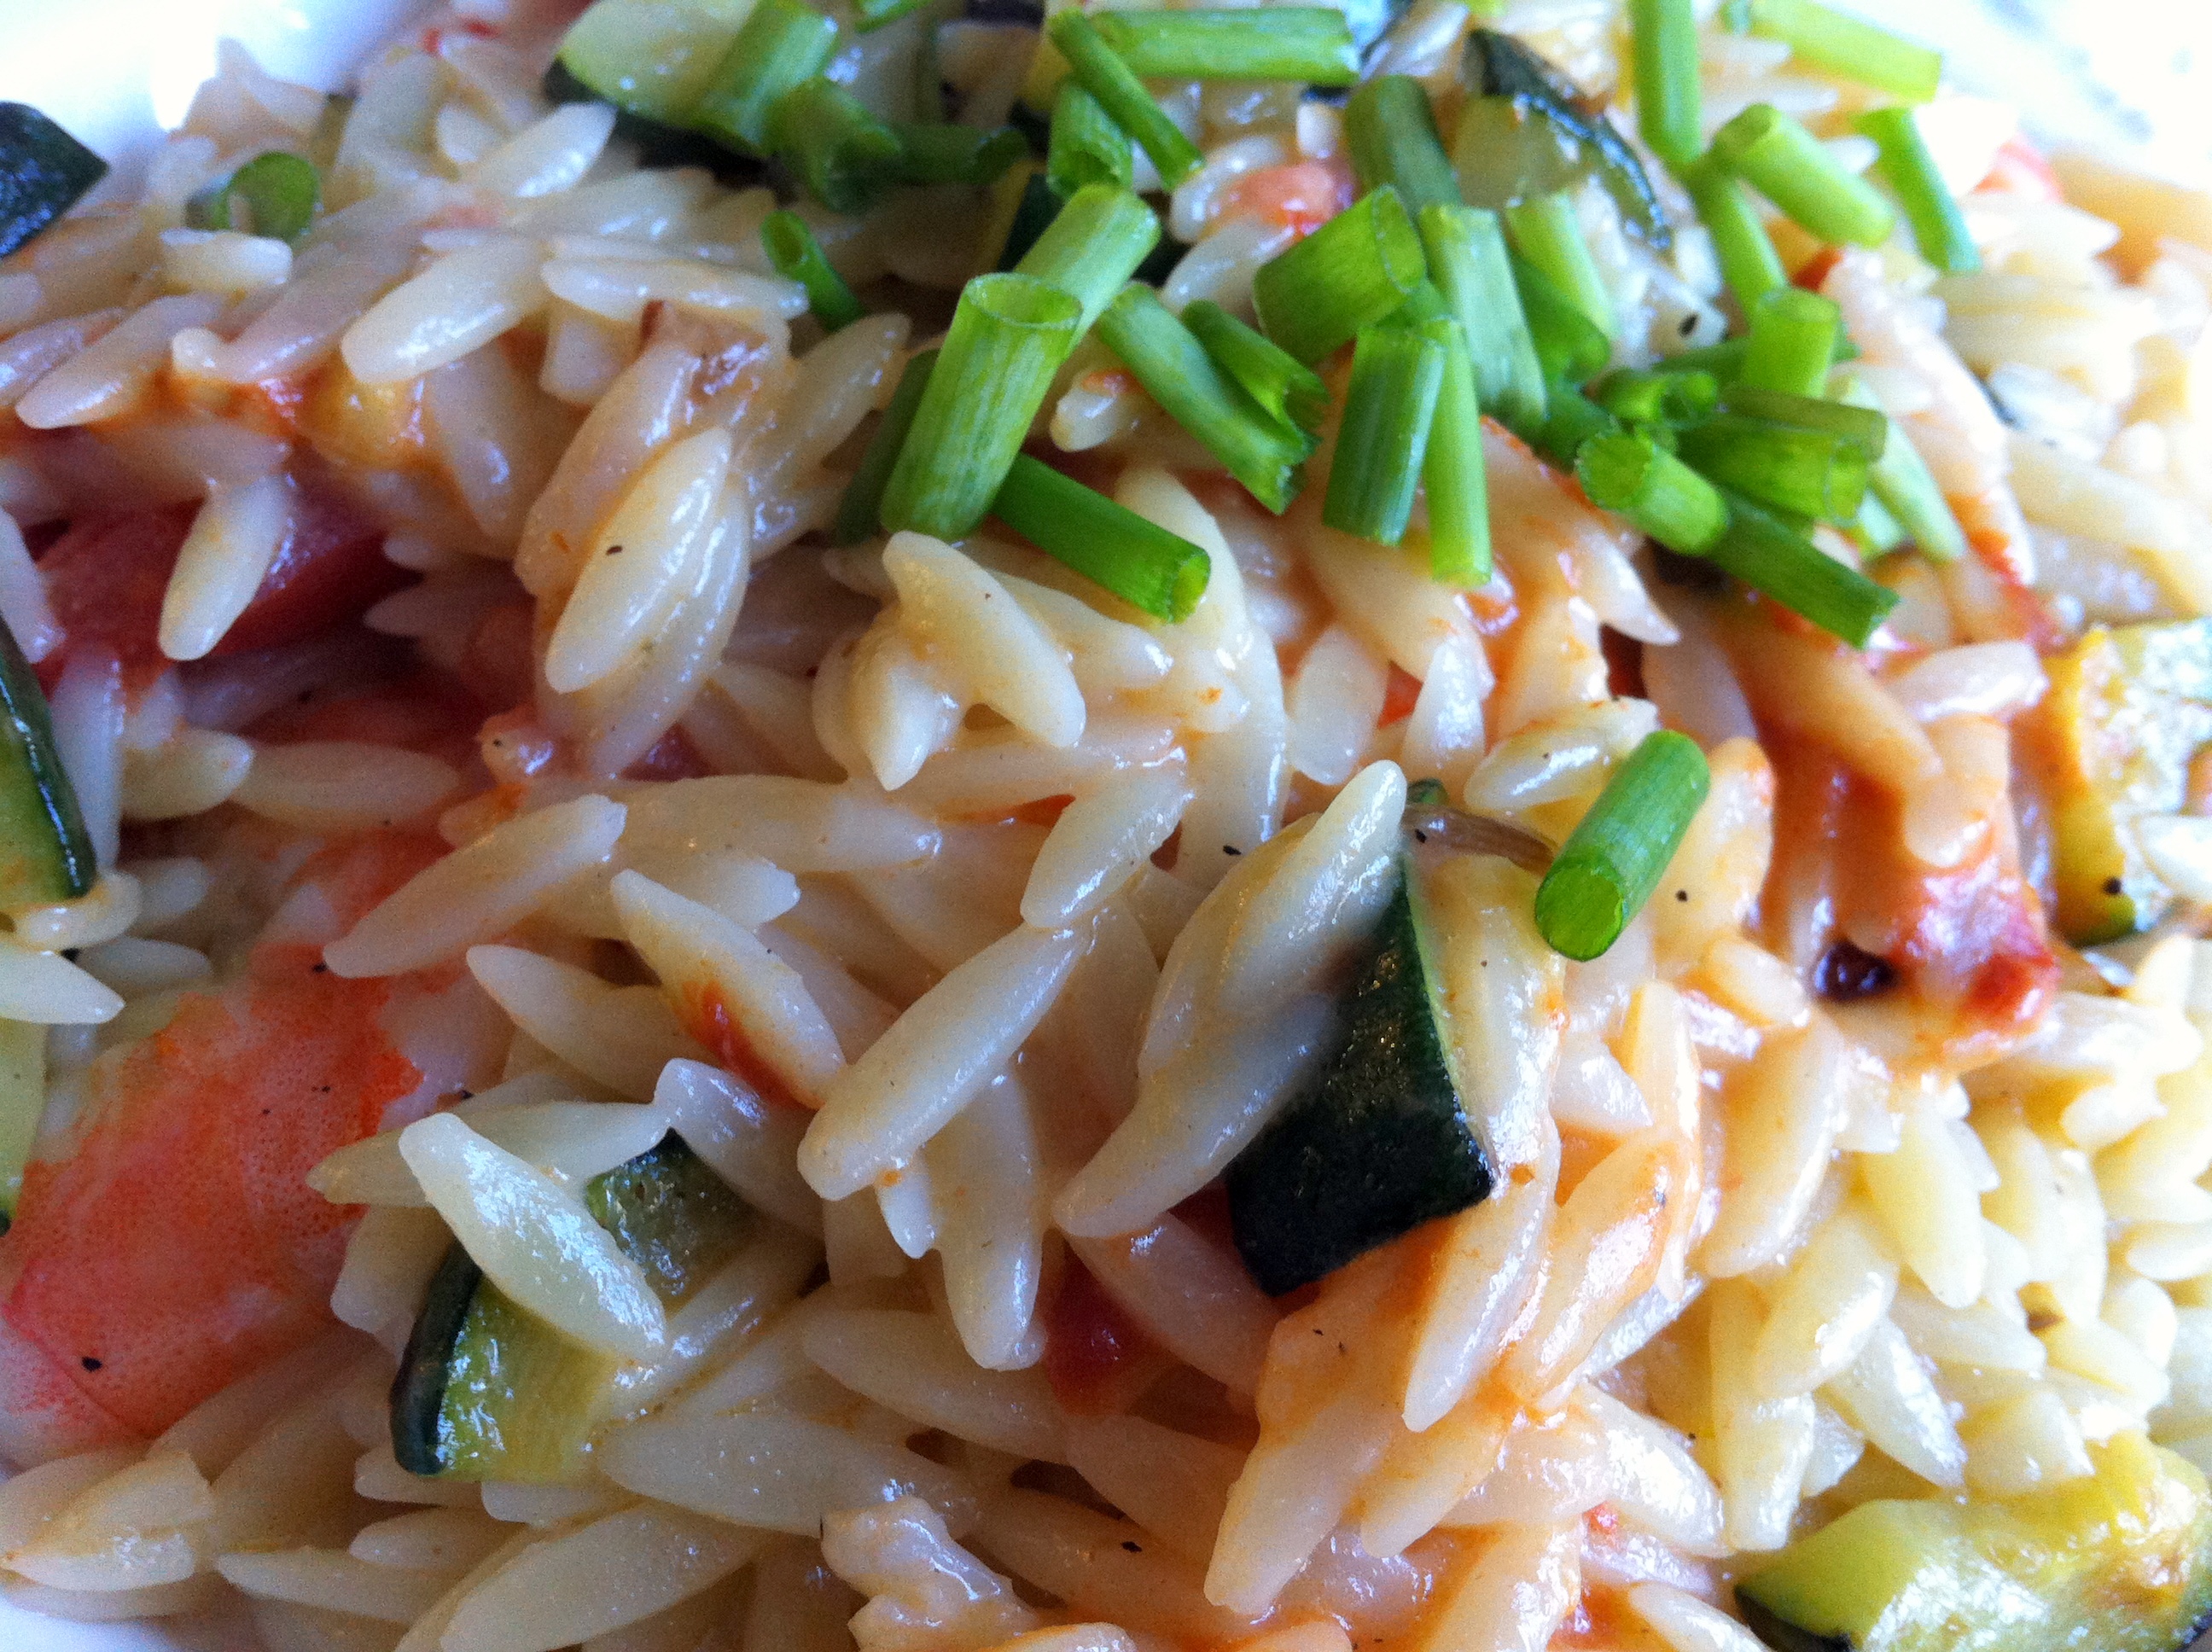
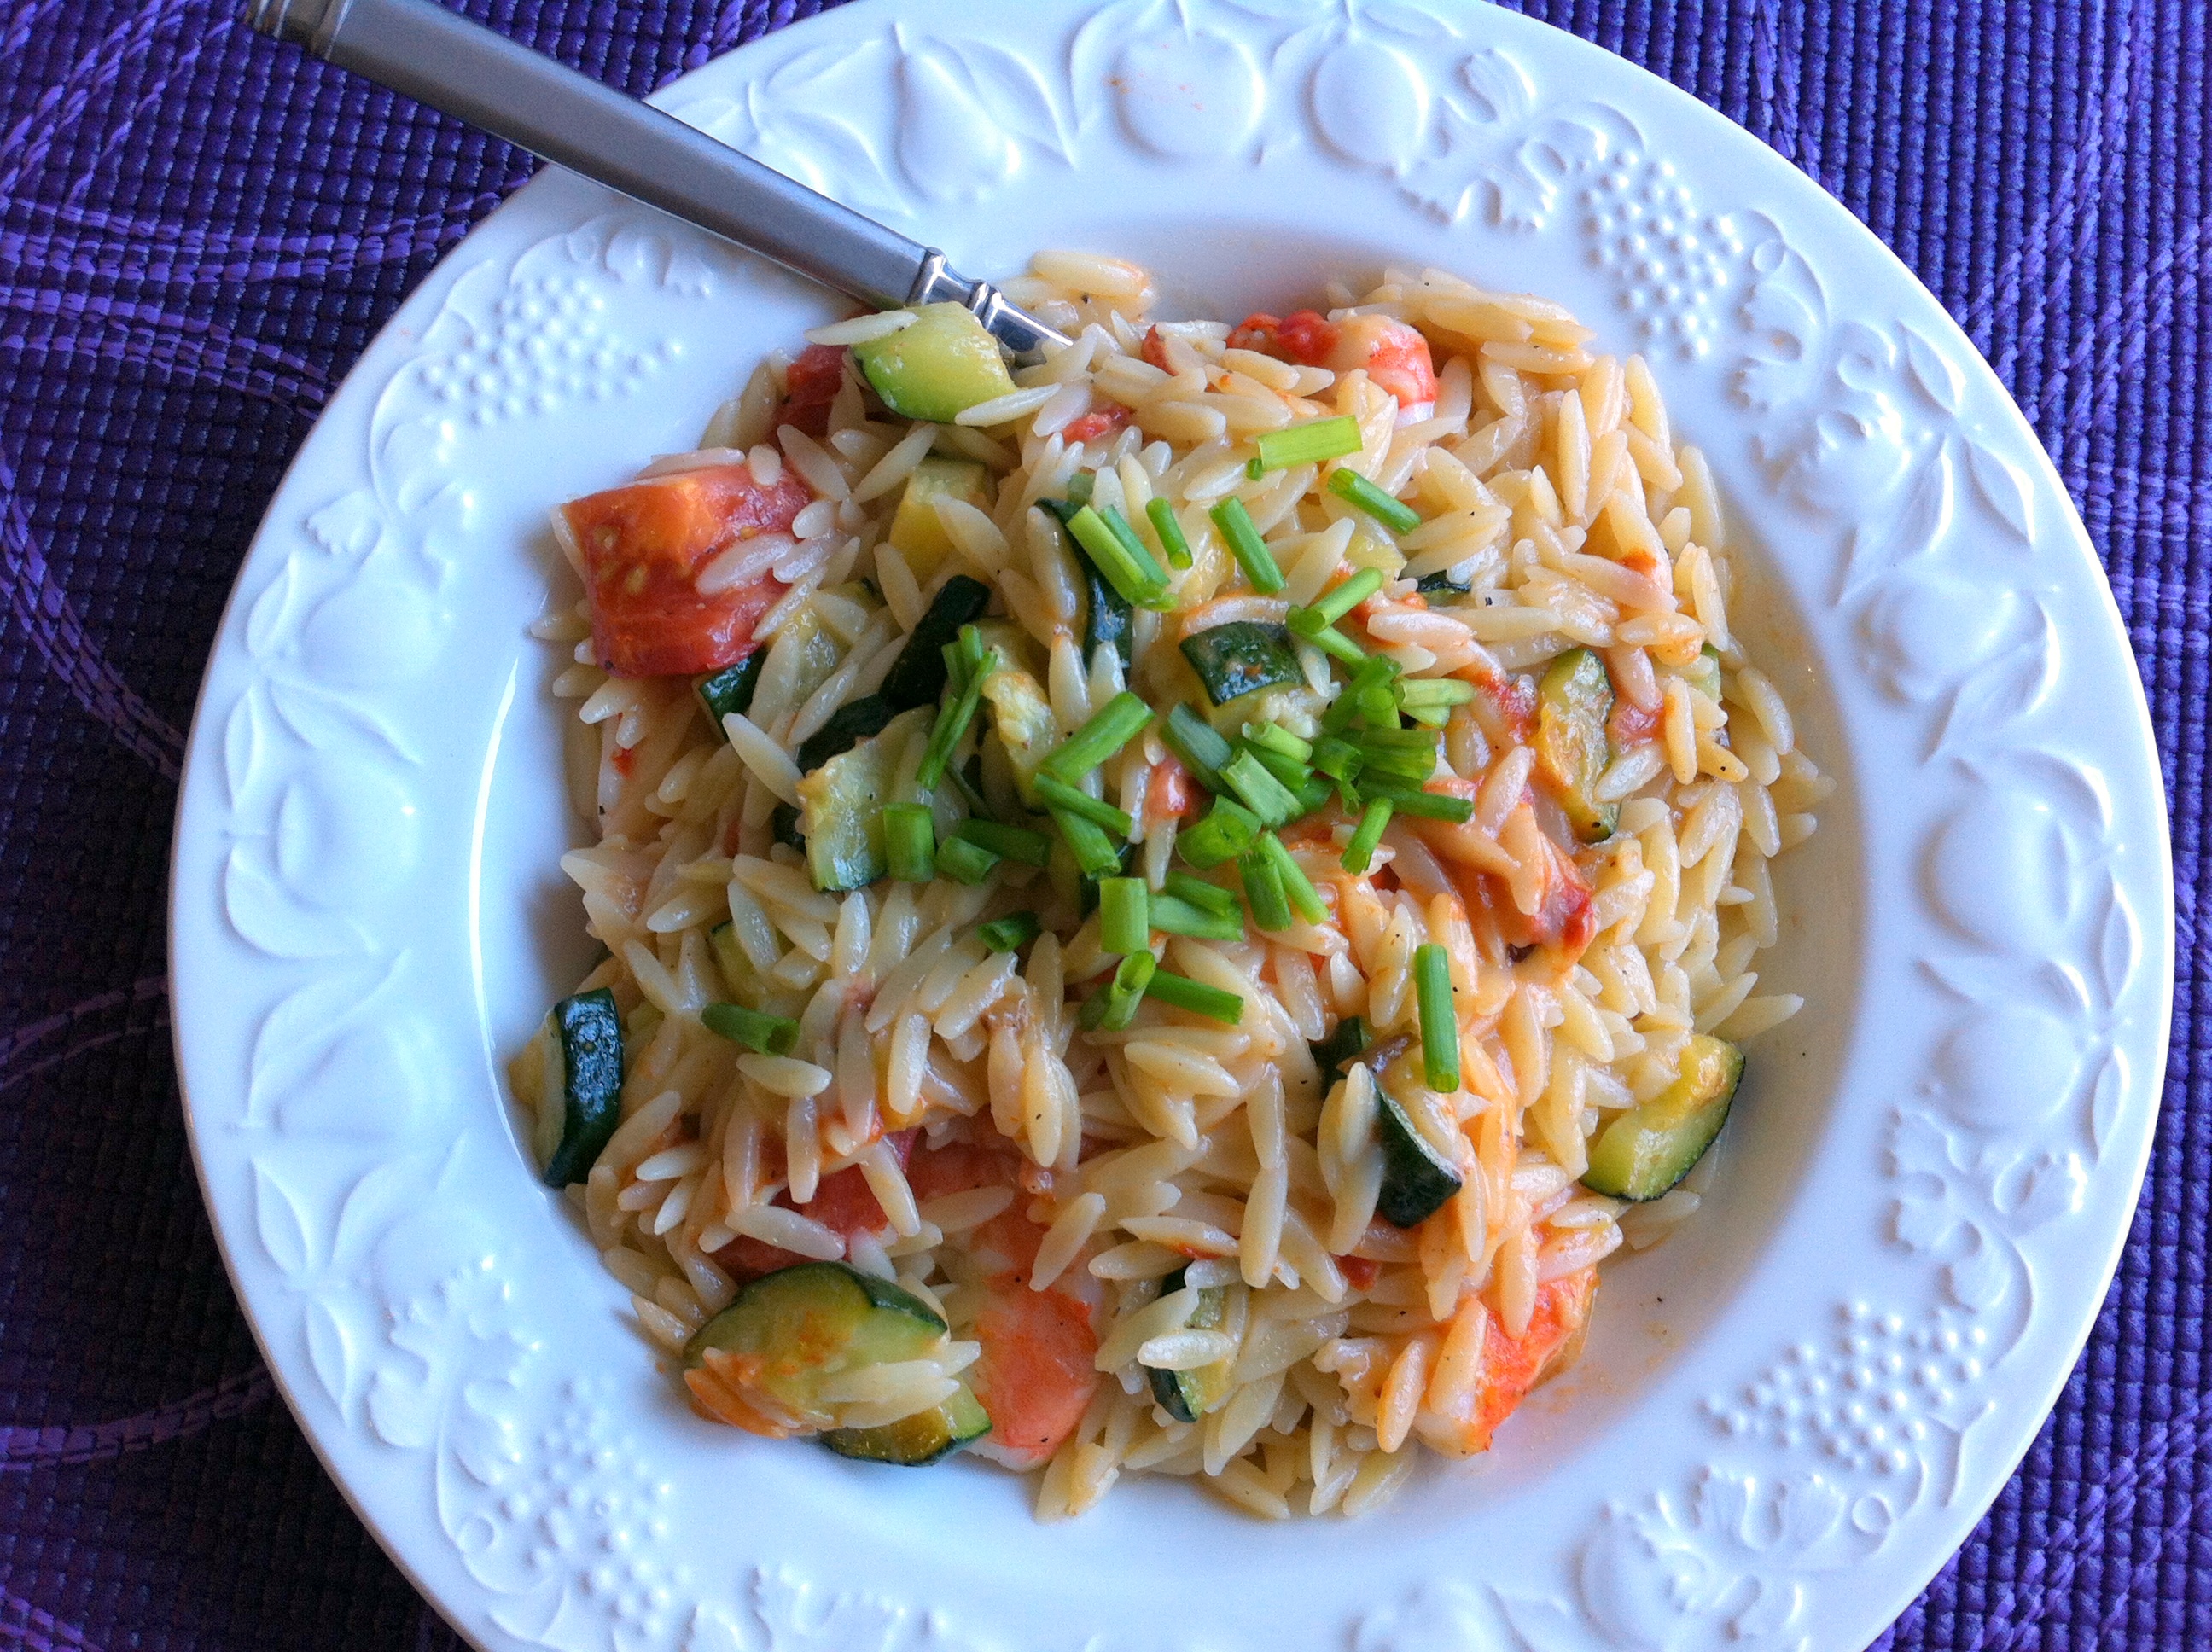
Cheesy Orzo
Yum.
Making this post is reminding me how utterly delicious this dish is.
Tuna and I both looked at each other when we took the first bite with wide eyes – because we didn’t expect it to be as seriously good as it was!
It rich and light at the same time, which is perfect for a summer din din.
This recipe was inspired by Quick Dish.

Ingredients:
- 4 tbsp butter
- 1 large shallot, minced
- 3 cloves garlic, minced
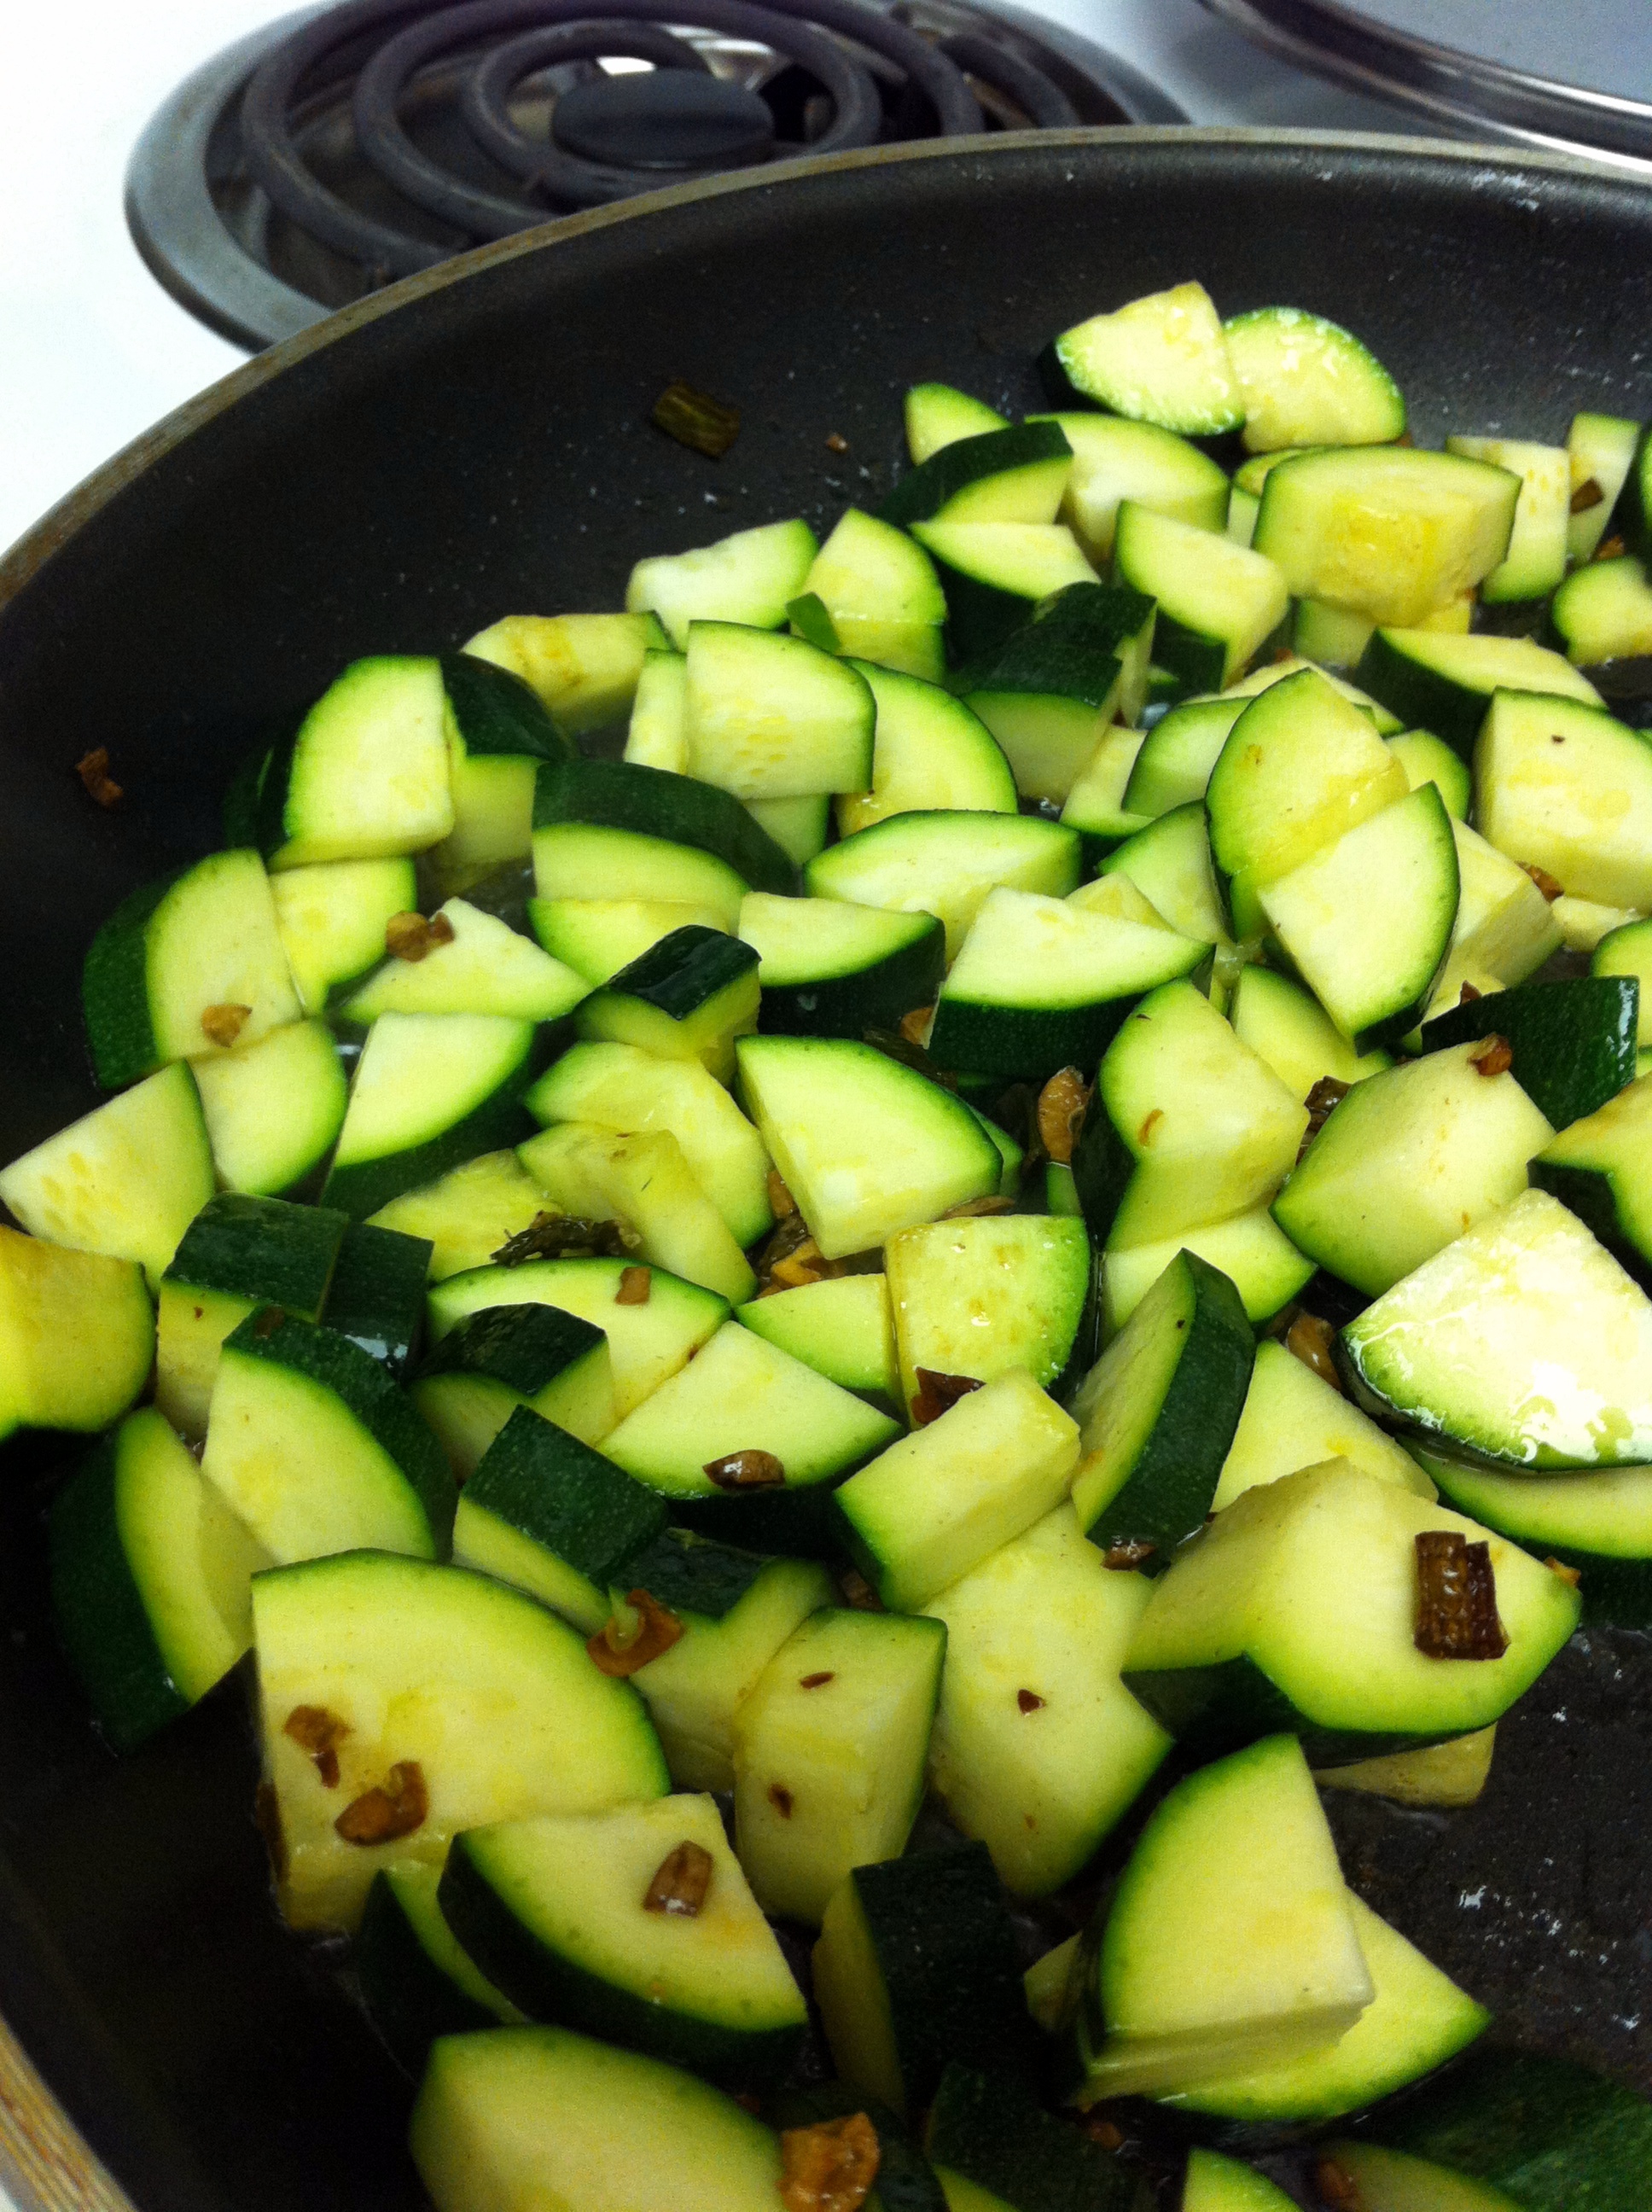
- 2 small zucchinis, diced
- 1 1/2 cup of diced tomatoes
- 2 cups uncooked orzo
- 2 tsp tomato paste
- 3/4 cup shredded mozzarella cheese
- 1/2 lb shrimp
- 2 tbsp freshly chopped chives
- salt and pepper to taste
Directions:
Heat 2 tbsp of butter in a large skillet. Add the minced shallots and sauté for 3 minutes. Add the garlic and sauté for 1 minute.
Add the zucchini to the skillet, sprinkle with salt and pepper, and sauté for 6 minutes.
Add half of the tomatoes and sauté another minute.
In a separate pot, cook the orzo.
Once the orzo is cooked, add it to the skillet with the sautéed veggies.
Lastly, add the cheese, the other half of the tomatoes and remaining 2 tbsp of butter. Toss everything to combine.
Add chopped chives as garnish and serve!

 Thanks as always to Jenn @ Peas and Crayons for hosting What I Ate Wednesday!
Juice Cleanse, Day 2
The night between Day 1 and Day 2 I had lots of really vivid dreams and I remembered them once I woke up! That’s definitely a surprising side effect from the cleanse.
Thank gawwwd I didn’t have a headache anymore, and I was not hungry. Both good things.
I hopped on the scale and was excited to see that I was down 3 lbs. This shit was actually working!
Weirdly enough, I had an easier time getting up in the morning than I usually do. I also felt like my mind was a bit sharper in the morning – even without coffee.
The day passed in two(ish) hour increments, spent waiting for the next time I could have my juice. Not because I was hungry, I just wanted to consume something. Every hour and a half I would start to feel a little more drained, a little weaker. I could seriously tell that my body was soaking up the nutrients in the juice when I re-fueled, which is kind of a strange feeling and hard to describe!
Here’s the juice schedule I followed:
Juice 1: 9:30 am
Juice 2: 12:00 pm
Juice 3: 2:30 pm
Juice 4: 4:30 pm
Juice 5: 7:00 pm
Juice 6: 9:00 pm
I could not wait for Juice 2, my absolute favorite juice by far.
 P.A.M. is a pretty simple juice: a ton of pineapple, and some apple and mint. It was extra cool because I got to use my mint from my mint plant that I harvested and have yet to kill (nbd, hell is freezing over).


I haven’t really tried pineapple before, and I think the only time I’ve ever had pineapple juice was with a bunch of vodka in Hawaii. At least now I have one juice from the cleanse that I genuinely love and will keep making!
Everything continued smoothly the rest of the day until Ginger-Gate.
 *Side note: I’m talking about ginger root – which I had to ask the grocery store worker for because I was wandering around looking for pink ginger like the kind that comes with sushi. Turns out that the pink ginger is made from artificial dye. Who knew.*
The first night I had C.A.B. I didn’t put any ginger in the jar because I ran out of room. Beets make a lot of juice.
 It wasn’t the best thing in the world, but it was filling, and I liked the carrot juice in it.
 The measurements I used were:
- 1 apple
- 1/2 lemon
- 2 giant carrots
- 3 beets (I did not juice the greens)
On Day 2, I prepped my C.A.B. juice to take to Tuna’s. Since I’ve never used ginger before, I didn’t know how much to put in the juice (and was apparently too lazy to google it for some reason).
So, I proceeded to juice about half of the amount shown in the picture above. *See evil.
The kitchen sure smelled like sushi, but I didn’t think much of it. I packed up my juice and headed on over to Tuna’s.
When I got to his place, I stuck a straw into my mason jar and took a huge gulp.
Omg.
Too. Much. Ginger.
That was the first time I considered stopping the juice cleanse. I needed to have something for dinner, and I was not about to drink that crap. I panicked.
Tuna suggested I water it down. Still foul. I tried to put some ice in it and stir it around. Nope.
All I could do was hold my nose, chug half of it, and try to keep it down. The latter was hard to do, but I did.
I brushed my teeth but was still hurtin’. It was time to resort to Tuna’s mint gum.
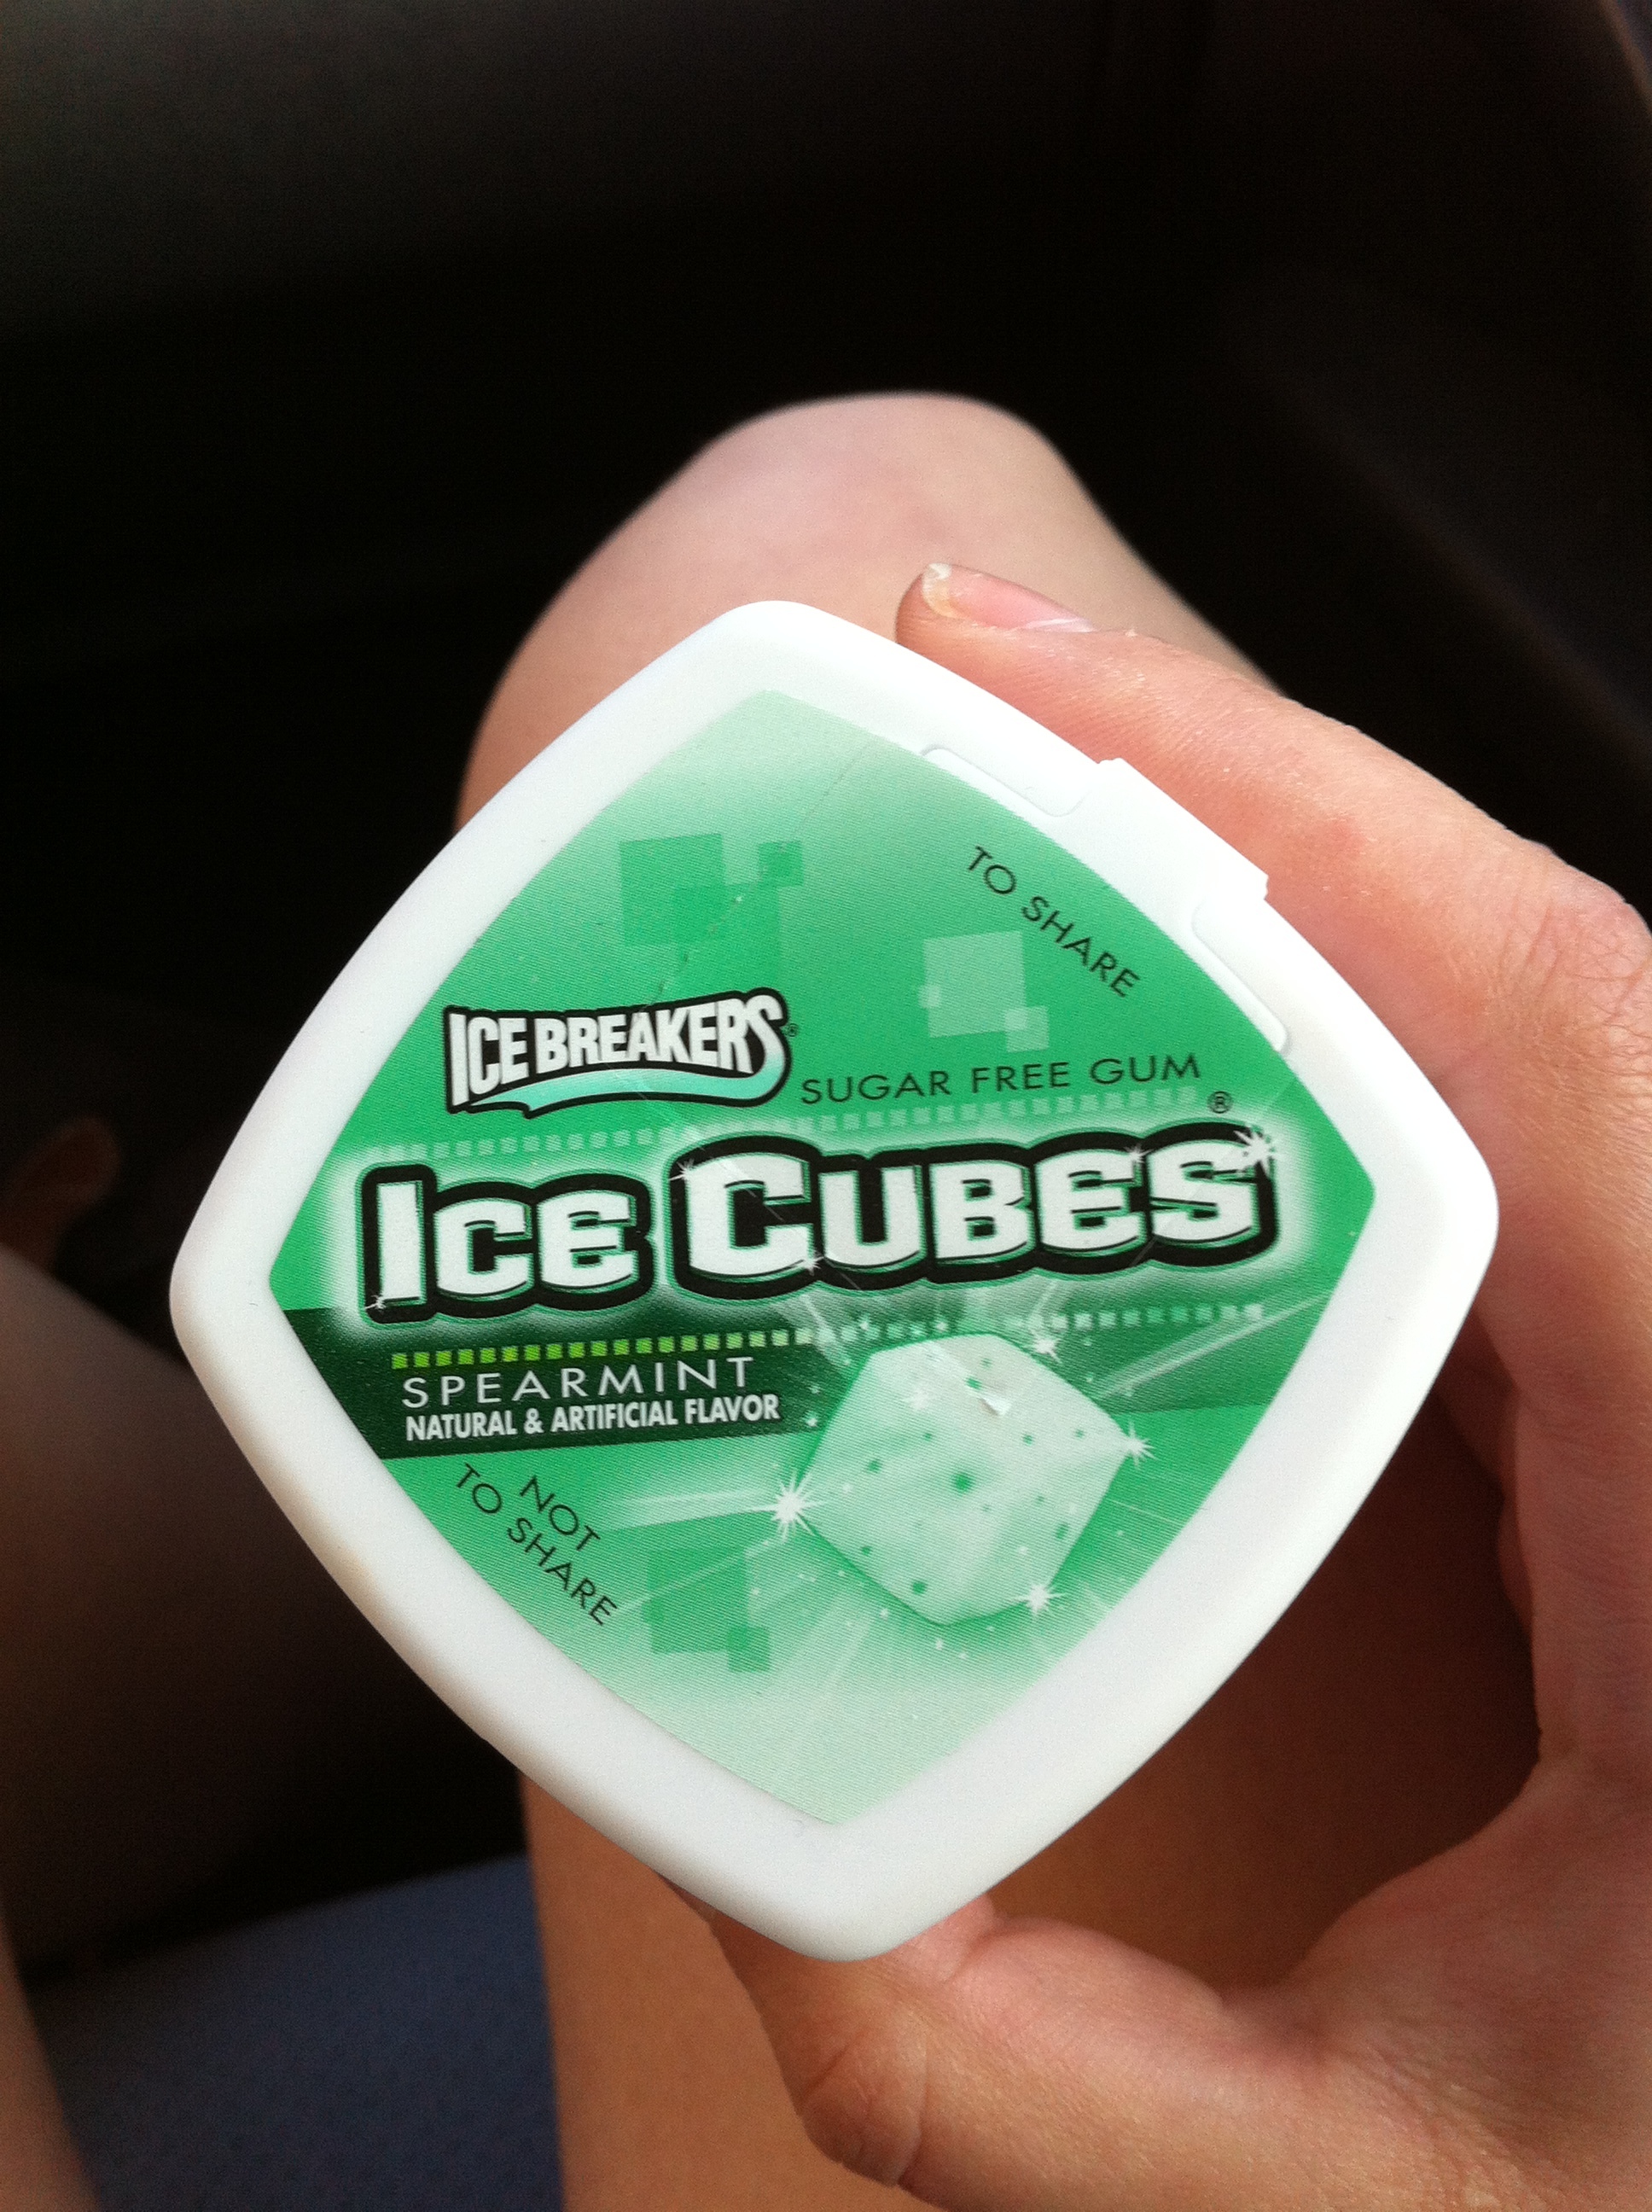 You’re not supposed to chew gum on a juice cleanse because it supposedly tricks your stomach into thinking it needs to digest something, but that’s okay. Funny how ginger is supposed to be soothing for your stomach, but it upset mine for the rest of the night.
Day 2 lesson learned: try the juice before you take it to go.
I have now sworn off ginger. For life.
Thanks as always to Jenn @ Peas and Crayons for hosting What I Drank Ate Wednesday!
